There's never a good time for your dryer to break down. Call it Murphy's Law or just plain dumb luck, but doesn't it always seem like you have dryer problems at the worst possible moment?
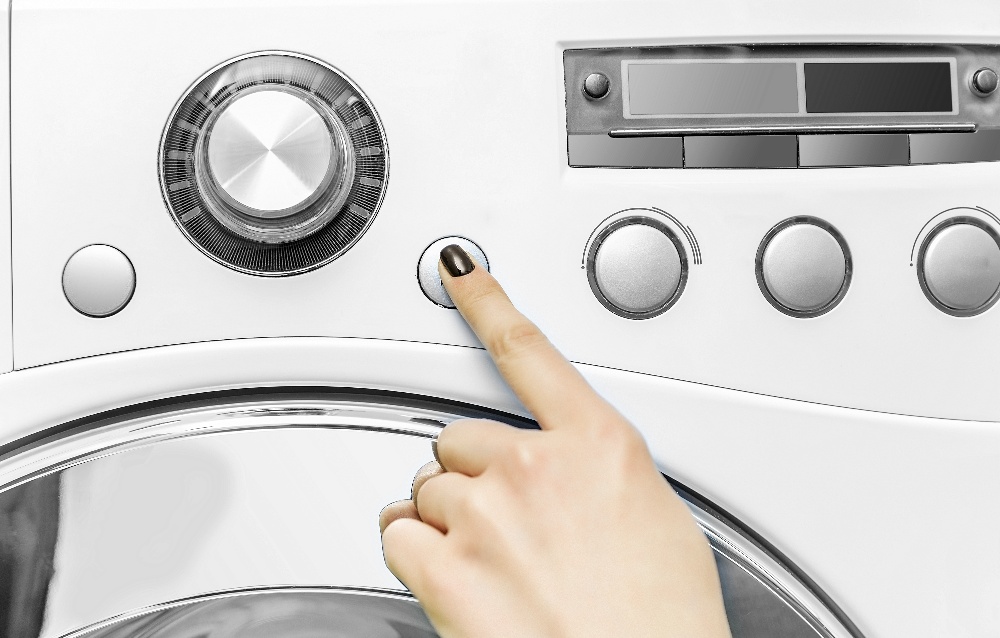
You might be able to overlook some problems, like if the dryer is not heating sufficiently, but if your dryer won't start, you might be going to work in wet clothes.
If you’re short on time or have limited repair skills, contact Puls for fast, easy appliance repair. Online scheduling will bring a professional technician to your door today, if needed.
If you’re ready to tackle the repair yourself, we've put together a step-by-step troubleshooting guide on what to do if your dryer won't start plus some suggestions on what you do to get it working again.

Tools and Parts Needed
The majority of dryer issues can be solved on your own. While most repairs will take about an hour, you’ll need to make sure you have the proper tools and there may be a little “down time” to obtain replacement parts. Once you’ve determined the problem, you can obtain parts through a local home improvement center or shop online for “appliance parts.”
- 4-in-1 screwdriver—has 4 different bits to fit the majority of screw heads.
- Socket/ratchet set—use this to remove bolts quickly.
- Multimeter or continuity tester—used to determine if a part has failed. To use an inexpensive continuity tester, attach the clamp to one contact point and touch the probe to the other contact point. It is working (has continuity) if the light glows.
- Wire cutter/crimp connector—used to cut, strip insulation and reconnect wiring.
- Needle nose pliers—to pull parts and reconnect wiring.
- Shop vacuum—to clean out clogged vents
The Reasons Your Dryer Won’t Start
Basic Checklist
Before you start searching for defective parts, check to make sure your dryer is plugged in and that the circuit breaker hasn't been tripped. Make sure the electrical outlet is working by plugging something else into it. If it doesn't work, you've got a faulty outlet.
Door Switch
Every dryer uses a door switch to start and stop the tumbling process. If your dryer doesn't start, there's a good chance you have a defective door switch.
- Before you begin troubleshooting, be sure to disconnect your dryer from the electrical outlet or turn the circuit breaker switch off.
- You can find the switch behind the front panel and the switch button should extend into the door.
- The switch will have two or three metal prongs or terminals sticking out. If any of the prongs that contact the switch when the door is closed are bent or broken, try to bend the prong back in place. If this doesn't work, you'll need to check the switch's continuity with a multimeter tester.
- If the door switch is bad, you can either pop it out or remove a single screw holding it in place. You'll need to disconnect two wires (label them to reattach them later) and install a new dryer switch.ֵ
What to watch out for:
The door switch is a safety feature that tells the dryer to start only when the door is tightly secured. Inspect the switch by opening the door. A small white prong should be sticking out. It should operate like a spring-loaded button. If not, examine it to see if it’s stuck in the closed position which would indicate a problem with the switch.
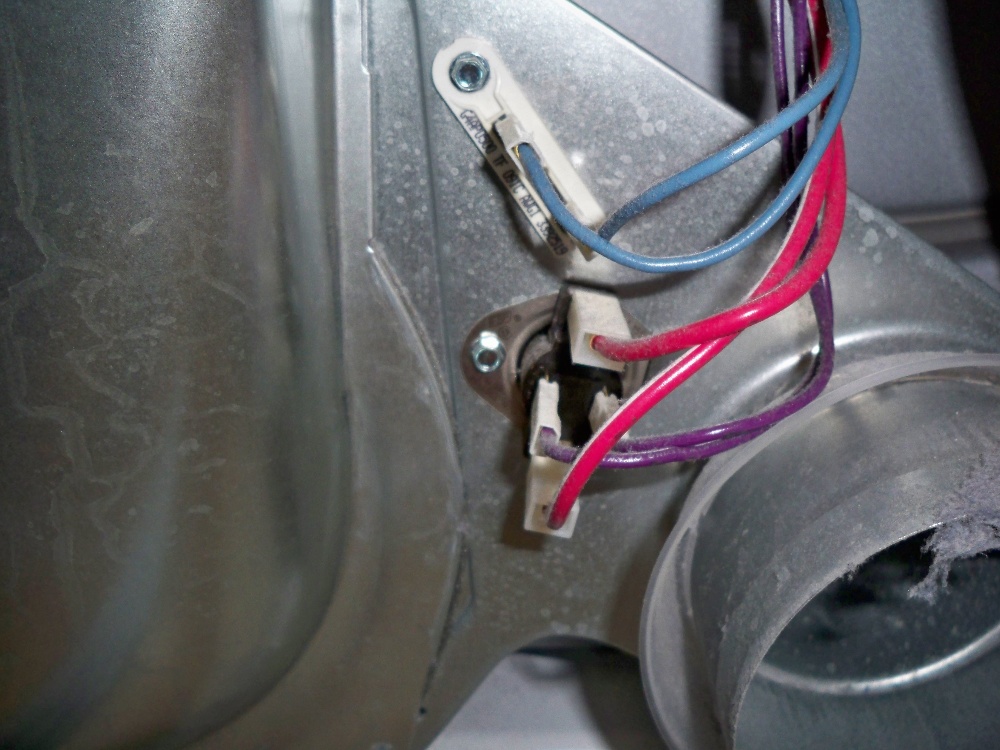
Thermal Fuse
 Credit: appliancerepairlessons.com
Most dryers use a thermal fuse to prevent overheating. It's heat sensitive and will cause the dryer to stop working if the dryer gets too hot.
- The thermal fuse is located on the blower housing or heating element housing (electric dryer) or burner housing (gas dryer.) Unplug the dryer before testing the fuse.
- If it's defective, it won't have any continuity when tested with a multimeter.
What to watch out for:
While your dryer start issues may have been unrelated, you may notice that your drum still turns and the machine runs but your clothes are still wet after the drying cycle. Your thermal fuse is likely the culprit.
Start Switch
The start switch on your dryer allows electricity to energize the motor. After the initial start, the motor begins to spin. This activates a centrifugal switch that expands to keep the dryer running. If the start switch fails to send the initial spark, the dryer will not start.
- Located at the top of your dryer, the start switch sends power to the drive motor when pushed. Unplug your dryer before testing the start switch for continuity.
- Remove the screws on either side of the control panel to access the switch.
- Be sure to label the two or three wires leading to the start switch so you'll know where they go when you re-attach them to the new start switch.
What to watch out for:
Even if your start switch wasn’t the problem this time, you should pay attention if it starts to stick or doesn’t protrude above the panel. You should hear a clicking sound as you depress the plunger, if there is none, you’ll likely need a new switch.
Timer
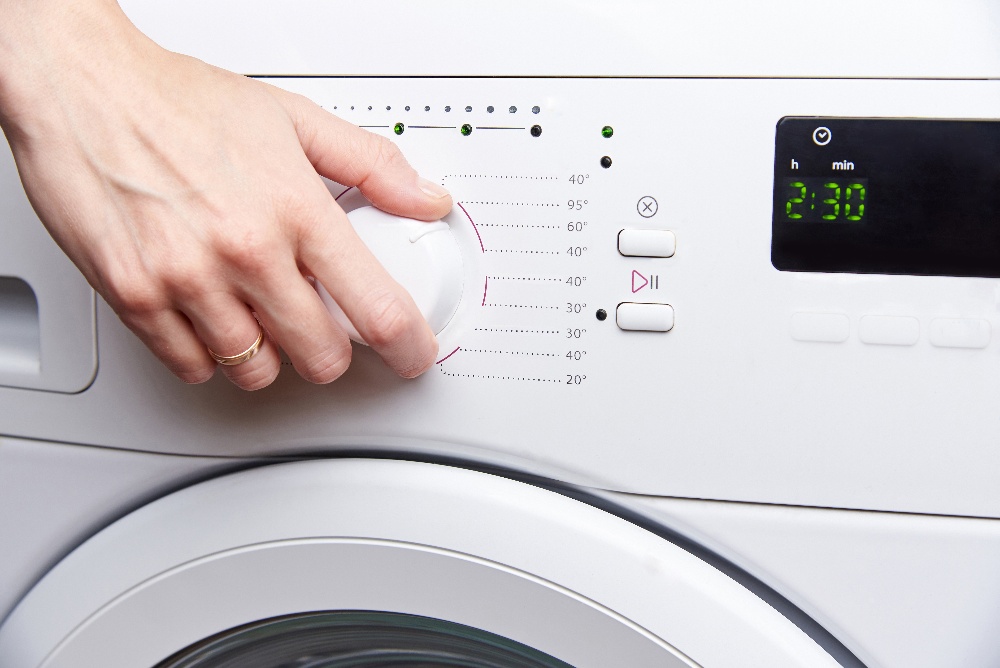
Located in the control panel of your machine, the dryer timer uses a small motor to turn electric contacts on and off. If the timer is bad, there will be no electric spark and your dryer will not start.
The timer on your dryer includes a small motor that operates with gears and cams and turns electrical contacts on and off. If this fails, your dryer won’t start.
Check the continuity of the timer to determine if it's operating properly or needs to be replaced. Again, be sure to unplug the dryer before testing this.
What to watch out for:
If your clothes aren’t as dry as they used to be after running a complete dry cycle, you may have a problem with your timer. See if the timer has moved from the original setting or if it seems stuck in one position. If so, it will not go through an entire dry cycle and will need to be replaced.
Thermostat
The thermostat monitors and controls the temperature inside your dryer during the drying cycle. Once the heat reaches a certain level, the thermostat will interrupt the electrical connection so the air will cool down. If the thermostat is malfunctioning, the machine can overheat and trip the thermal fuse. Once this occurs, the dryer will not start.
- A defective thermostat is another factor that can prevent your dryer from starting. Your dryer typically has several thermostats to control the temperature for each dryer setting.
- You'll need to open your dryer cabinet to test these thermostats. Refer to your manual for instructions on how to open the cabinet on your particular make and model.
- You can find thermostats on the blower wheel housing or inside the exhaust system. Again, don’t forget to disconnect the power before testing.
- Replace a faulty unit by removing the two screws holding it in place and label the two wires leading to each thermostat for proper re-installation.
- Follow the procedure in reverse to install the new thermostat. If none of these fixes allow you to restart your dryer, you may have a more serious problem on your hands that requires a professional dryer repair service to resolve.
What to watch out for:
A symptom of a bad thermostat is a loss of temperature control. This may mean that your dryer is getting too hot and your clothes are overheating. You might notice a burning smell or that your clothes are too hot to touch when the dryer shuts off.
Terminal Block
The terminal block attaches the power cord to the main wiring in your dryer. This is a key component that provides electricity to your appliance. If the terminal block fails, it will not only prevent the dryer from starting, it could also cause a fire and complete loss of the machine.
Before checking this part, disconnect the plug from the outlet to prevent shock.
- Unscrew rear access panel and inspect the terminal block for broken wires, melted insulation, or discoloration of connections.
- Any of these issues can cause your dryer not to start and will require replacement.
- Note orientation of front power wires and rear connections then disconnect wires with a screwdriver.
- Unscrew the terminal block and cut the wires as close as possible to the back.
- Before reinserting the new terminal block, strip ¼” of insulation from the wires, reattach wires and crimp in place. Make sure the white wire is attached to the silver terminal.
- Snap terminals into the new block with the silver terminal in the center slot.
- Reattach power wires and remount the block before closing up the access panel.
What to watch out for:
If you start to trip circuit breakers in your main electrical panel every time you start your dryer, you may have a faulty terminal block. It is the part that connects the internal wiring to the power cord so will affect the power supply if defective.
Drive Motor
The drive motor’s main function is to turn the belt that rotates the drum in the dryer. A secondary function is to rotate the blower fan wheel so warm air circulates to dry the clothes. If the motor is not functioning properly, the dryer will not operate.
- The drive motor makes the dryer’s drum turn and blower wheel operate. If the dryer is humming but not running, check the drive motor. Unplug the machine from the electrical outlet first.
- Remove the belt from the motor and check for obstructions. Clear any blockage from the blower wheel. If nothing is in the way, the motor is probably defective and should be replaced by a professional appliance technician.
What to watch out for:
If your dryer motor is bad, you may notice the dryer humming when you press the start button but the drum will not turn. Try to turn it by hand, if it won’t move, you likely need a new motor.
Drive Belt
The drive belt in a dryer wraps around the outside of the drum and is connected to a drive pulley and dryer motor. This is used to rotate the drum. Some dryers will not start if the drive belt is broken.
Replacing the drive belt is a little more complicated as it is looped onto a drive pulley, dryer motor shaft, idler pulley, and tensioner. Contact an appliance repair service for this replacement.
What to watch out for:
There are few symptoms that indicate a problem with your dryer belt—the drum won’t turn, the dryer won’t start, there is a banging or popping noise when the machine runs, you hear squealing or grinding during the drying cycle, or the dryer stops mid-cycle. Any of these issues may indicate a broken or worn belt.
Belt Switch
A belt switch attached to a belt tension pulley is used to identify if the dryer’s belt is broken. If the belt breaks, the dryer may stop suddenly in the middle of a dry cycle or not start at all.
- Not all dryers have a belt switch. Check your owner’s manual to confirm.
- If your machine has this switch, it may start but only hum. If there is no noise, use your continuity tester to see if it’s faulty. A new switch will be needed but may not be the main concern related to your dryer not starting.
What to watch out for:
On dryers that use a belt switch, you may not notice any symptoms prior to the machine not starting. The switch usually only activates if the belt is broken. If your dryer won’t start and the belt is intact, you should look at the possibility the belt switch needs replacement.
Main Control Board
It is uncommon for the main control board to fail so will likely not be the cause of your dryer not starting. If all the above parts have been ruled out, the main control board may need to be replaced. This should be done by a professional technician.
What to watch out for:
As the main control board controls every dryer function, symptoms of a damaged or malfunctioning board may vary. The appliance may stop and start at random, it may not heat enough or too much, the cycles may not run as expected or a number of other strange issues may pop up. If your dryer has been damaged during a move, has gotten wet, or had a major electrical surge, the main control board may be the problem.
Common Error Codes For a Few Dryers Brands That Won’t Start
Newer, energy-efficient dryers can help in self-diagnosing a dryer that isn’t starting with an error code. These number/letter combinations can sometimes be difficult to understand so below is a chart of some of the common error codes for this issue:
| Brand | Error Code | Dryer Starting Issue | Remedy |
| GE | 001 & 003 | Inlet thermistor temperature sensor failed | Replace sensor |
| 002 & 004 | Outlet thermistor temperature sensor failed | Replace sensor | |
| 005 | Main control board failed | Contact service | |
| 006 | Start button stuck or broken on control panel | Replace button | |
| 008 | Dryer door switch is not opening | Replace switch | |
| Kenmore Elite | PF | Power failure | Check outlet and circuit. Restart. |
| F01 | Main control board failure | Call service | |
| F02 | Keypad or user interface fail | Replace keypad | |
| F20 | Heater relay fail | Call service | |
| F22 | Outlet thermistor fault | Try to reset. If problem persists, thermistor will need to be replaced | |
| F25 | Inlet thermistor fault | Try to reset. If problem persists, replace thermistor | |
| LG | d80, d90 & d95 | Flowsense indicator | Clean exhaust filter |
| FO | Filter installed improperly | Replace filter | |
| PS | Improper voltage with the power cord | Call service | |
| CL | Child lock on | Toggle on/off | |
| tE1, tE2 & TE3 | Thermistor failure | Replace thermistor | |
| E13 | Drain hose is kinked or clogged | Clear hose and reset |
Dryer FAQs
Why does my dryer keep shutting off?
- Check for a blocked vent—hot air can’t escape, so a safety switch will turn off the dryer to prevent a fire.
- Dryer motor overheating—the thermal overload switch will trip to prevent a fire. It may restart once it cools down but the motor should be replaced.
- Door latch not closing tight—the vibration of the dryer when operating will push the door open and shut the dryer off. Replace the switch.
- Moisture sensor failure—this sensor shuts the machine off once the clothes are dry but if the part fails, it will shut the dryer off prematurely. Replace the sensor.
Why does my dryer vent have water in it?
There are a few causes for water accumulation including vent blockage, cold weather, or a damaged vent cover. Warm, moist air builds up inside your vent (especially during cold weather.) Clean out the pipe and then wrap it with insulation to reduce the temperature difference and moisture build-up. Replace a damaged vent cover so snow, rain, and debris won’t fill up and block the vent.
How can I keep my dryer running in peak condition longer?
Regular maintenance will extend the life of your dryer and save on utility bills.
- Empty the lint filter after every cycle. A blocked filter/screen will add to drying time, increase utility bills, and be a potential fire hazard.
- Clean the lint trap that houses the filter. Every few months, unplug the dryer, remove the filter, and vacuum inside the lint trap to remove lint and debris build-up.
- Wipe down the interior of your dryer once a month. This will remove residue build-up from dryer sheets and fabric softener that can clog air holes and leave stains on clothing.
- Clean the exhaust vent once a year. This will also build up and potentially become blocked. This can reduce the efficiency of your dryer and potentially cause a fire.
Look to Puls for all Your Dryer Repair Needs
How Much Does it Cost to Repair a Dryer that Isn’t Starting?
Dryer repairs at Puls start at $139 and include a full $89 inspection, which is waived when you authorize a Puls technician to do the work. We believe in fully transparent pricing which means there are no hidden fees and no surprises. We don’t do anything until you say we can.
Puls+ Membership
We understand that owning a home often means that “little” things often become “big” things with big expenses. Be prepared for anything, including a dryer that isn’t heating, by becoming a Puls+ member. Several peace-of-mind protection plans are available at low monthly fees to safeguard your budget from unexpected expenses for all home services. You’ll never worry about unexpected costly bills for repair or replacement again.
Depending on your plan, we also provide a 90-day or more guarantee on parts and labor, to ensure your machine keeps on working long after your service is complete.
We’re here to make appliance repair fast and easy. Book an appointment online now, and you’ll be one step closer to a dryer that runs like new.