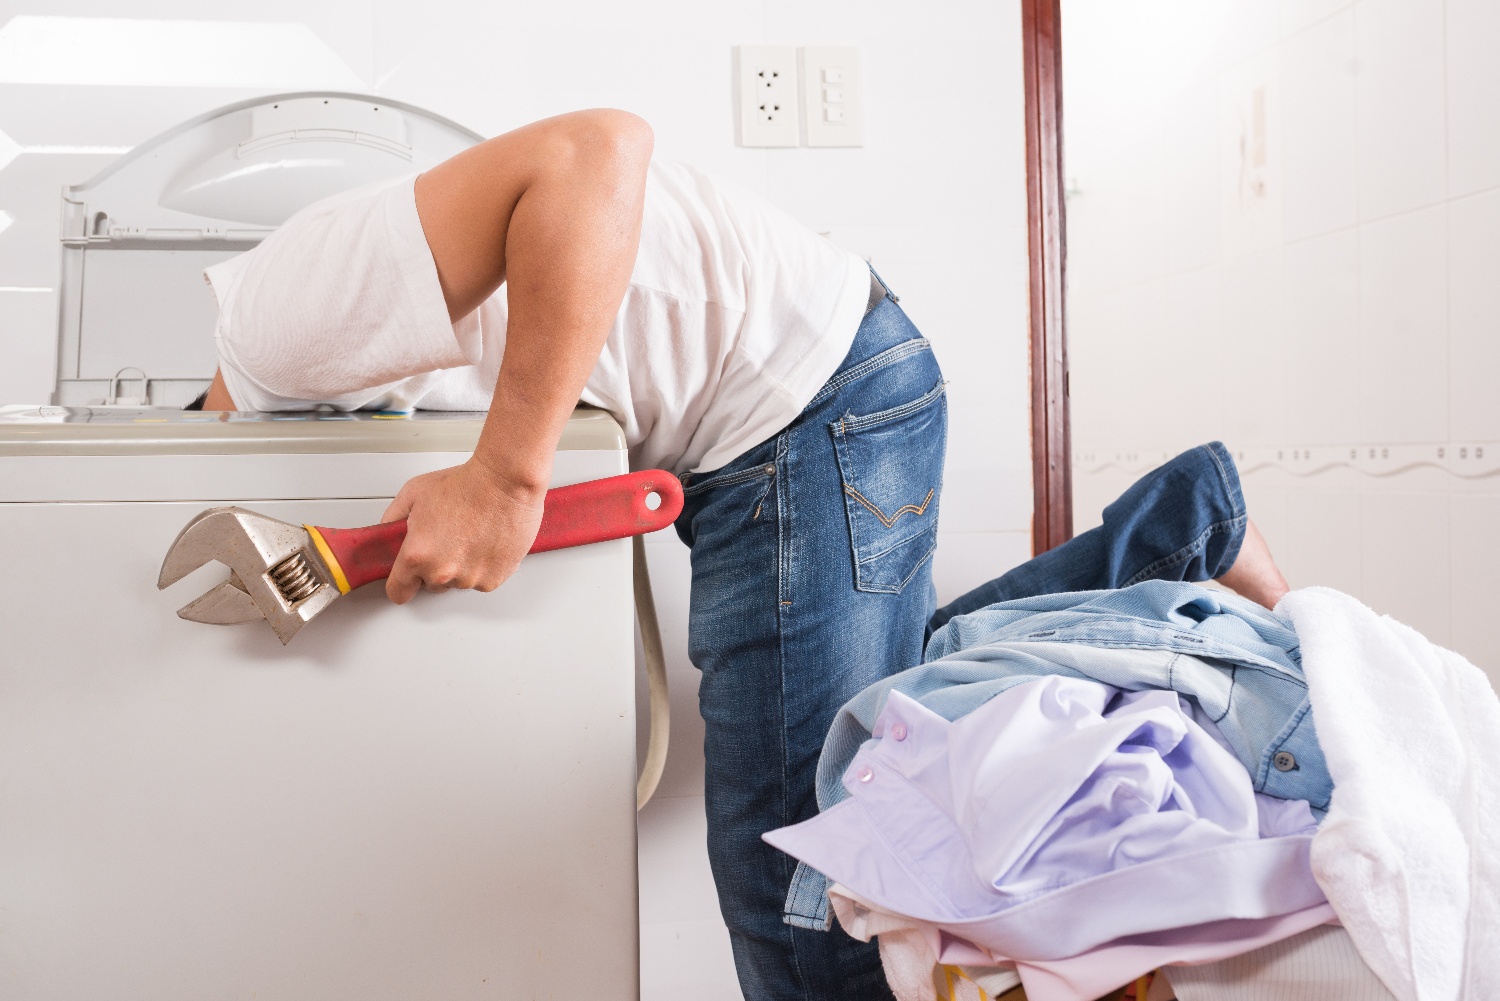
If you opened your dryer after the heat cycle and discovered that your clothes were still wet, your first reaction was probably panic. Why is your dryer not heating? Can I fix it myself or will it be a major repair expense? Am I going to have to buy a new one?
Before you start looking up laundromats, there are some common causes for why
your dryer is not heating. You may be able to diagnose the problem yourself with these simple checkpoints:
The Basics

(1) If your dryer drum is spinning, you know that the (2) power is on and the motor is working.
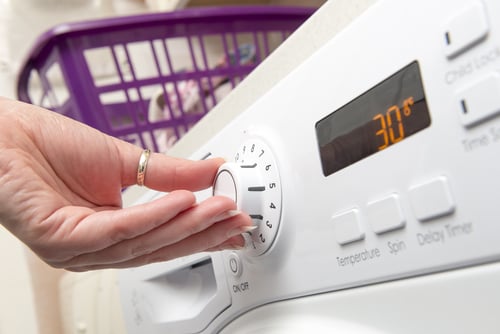
(3) Make sure the door is completely closed and (4) that it’s not set to “eco” or cool.
Once you’ve eliminated these basic issues, you can focus on the real reason your dryer
is not heating.

Dryer Vents and Lint Trap
Another reason why your dryer may not be properly heating is if the dryer vents are blocked or the lint trap is dirty. When the vents are restricted or the lint trap is full, the dryer can’t circulate air—which means your clothes won’t dry properly.
A blocked dryer vent and a full lint trap can also cause the heater circuit to malfunction
and can be a dangerous fire risk. You should clean the lint trap each time you do a new load of clothes and clean the dryer vents once a year.
Thermal Fuse

The thermal fuse is a safety device that detects the dryer temperature. If it gets too hot, the thermal fuse will trip so a fire doesn’t start. You may not notice immediately that this has happened as your dryer will still operate normally—except the heating elements will not receive power and your dryer will not heat properly.
-
You’ll need to replace the fuse. It is located near the exhaust vent.
There are some dryer models that have a fuse reset button, but you’ll likely
need a new one to restore normal heating.
When the dryer overheats, it can potentially cause the thermal fuse to blow.
If this occurs, the dryer will either not put out any heat or will not run altogether
and the part will need to be replaced. -
Before you pull out the tools, always be safe by unplugging the dryer and
removing the exhaust hose. Remove the back panel using a quarter-inch nut driver.
Take off the two wire two terminals and the screw holding the thermal fuse in place. -
Test the continuity of the thermal fuse with your multimeter by placing one probe on each of the fuse’s wire terminals. If the thermal fuse does not have continuity, then it needs to be replaced. Test the continuity of the thermal fuse with your multimeter
by placing one probe on each of the fuse’s wire terminals. If the thermal fuse
does not have continuity, then it needs to be replaced.
It is important to recognize that there is likely an underlying reason why the thermal fuse was tripped. To avoid a potential fire hazard, it’s a good idea to have your dryer evaluated by a professional service technician where they can check and repair other potential problems.
Is it Still not Working? Call an Expert
Thermostat and Temperature Switch
- Both parts can be tested with a multimeter. You’ll get a zero reading for a faulty thermostat. It will read either zero or infinity for a bad temperature switch.
- Disconnect the power source. The temperature switch is an easy process—
remove the old one and connect a new one. Replacing the thermostat is a
more complicated process. - You should be able to find the thermostat somewhere on the blower wheel
housing or inside the exhaust system. Look for an oval-shaped part that’s about
one and a half inches long. - Two wires will be attached to the thermostat. Label the wires before removing
them to ensure proper re-installation. Use needle nose pliers to remove the wires by pulling on the connectors. - Use a screwdriver to remove the two screws holding the thermostat to the dryer.
Discard the faulty part. - Install the new thermostat and reassemble the screws, wires, and other dryer parts.
If this project seems a little intimidating, you might want to contact a Puls technician for a peace-of-mind, professional dryer repair.
Timer Motor
Although not a common cause for a dryer not heating, you might have a defective timer motor.
This part controls the heating cycles by regulating the length of time each component operates.
A malfunctioning timer motor can interrupt the heat cycle and may need to be replaced.
- Disconnect the power source before conducting the timer motor test.
- Locate the timer assembly behind the control console panel. Depending on your model, you may only need to remove screws holding the panel in place or you may need to access it through the rear panel behind the control panel.
- Label the timer motor wires to properly reconnect later.
Carefully remove the wires with needle nose pliers.
Use a multimeter to test the resistance reading noted in the owner’s manual - usually between 2000 to 3000 ohms. If it differs from this range, you’ll need to replace
the timer motor (less expensive option) or the entire timer assembly. - To replace the timer motor, remove the knob from the timer’s shaft. Remove the mounting screws, discard the defective timer and replace it with the new part.
- Reconnect the control panel wires, close up the dryer, and restore power.
- Consider hiring a professional appliance repair technician if the entire timer
assembly needs to be replaced.
Heating Element/Coil
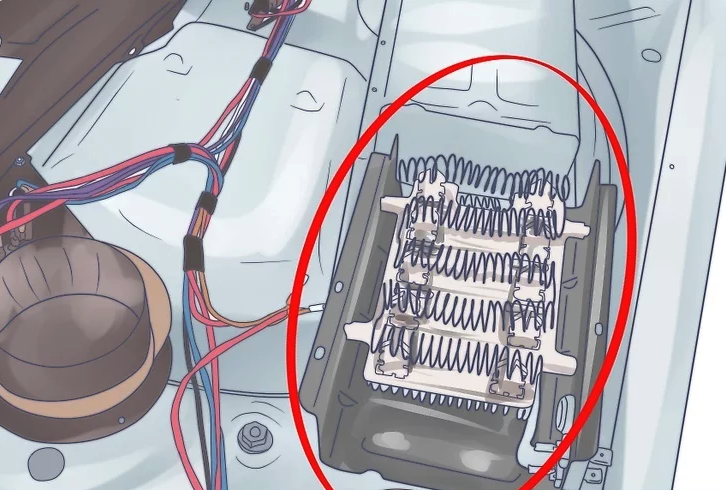 Credit: WikiHow
The heating element in a gas dryer and heating coil in an electric dryer use an uninsulated metal conductor to make the appliance heat up. If it gets too hot, it can fail and cause your dryer not to heat.
To check if your heating element is working, you will need a quarter-inch nut driver and multimeter.
- Unplug the dryer and remove the exhaust hose. Remove the back panel using the quarter-inch nut driver and locate the long metal housing where the heating
element is inside. - Remove the thermostat from the housing, careful to keep all of the nuts and screws
in a safe place for reinstallation. Unscrew all of the screws holding up the housing
and then slide the housing panel down to take out the heating element. - Turn the heating panel upside down to expose the coils.
Grab your multimeter and test it for continuity. Touch each meter probe to
the dryer’s heating element.
If the multimeter reads infinite resistance, the heating element no longer works and
will need to be replaced with a new one.
Replace a Blown Thermal Fuse
To learn more about other common dryer problems and how to correct them, view this informative Puls video.
Can’t Figure it Out? Don’t Do it Alone
Not sure why your dryer isn’t heating? Don’t go out to the appliance store and buy another dryer yet. Puls technicians are highly skilled and trained to fix issues with your appliances quickly.
How Much Does it Cost to Repair a Dryer that
Isn’t Heating?
While you may be concerned that calling in a pro to fix your dryer will max out your budget,
Puls is prepared to ease your mind. Dryer repairs start at $139 and include a full $89 inspection,
which is waived when you authorize a Puls technician to do the work. We believe in fully transparent pricing which means there are no hidden fees and no surprises.
We don’t do anything until you say we can.
Puls+ Membership
We understand that owning a home often means that “little” things often become “big” things
with big expenses. Be prepared for anything, including a dryer that isn’t heating,
by becoming a Puls+ member.
Several peace-of-mind protection plans are available at low monthly fees to safeguard
your budget from unexpected expenses for all home services.
You’ll never worry about unexpected costly bills for repair or replacement again.
Best of all, you won’t have to wait too long to get it fixed.
Our technicians are able to get to your house even the same day you book the appointment, which means you’ll be able to tackle that large stack of clothes sooner than you thought.
Our work comes with a minimum 90-day guarantee on all parts and labor.
Schedule service with our convenient online appointment system—meaning you can choose a time that fits your schedule and that you can get back to your life sooner.
Schedule your appointment now to get your dryer heating again in no time.