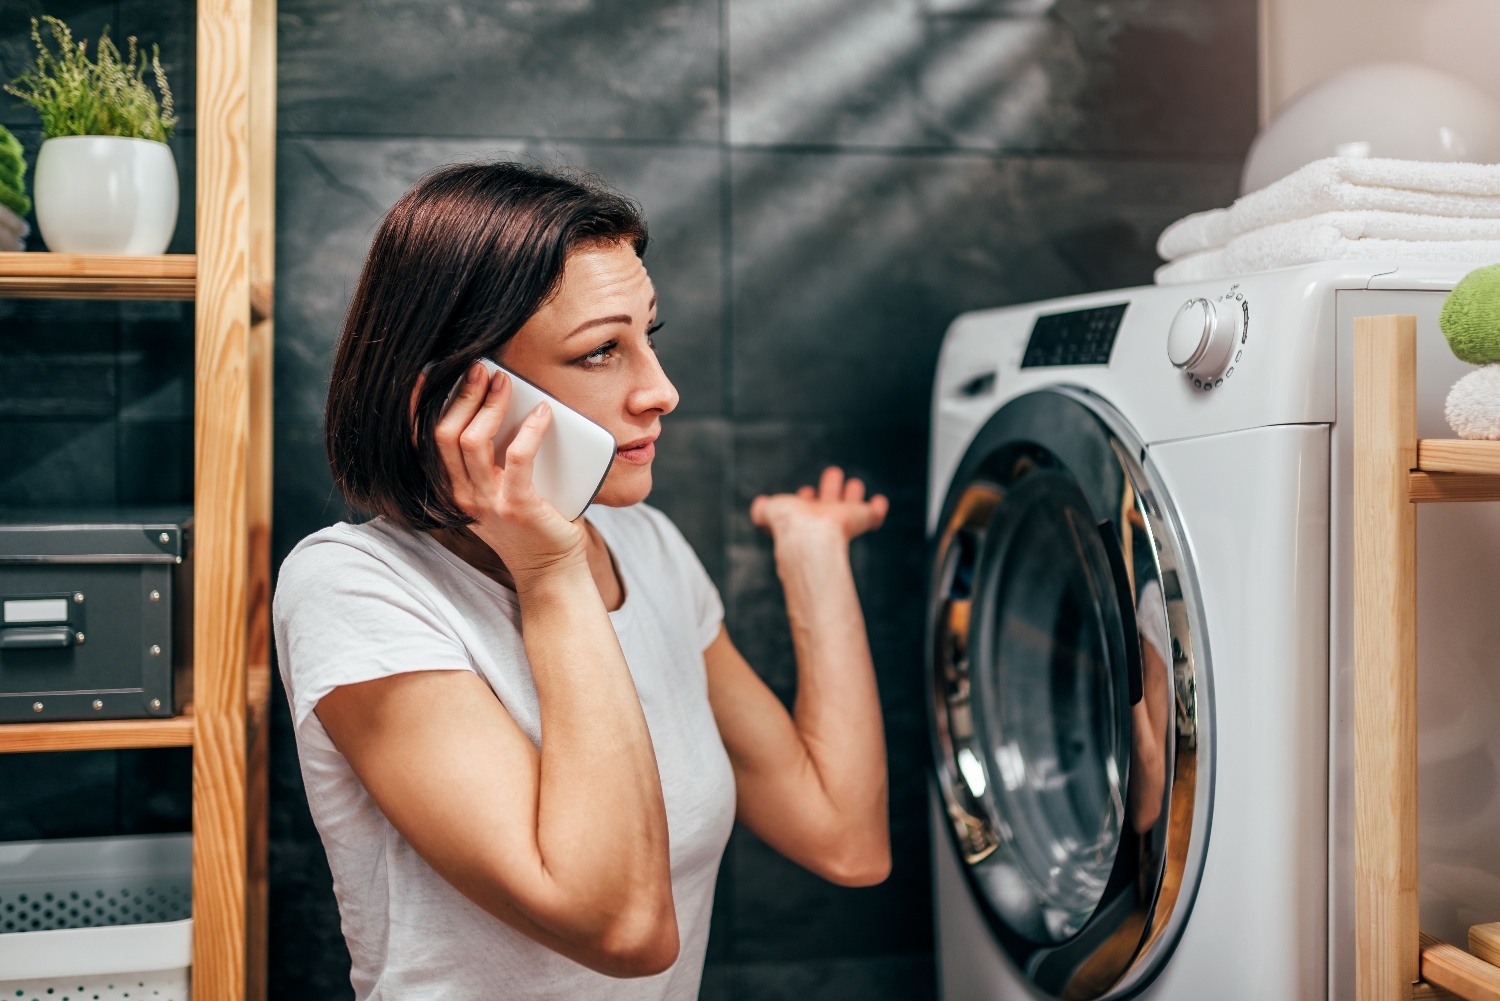
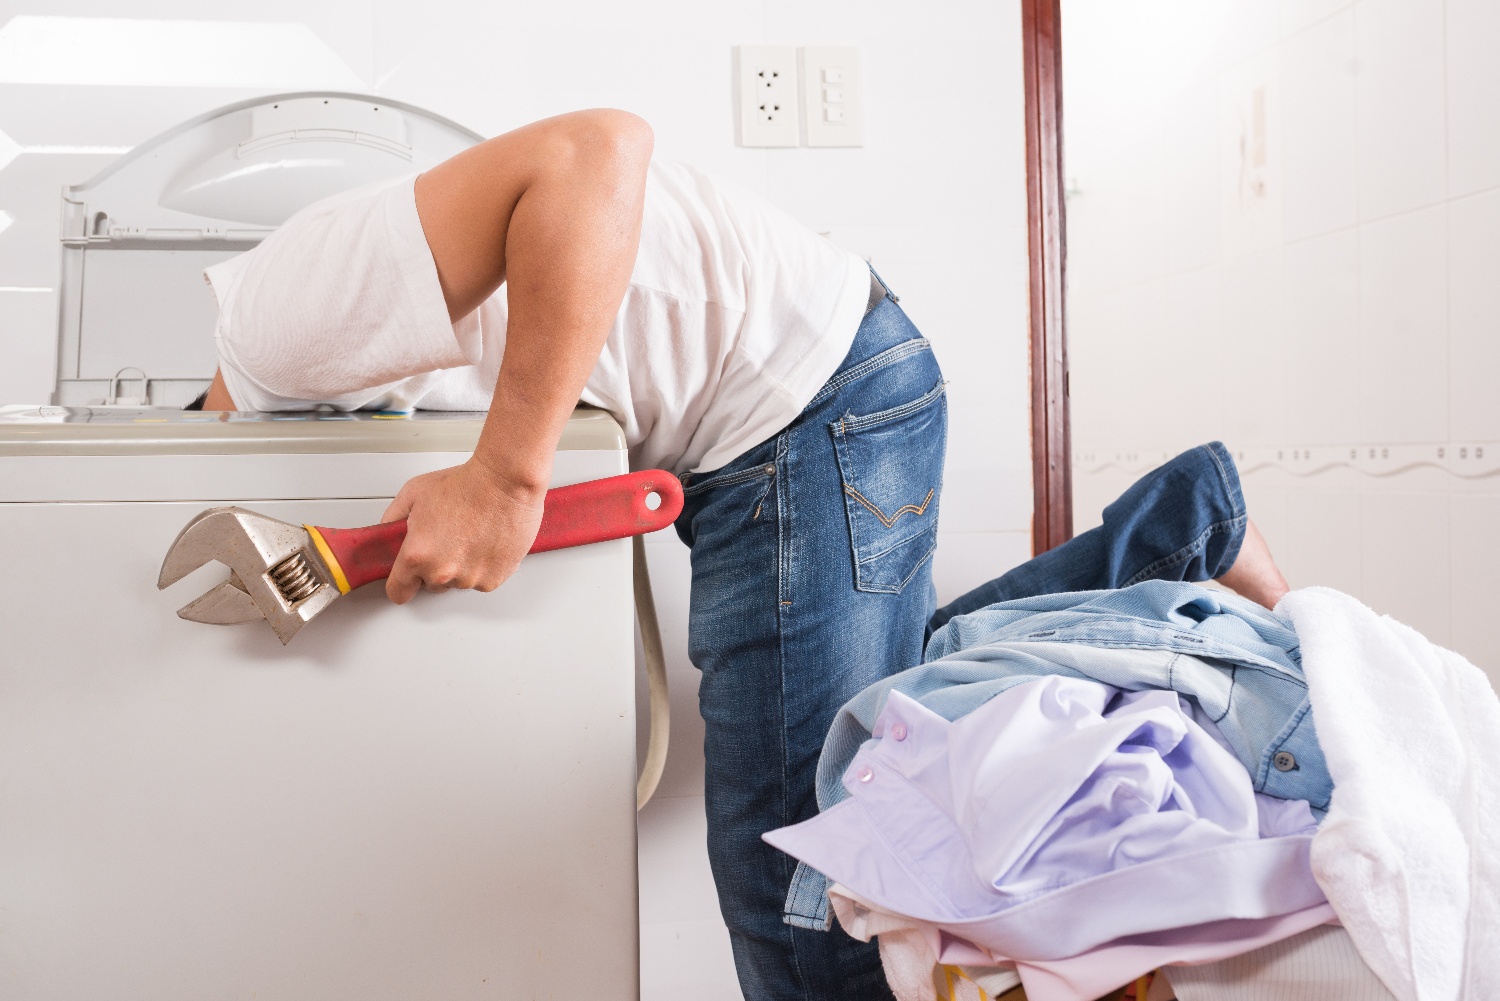
It’s hard to imagine what life used to look like without the convenience of appliances until one of yours breaks down and temporarily throws your routine for a loop. When the dryer breaks down it can be especially frustrating, as it’s easily one of the most-used appliances in our whole arsenal.
If your dryer has suddenly stopped working, there could be a variety of explanations—from user error to a full-on mechanical meltdown. Has your dryer got you stumped? Read on for the top five reasons why your dryer isn’t working, as well as step-by-step directions on how to fix the problem.

1. The Dryer Isn’t Connected to Electrical Power
 We know, we know—it’s obvious, but we have to say it. If your dryer isn’t working, the first thing you should check is whether or not the dryer is connected to electrical power.
Sometimes the power cord could get knocked out of place by a foreign object (or perhaps a pet or a kid who shouldn’t have been playing around the dryer). As such, be sure to check to see that the power cord is fully plugged into the outlet.
Another possibility is that the circuit breakers aren’t in the right position. Head to your circuit breaker panel and check that both breakers required to power the dryer are both turned on.
2. There is a Blown Thermal Fuse
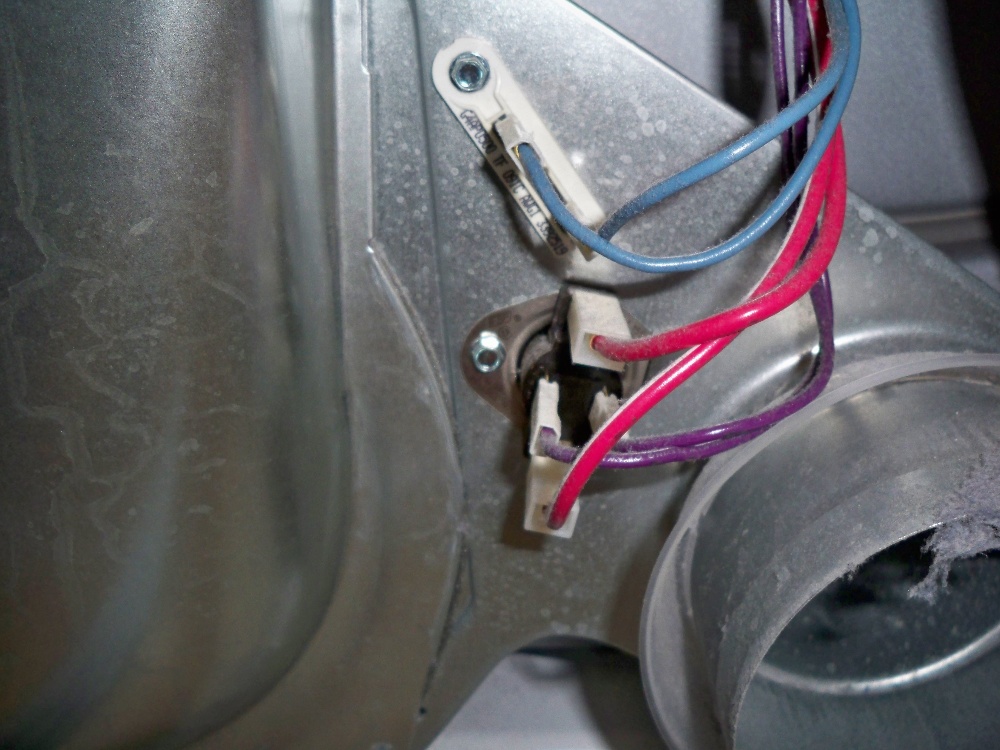 Credit: appliancerepairlessons.com
The thermal fuse is a part that is entirely designed for safety reasons. When the dryer drum overheats, the thermal fuse will blow—signaling to the rest of the dryer to not run.
If a thermal fuse has blown, it cannot be repaired and will need to be replaced before the dryer will run properly again.
To see if the thermal fuse has blown, you’ll need to remove it from the back panel and test it for continuity. Grab a quarter-inch nut driver and a multimeter, unplug the dryer and remove the exhaust hose before you get started on this project.
Remove the back panel with the quarter-inch nut driver and then take off the two wire terminals and screws that hold the thermal fuse in place.
Place one probe of your multimeter on each of the thermal fuse’s wire terminals to test for continuity. If the multimeter does not read that there is continuity, the thermal fuse will need to be replaced.
3. The Door Isn’t Fully Latched
Your dryer will only start tumbling if it’s fully latched, which is controlled by a piece called the dryer switch. If you are closing the door fully and the dryer still isn’t starting up, it’s possible that you have a faulty dryer switch—an easily replaceable part.
Your dryer switch is located around the door opening in the front panel, although this will largely depend on the dryer model you have (refer to your manual if you have any questions).
To replace, first unplug the dryer from power and remove the exhaust hose before you begin any work.
Then, disconnect the locking tabs for the dryer switch on the wire harness (a plastic connector piece) and unscrew the screws holding it in place with a Phillips-Head, careful to hold onto the part so that it doesn’t fall down into the dryer.
To install your new dryer switch, line up the part with the screw holes (tabs facing forward) and re-insert the screws, careful not to tighten too much. Reconnect the wire harness, plug the dryer back into the wall and to the exhaust hose and test it out.
4. The Dryer Push-to-start Switch Is Failing
Another reason why your dryer won't start is if the push-to-start switch isn’t functioning properly. This switch (located at the back panel of the dryer) when working, sends an electrical signal to the motor to begin tumbling the drum, but it’s an easy part to replace if it’s started to fail.
To replace the switch, first unplug the dryer and disconnect it from the exhaust hose. Remove the knob that controls the start function by pulling it straight up and then off of the front.
Get access to the back panel by removing the screw with a quarter-inch nut driver and then remove the wires that are attached to the push-to-start switch (this should correlate to where the knob is located on the front).
Remove the push-to-start switch on the back panel by releasing the locking tab as you pull it out. Install your new push-to-start switch by pushing it into the back panel and then reconnecting the wires.
Lastly, push the control knob back in. Reconnect the dryer to power and test.
5. The Motor is Broken
 A motor controls the tumbling of a dryer and the dryer’s blower, so if the motor is out, there’s a certainty that the dryer won’t run. You can tell that a motor has gone bad if you have recently heard some loud humming noises coming out of the dryer or other strange noises.
If you have tried many other fixes and your dryer is still not working, call a professional to see if the motor could be the problem.
Can’t Figure It Out? Call a Puls Technician
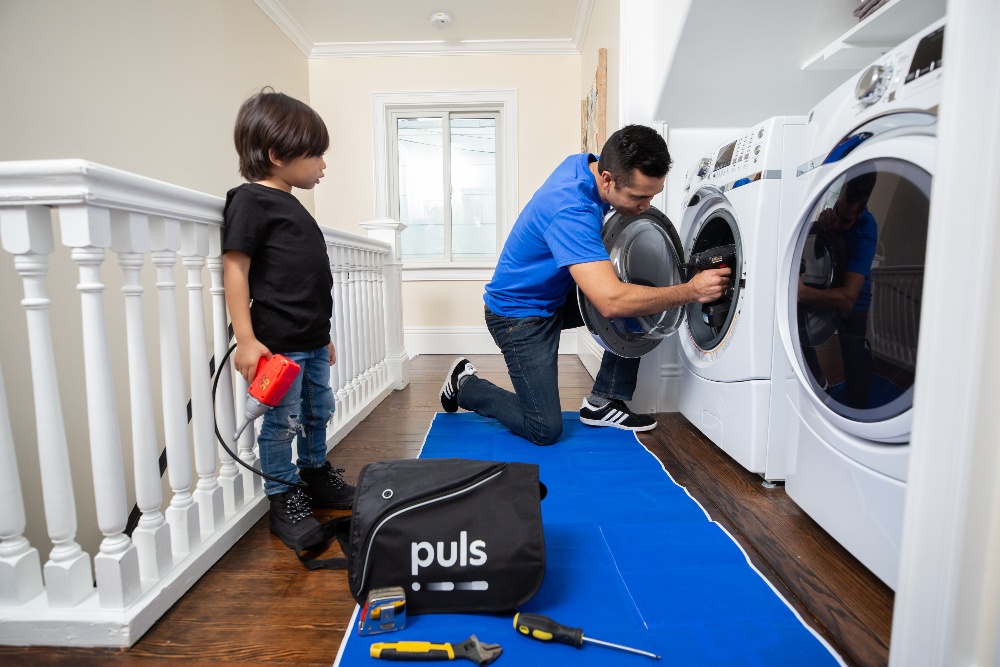
Can’t determine what’s wrong with the dryer? It might be time to call in a professional.
An expert Puls technician can arrive at your house within as early as the same day you book an appointment, and scheduling a service just takes a few seconds on our easy online platform.
All of our work comes with a 90-day guarantee on all parts and labor, so we’ll be sure to be right back at your place if something comes up with your dryer. You can also click here to get 5% off your first service with us.
Don’t wait until that laundry pile grows—schedule an appointment with a Puls representative today. You’ll be glad you did.