
Having a broken dryer can be a real wet blanket (yes, pun intended) – but if you’re of a DIY mindset, it can take a load off if you’re able to figure out what’s wrong with your dryer on your own. Fortunately, we’re here to help you isolate and solve many common problems with our dryer troubleshooting guide, so you’re not left feeling high and dry.
Read on for our helpful tips on how to figure out what’s wrong with your dryer.
Note: Attempting to fix an electrical appliance can not only be hazardous, it can also cause harm to the machine. If you’re in doubt as to whether you can safely or effectively perform a repair, it’s best to call an experienced professional.

Problem: The Dryer Runs But the Clothes Don’t Dry
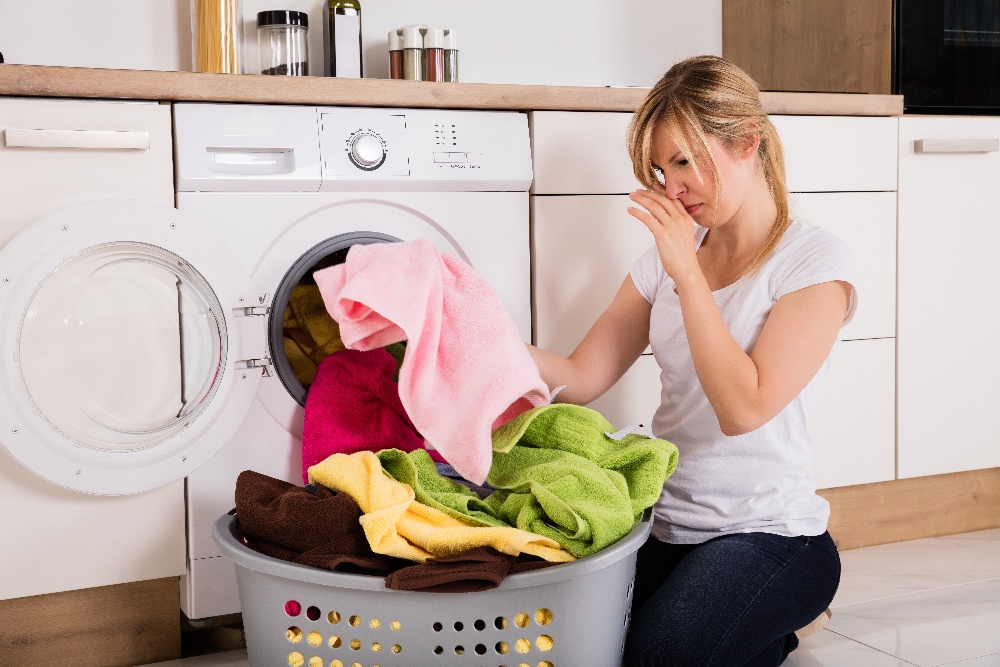 It’s natural for dryer parts to wear out over time, but overloading your machine or blocked ventilation – either due to a clogged lint trap or blocked ventilation duct – can speed that process up significantly. If your dryer runs but the clothes don’t dry, especially if they do get warm, there’s a good chance that a broken heating element is to blame. The heating element can be replaced if you find the right model number and purchase a replacement at a local hardware store or online.
Solution: Replacing a Broken Dryer Heating Element
What you’ll need: a flat-head screwdriver and a 1/4” socket wrench.
-
Unplug the dryer.
-
Remove the exhaust hose, unscrew and remove the back panel, and locate the metal housing that contains the heating element.
-
Unscrew the two black sensors – they’re round and about quarter-sized – and disconnect the two wires under the bottom sensor.
-
Lift up the gray casing and turn it around. In the back is the heating element. Unscrew it and examine it to see if any of the coils are broken. A broken coil is likely the problem.
-
Unscrew, remove, and replace the broken heating element, and reassemble the dryer in the reverse order as above.
Solution: Replacing a Broken Dryer Heating Element
Just like a dirty lint trap, a clogged dryer ventilation duct can be a fire hazard, in addition to preventing your clothes from fully drying. Our dryer troubleshooting tip: clean the ventilation duct for dryer clothes, and perform an essential safety function while you’re at it.
-
Find out where the duct begins and ends. Your dryer should have a round vent opening in the back of it, which connects to the wall via an aluminum or plastic tube. The dryer exhaust goes through a vent in the wall, and out through an exit vent in your home’s outer wall.
-
Pull the dryer back from the wall safely – if it’s electric, simply unplug it, but if it’s a gas dryer, be careful of the gas line. If you suspect a possible gas leak at any time, call a professional.
-
Disconnect the aluminum or plastic pipe and access the vent.
-
Clean it thoroughly. There are specialized vent cleaning brushes which are quite effective and speed up the process, or you can improvise and make your own cleaning brush. Bear in mind that you’ll want something flexible, similar to a plumber’s snake, which can navigate the duct. You’ll also want to gauge the distance of your duct’s path through the wall to the outside – it can be 10, 15, or even 20 feet long. And, of course, attach a brush to the end of it to pick up the dirt and lint.
-
After a thorough cleaning, reassemble and enjoy your quickly-dried laundry once again.
Solution: Clean the Ventilation Duct
-1.jpg?width=300&name=Image%20from%20iOS%20(42)-1.jpg) The thermal fuse is a safety feature – much like a regular electrical fuse that you might find in a fuse box – designed to trip and shut the dryer off in case it overheats. And, like other fuses, it only works once – after that, it needs to be replaced for your dryer to work properly.
The thermal fuse is a safety feature – much like a regular electrical fuse that you might find in a fuse box – designed to trip and shut the dryer off in case it overheats. And, like other fuses, it only works once – after that, it needs to be replaced for your dryer to work properly.
If your dryer isn’t running, or if it runs but your clothes are still coming out cold and clammy, there’s a good chance you need to replace the thermal fuse.
Solution: Replacing the Thermal Fuse
What you’ll need: a flat head screwdriver and a 1/4” socket wrench, as well as a new thermal fuse ordered online or purchased from a local hardware store.
-
Unplug your dryer.
-
Locate your thermal fuse – the location of the thermal fuse should be in your dryer’s manual, but if you don’t have it on hand, you can usually find the thermal fuse on the exhaust duct once you remove the back panel or the kick panel. Simply unscrew the back panel or use the flat head screwdriver to pry open the kick panel. The thermal fuse is a small device 1” to 2” long, and has two wires connected to it.
-
Test the fuse. To make sure that the thermal fuse is indeed the issue, you can test it by briefly taping the two wires together with some electrical tape to bypass the fuse. If your dryer runs hot after bypassing the fuse, you can be sure that a replacement fuse will fix the issue. Note that this is only safe for a brief test, but not as a long-term solution.
-
Swap out the fuses. Disconnect the wires and use the 1/4” socket to remove the old thermal fuse. Attach the new fuse to the housing, tightening it with the socket, and reattach the wires – it doesn’t matter which wire goes into which terminal.
-
Reassemble the dryer panel.
We Can Fix your Dryer, Starting from $99
-1.jpg?width=1000&name=20181204-Puls-0175%20(2)-1.jpg) Whether your dryer won't start, you can’t figure out what’s wrong with your dryer, or if you just don’t have the time in your schedule for DIY dryer repair, Puls is always there to come fix your dryer in a flash. You can book the time slot that’s best for you online in just moments, and a technician can usually come check out your dryer within as soon as the very same day.
Whether your dryer won't start, you can’t figure out what’s wrong with your dryer, or if you just don’t have the time in your schedule for DIY dryer repair, Puls is always there to come fix your dryer in a flash. You can book the time slot that’s best for you online in just moments, and a technician can usually come check out your dryer within as soon as the very same day.
Plus, if you choose to go ahead with a repair, we will throw in our $79 comprehensive diagnostic for free. Visit our website today and you can save 5% off your first service with us.
We fix washers, dryers, refrigerators, ovens, and more. And with our 90-day guarantee on parts and labor, you can be sure the job is being done right.
So, what are you waiting for? Book an appointment now to have a certified Puls technician wash (and dry) all your problems away in no time.

