
There are a multitude of reasons why an iPhone 7 or 7 Plus won’t turn on – but don’t worry, there’s a good chance we’ve got a solution for you!
In general, iPhone 7 problems stem from a failure of either the hardware or the software. Fortunately, it’s often the latter. If you have an iPhone 7 or 7 Plus software issue, a few simple steps can help narrow down and solve the problem.
So, how do you determine why your iPhone 7 won’t turn on? Read on to find out.

iPhone 7 software crash – try a forced restart

This is always our first go-to move when trying to revive a lifeless iPhone. If your screen is black or the display if frozen, a forced restart can provide a seemingly miraculous solution. To force restart an iPhone 7, press and hold both the Side and Volume Down buttons simultaneously for at least 10 seconds, until the Apple logo appears.
If the forced restart works, then your phone probably experienced a software crash. In this case, we’d recommend backing up your data now. You can find out just how to do this on our post dedicated to data recovery.
This is because if the software on your phone isn’t stable, it can lead to further complications down the line – though we think it’s always best to back up your data regularly anyway. With your data safely backed up, you’ll now be able to update your software and hopefully nip the problem in the bud. To learn how to update your software, skip ahead to the Recovery/Factory Restore sections.
Power up

Photo Credit: iClarified
If the forced restart didn’t do the trick, it’s a good idea to plug your phone in for at least an hour to let it power up. An exhausted battery can lead to some finicky behavior sometimes, and a quick boost can get things running smoothly again.
But before you go on to other business while letting your phone charge, make sure that the connection is good. First, wait a few minutes to see if the battery charging screen appears. If it does, just let your iPhone 7 charge for a while. If you don’t see that charging screen, though, it’s time for a few more steps.
Swap out the charger and cable and try a different set – it’s possible that the power source isn’t working. You can also try to clear out any debris from inside your phone’s lightning port that may be inhibiting the connection.
Finally, on occasion a phone will charge only via a laptop, not through a wall charger. While this is indicative of a larger problem, connecting your iPhone 7 to a laptop could at least provide a temporary solution to your power issue.
iPhone 7 loop disease
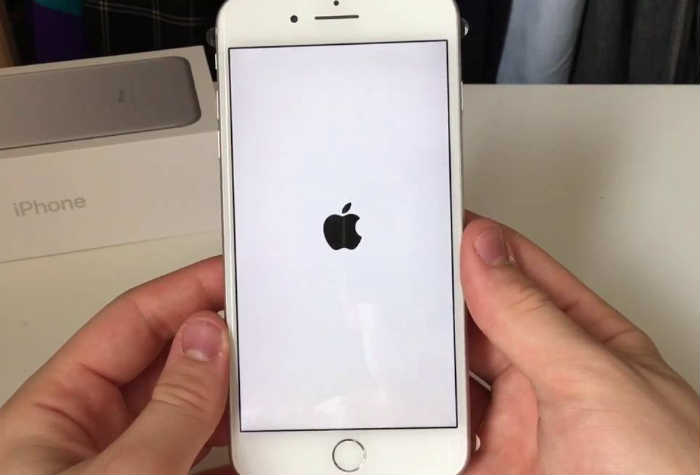
Photo Credit: ikream
If your iPhone 7 is freezing, or has a grayed-out voice memo icon – or speaker icon, during phone calls – your phone may be suffering from a hardware issue called iPhone 7 loop disease.
As the condition progresses, users have reported getting stuck on the Apple logo during startup – hence the name. Many experts believe that loop disease stems from a loosening of a chip, similar to that of the iPhone 6 touch disease.
For solutions relating to iPhone 7 loop disease, check out our blog post on the subject here.
Liquid damage

If your phone is suffering from liquid damage, you probably already know it – simply think back to whether or not your phone was exposed to liquid enough to damage it. But whether a friend borrowed your phone and didn’t mention the little soda spill they may have done, or if you simply didn’t notice it as it happened, it’s possible that liquid damage can be preventing your phone from turning on.
If you do suspect liquid damage as the issue, time is an important factor. Furthermore, it’s important that you don’t try to turn your phone on again – the electricity and liquid could cause some circuits to short.
We’ve got a great guide for phones suffering from water damage here (hint: skip the rice – and the chopsticks, too!).
iPhone 7 recovery mode
If you’re getting stuck at startup – some users have reported seeing either a red or blue screen, or freezing of the white Apple logo – you can connect your phone to a computer and launch it into recovery mode.
From there, you can update your iOS – hopefully without losing any of your data, though ideally, you’ve already performed a data backup by now. First, connect your iPhone to your computer and open iTunes.
When your phone is connected to iTunes, hold down the Side and Volume Down buttons at the same time. Keep them pressed even after the Apple logo appears, until you see the Recovery mode screen.
When the Recovery mode screen pops up, you can let go. It’ll then ask you whether you want to update or restore. Select update, and iTunes will reinstall your iOS.
iPhone 7 factory restore

You'll need a PC or MacBook to enter iPhone 7 Recovery or DFU Mode.
This is a “deeper” sort of restore than the recovery mode version listed above – and you must be sure to backup your data before proceeding. Also called a Direct Firmware Update, or DFU, the factory restore will do just that – restore your iPhone 7 to the way it was when it rolled off the factory line.
To perform an iPhone 7 factory restore, follow similar steps as above: Connect your iPhone 7 to a computer – it doesn’t matter if the phone is on or off at this point. Hold the Side and Volume Down buttons simultaneously for 8 seconds.
Now, after 8 seconds, release only the Side button, while continuing to hold the Volume Down button. You should see a message that says, “iTunes has detected an iPhone in recovery mode.”
You can now let go of the Volume Down button. If performed correctly, your iPhone 7’s screen should be completely black. You can then restore your phone via iTunes.
You can count on Puls
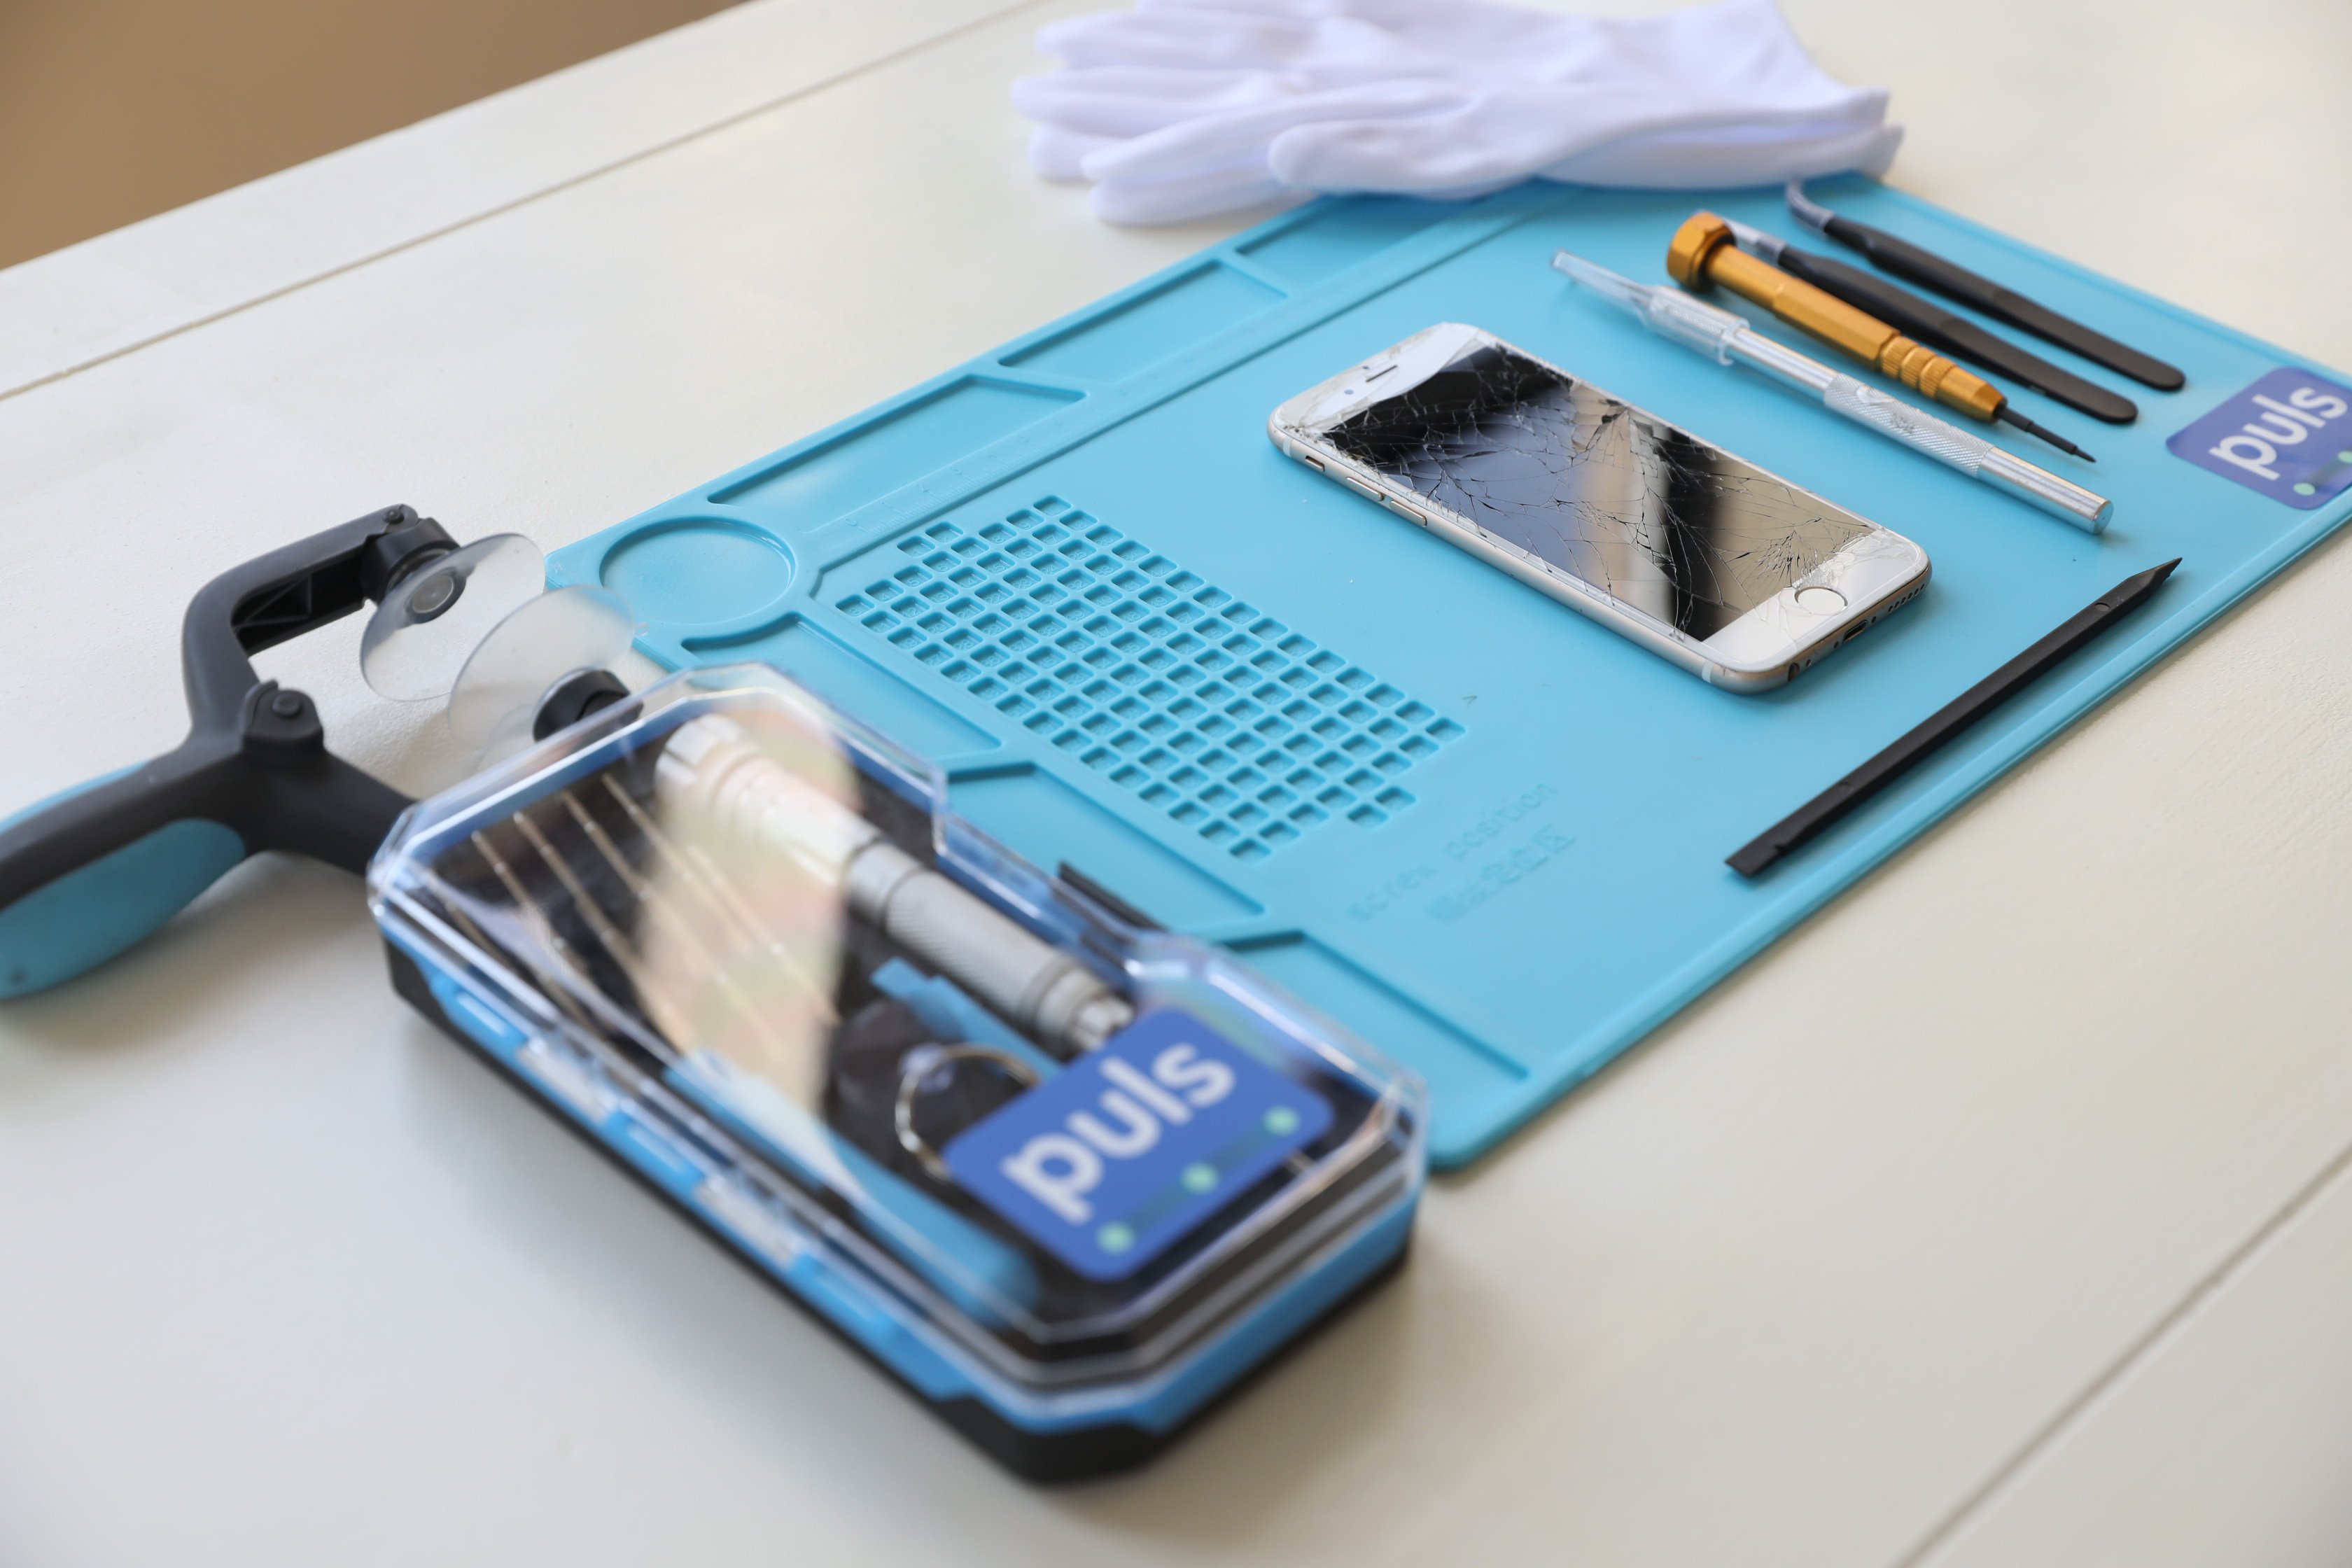
If none of these troubleshooting tips work for you, it may be time to call in the big guns. Don’t worry, Puls makes this easier than ever. Simply hop online and book an appointment with a certified Puls technician.
We’ll be happy to visit you at the time and place of your choice – be it at home, the office, or even the gym! And, of course, all parts and services rendered by Puls are covered by our lifetime guarantee. Click here to get $10 off your first service with us.

