
Because a garage door opener is a complicated creature, there’s a lot that can possibly go wrong. Not only are there many different types of garage doors and garage door openers, but these are actually very complicated devices. Despite its name, your garage door opener is actually a series of different systems connected together.
Fortunately, much of the time these fixes can be performed yourself, if you’ve got the right tools and are comfortable getting up on a ladder. But there are some cases where it's much safer and wiser to call a professional.
Whether your garage door won’t open or close properly, makes a strange noise, or won’t respond at all, you can follow this step-by-step guide on how to diagnose a garage door issue to isolate and potentially fix the problem on your own.
Power Up
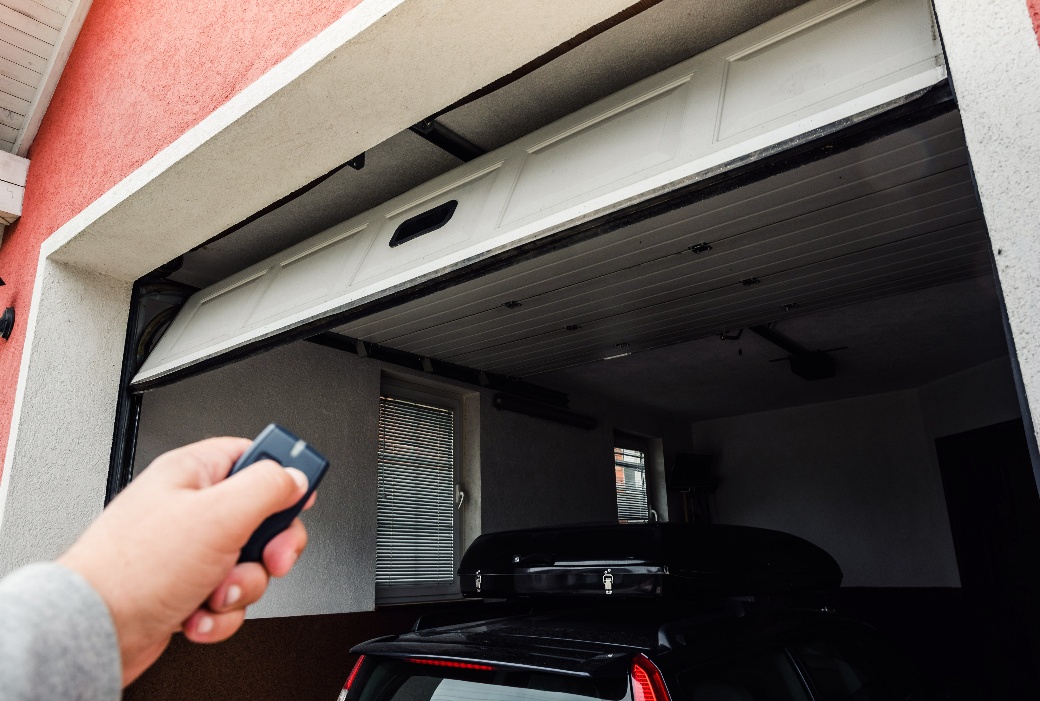
.jpg?width=1000&name=garage%20door%20puls%20guy%20(1).jpg) The first thing you want to do if your garage door opener is unresponsive, is to check that it’s receiving power. Have a look at the LED lights on the motor unit, safety sensors, and wall panel to see if they’re powered up. If not, unplug the motor and check your circuit breaker – if it blew a fuse, flip the switch and plug the motor unit back in.
The first thing you want to do if your garage door opener is unresponsive, is to check that it’s receiving power. Have a look at the LED lights on the motor unit, safety sensors, and wall panel to see if they’re powered up. If not, unplug the motor and check your circuit breaker – if it blew a fuse, flip the switch and plug the motor unit back in.
Unlock It
 It’s possible that the lock may be engaged – this is a safety feature that’s easily turned on and off, and prevents the remote or keypad from opening or closing the garage door. To see if the garage door is locked, have a look at the green LED light on the wall-mounted garage door opener button. This light may be located beneath the plastic button, requiring you to pop the button off with a screwdriver.
If the green button is blinking, the garage door is locked. Simply hold down the “lock” button for a couple of seconds until the green light stops blinking, then try your remote or keypad again.

Over Sensitive
 Photo Credit: WikiHow
Your garage door safety sensors perform an important function – they stop the garage door from closing on people, pets, and important things such as your car. But they are also easily knocked out of alignment, giving them the false impression that something is in the way.
There are two sensors – one sending a beam of light, the other receiving it. Check each one to see if the LED light is on or off. If it’s not shining, the sensor thinks that something is in the way, meaning it’s either misaligned or blocked. Make sure the two sensors are lined up properly, and that no cobwebs, dust, or other debris are blocking them.
If everything seems okay there, check the wire all the way up to ensure it hasn’t been damaged or severed along the way. If your garage door doesn’t close and the light on the motor blinks, it means the sensor detects something blocking the way.
You can override this (after making sure it’s safe to close the garage) by pressing and holding the wall-mounted garage door button. If your garage door closes properly and you’re certain there’s nothing blocking the sensors, then it could mean the sensor itself has a problem.
Remote Control
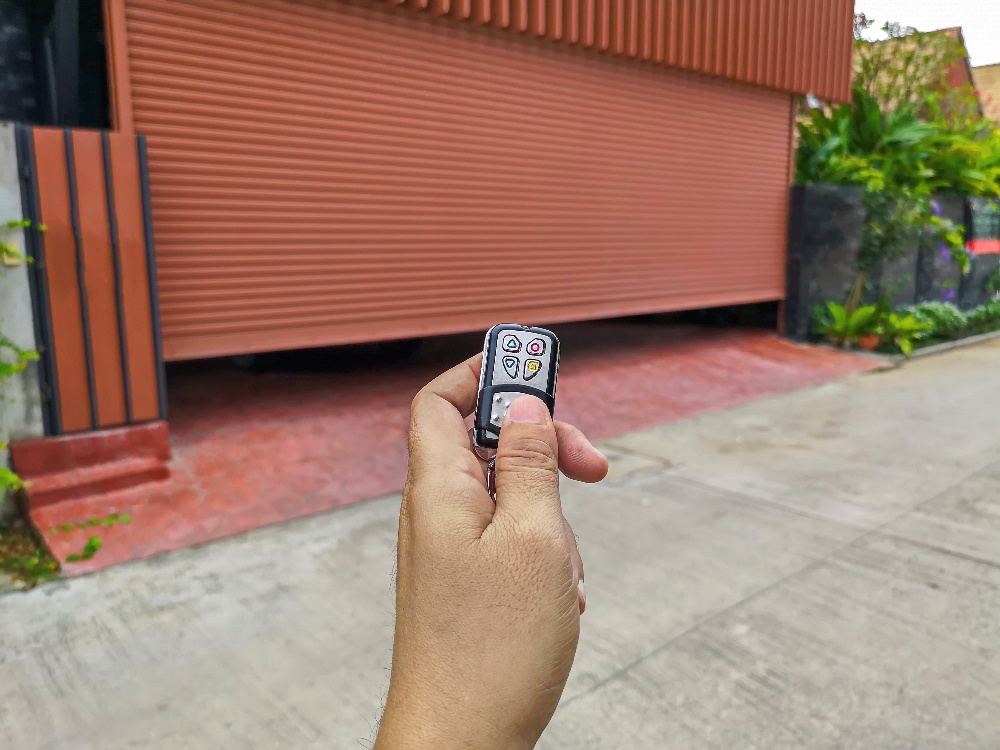
 Often times, a garage door issue boils down to the remote control – and more often than not, fixing the remote is as simple as replacing the battery. If replacing the battery doesn’t work, you can hop up on a ladder and press and hold the “learn” button on the motor unit.
Your garage door opener will look for a new remote signal – press the button on your remote so the opener can pick it up – and then the opener will store the new code. Note that this will reset all the remotes that work with your garage door opener, so you’ll have to press the button on each if you have two or three remotes.
You can also check for radio frequency interference – LED lights sometimes used in garden lighting or home security lighting, as well as video game consoles, can create radio interference that will stop the opener from working.
If you have any of these devices, the garage door remote may only work when they’re not in operation. The solutions are somewhat limited – there are antennas available online which could boost the remote signal, or you could switch the type of light bulbs to ones that do not cause radio frequency interference.
Keypad
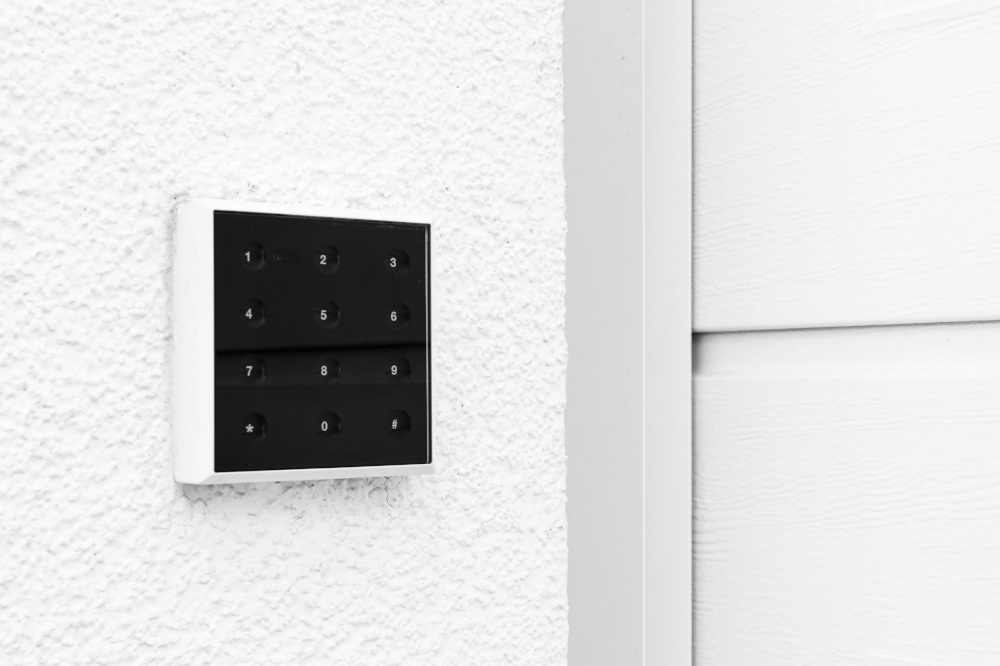 You can also check the wall-mounted keypad battery – despite its location on the wall, it’s easy to forget that it is indeed battery operated. If replacing the battery doesn’t do the trick, you can also try reprogramming the keypad by following the instructions on the keypad door or located in the user manual.
Back on Track
.jpg?width=727&name=garage%20door%20puls%202%20(1).jpg) The roller tracks on the sides of your garage door should be straight and clear of any obstructions. If the tracks are crooked or blocked, the garage door opener will struggle when opening or closing the door.
The roller tracks on the sides of your garage door should be straight and clear of any obstructions. If the tracks are crooked or blocked, the garage door opener will struggle when opening or closing the door.
You can also make sure the track is well-lubricated by applying a non-permeable garage door lubricant. WD-40 is great for a lot of things, but in this case, it’s not your friend. Opt for a lubricant designed specifically for garage doors to maximize efficiency and prevent leakage and mess.
Get Your Motor Running
There are several things to check in your garage motor unit – but first things first: be sure to unplug the unit so you don’t get an electric shock.
Open the back of the motor unit with a screwdriver or socket. Bear in mind that the screws on different parts of the cover may be different sizes, so keep them organized for when you replace the cover.
Once the motor cover is open, check the antenna wire hanging down from the green logic board to make sure it’s securely attached. If it’s coming off the logic board, you’ll want to re-solder it securely. If you’re concerned that your remote signal isn’t strong enough, you can also solder a thicker wire on in its place.
Check the connection joints on the logic board and see if everything is connected securely. Re-solder any loose connections.
The capacitor is a white cylindrical piece that works a little bit like a battery – this is a component that commonly fails on an array of electronics, garage door openers included. If you garage door opener is struggling to get the job done, it’s possible that the capacitor is responsible.
Often times, a faulty capacitor will be bulging or leaking, just like a bad battery, but sometimes there’s no outward sign that the capacitor has failed. While you can spring for a capacitor tester, it’s actually cheaper just to buy a new capacitor. So if you won’t be using the tester often, it’s probably best to simply check your model number and order a new capacitor online.
You also want to check out the controller wires going into the garage door motor to see that they’re securely connected. The controller wires are the ones that look a bit like the wires on an old stereo system – with the copper hanging out, and a plastic release button. Check to make sure that the wires haven’t slipped out or corroded.
Get in Gear
If you find a lot of what appear to be black plastic crumbs on top of the gears in your motor unit, it’s a sign of wear on the chain and sprocket located above. (A small amount isn’t cause for concern, however.)
The black crumbs can come from regular wear and tear, but they can also come as a result of your chain being too tight. You do want a bit of slack on the chain, though definitely not so much that it makes a clanging noise when it moves.
Have a look at the gears and sprocket. If the chain is drooping, it’s possible that it was wound too tight and the sprocket on top of the motor unit has snapped or cracked. Check inside the unit to see that the gears aren’t stripped and are in good working order. If you need new gears or the sprocket is broken, they are sold together as a unit and should be entirely replaced.
Get Balanced
 To check that your torsion spring is properly balanced, first close the garage door and engage the release by pulling on the brightly-colored cord above. Make sure that the garage door is fully closed when you pull the release in order to prevent it from crashing down and causing damage or injury.
Once the door is closed and the release is pulled, lift the garage door halfway. If the spring is properly balanced, lifting the door open shouldn’t require too much effort, and the door should remain in the halfway open position, without starting to sag down.
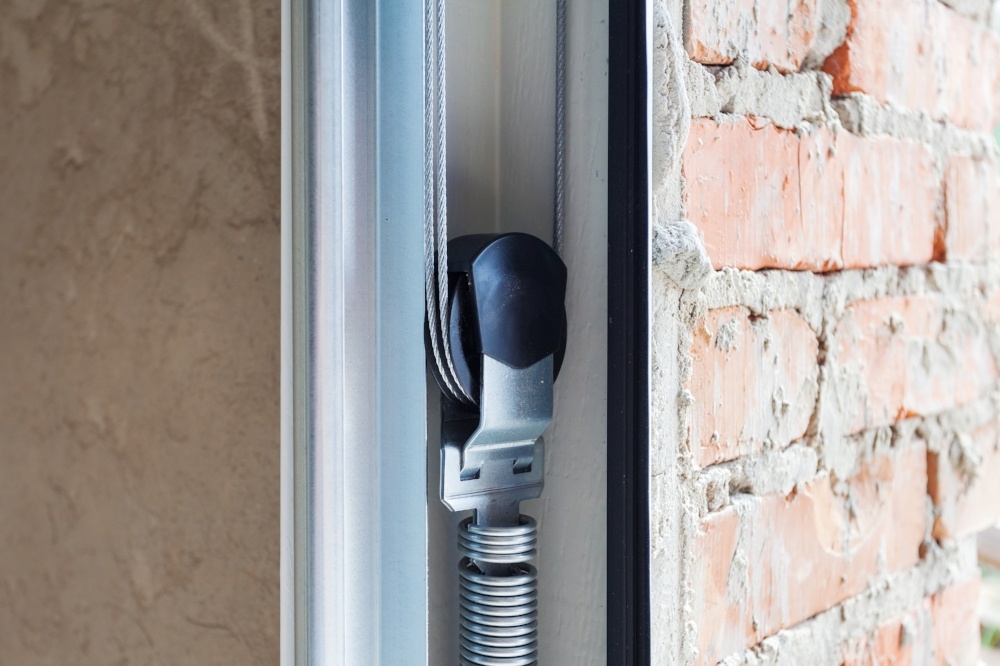
Do a visual inspection of the torsion spring, located horizontally along the top of the garage door. Check to see if there are any gaps between the coils indicating a loose spring, or gaps that would mean the spring has broken completely.
Do not attempt to tighten or replace your torsion spring unless you have prior experience. Torsion springs are dangerous, and can cause severe or even fatal injury.
Puls Specializes in Garage Door Repair
.jpg?width=1560&name=Puls%20Day%202006-1-1%20(1).jpg) If you’d like Puls to diagnose your garage door issue for you – as well as ensure that your garage door is in all-around good shape – you can book a time slot for a Puls technician to come visit, often on the very same day.
If you’d like Puls to diagnose your garage door issue for you – as well as ensure that your garage door is in all-around good shape – you can book a time slot for a Puls technician to come visit, often on the very same day.
Our highly-vetted technicians are as knowledgeable as they are courteous, and will walk you through everything you need to know about your garage door repair. Your technician will perform a 25-point inspection and diagnostic that is free if you choose to make a repair with Puls. If not, the technician charges just $69 for coming out – about half of the national average for similar inspections.
All of our parts and labors come backed by our 90-day guarantee, meaning that we’ll come back to you again should anything happen, for free, even long after your repair. Our skilled repair experts will bring all the necessary safety equipment, tools, and parts to you, so all you’ll have to do is sit back, relax and let us handle the rest – it’s really that easy.
We also offer a Puls+ membership that includes many enticing benefits such as, a 20% discount on every service, extended guarantee, priority booking, and so much more. So, what are you waiting for? Book a garage door repair online as your first Puls+ service and save 20% on your in-home diagnostic!

