We think it was Beyonce who said that if you love your home, you should put a “Ring” on it – and these days, millions of folks are following her advice. But while installing a Ring smart doorbell can be as easy as 1, 2, 3, sometimes things don’t go as smoothly as we’d like.
As with any piece of hardware, Ring doorbell installation means you’ll be wrangling with a few tools, as well as a (hopefully) pretty strong wall. If you’re having Ring doorbell mounting problems, read on for a few of our tips on how to make your Ring doorbell installation as smooth as Queen Bey’s voice.
 Use coupon code "TAKE10" to get 10% OFF!
Increasing the field of vision for your Ring doorbell camera
If you’re installing your Ring doorbell in a corner, against a wall, or in a higher – or lower – position than an average doorbell, you may notice that the field of vision on the Ring video is limited in scope. No worries – Ring came up with a solution for that in the form of the included wedge mount and corner mount, which angle the Ring doorbell outward 15 degrees, for a greater field of view. (Source: YouTube)
Simply install the wedge mount or corner mount as you would the usual Ring doorbell mount, and then snap the Ring doorbell in place. If you’re using both attachments, just attach the corner mount to the wall first, then the wedge mount on top of it, before installing your Ring doorbell.
Getting out of a tight spot

Reddit user /u/8bitInventor reported having some Ring doorbell mounting problems when he tried to install the mount’s side screws, as they abutted a wall. It’s a common problem – trying to screw in the mount with a wall blocking the side. While the user said they ultimately pre-drilled the screws with some success, it’s also possible to use a 90-degree screwdriver or drill attachment, which are commonly available and quite affordable.
It’s also often tricky to keep the screws in place when installing a Ring doorbell (or other smart doorbell) in a confined space. However, we’ve got a couple great hacks that will keep those tiny screws securely fastened to your screwdriver, even if they’re not magnetized.
Try poking the screw through a sheet of cellophane, putting it on the screwdriver, and then stretching the cellophane down over the screwdriver, giving it a slight twist. This will keep the screw securely attached to the screwdriver as you install the mount. Alternatively, you can fit the screw through the teeth of a fine-tooth comb, which will hold it in place for you as you screw it in.
 Use coupon code "TAKE10" to get 10% OFF!
Ring doorbell not snapping into place
After installing the mount, you should be able to lower your Ring doorbell onto it and have it snap into place. However, if it’s not snapping into place as easily as it should be, there are a couple of quick fixes you can try.
First, check to see that the security screws aimed upward on the bottom of the mount aren’t blocking the doorbell from snapping into place. Try loosening them just a bit, and seeing if the added room helps.
You can also check to see that the bracket is completely flat against the wall. Sometimes, if the wall itself isn’t totally straight, the mount can bend a bit if you screw it in tightly. You can eyeball it to see if the mount is flat, or if there are gaps between the Ring doorbell and the bracket.
If it’s not totally flat, try loosening one or more of the screws on the mounting bracket, to give a little slack between the mount and the flat wall. It might take a couple of tries, but the bracket should soon be level. (Source: YouTube)
Leave it to the Puls professionals
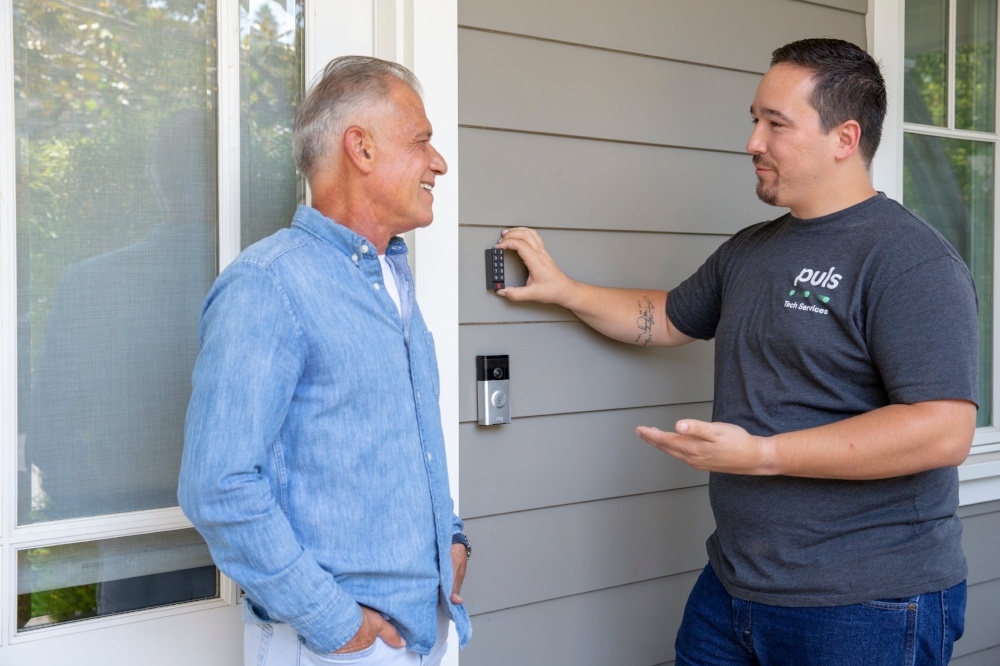
-818922-edited.jpg?width=300&name=Puls%20Day%202019%20(1)-818922-edited.jpg) Of course, some things are best left to the professionals, and nobody does it like Puls. Our skilled technicians have installed and configured hundreds of Ring devices nationwide, and can come to you virtually anytime, within the same day, to get all your digital devices up and running in a flash.
Of course, some things are best left to the professionals, and nobody does it like Puls. Our skilled technicians have installed and configured hundreds of Ring devices nationwide, and can come to you virtually anytime, within the same day, to get all your digital devices up and running in a flash.
Simply elect a time slot online and one of our certified technicians will come to you to install your Ring doorbell with no fuss or hassle for fast, expert installation whenever you like. Click here to get $10 off your first service with us.


