The Ring Video Doorbell is not only a pretty nifty device (especially if you’re like us and you can’t get enough gadgets), but it also makes us feel more safe and secure at home or when we’re away from our home. But like any other piece of equipment or technology that you add to your home, the Ring Video Doorbell can be tricky to install, and if it was done incorrectly then it won’t work—meaning that you won’t be able to properly use it for security (and let’s face it, to see if any neighborhood feral cats come to your door).
Having trouble getting your Ring Video Doorbell up and running? Here’s our guide on Ring camera installation—including what to check for, common installation mistakes and how to tell if it’s installed properly.
Installation mistake #1: Did you test your device first?
 If your Ring camera is giving you grainy video or not showing a video at all, the first thing you should ask yourself is if you actually went through the first step of testing it before you installed it. We know, we know, it seems like a silly step to take, but if you failed to do this part then it could explain why it’s not working after the installation.
Before the installation, you should have tested the device inside near your router by pushing the doorbell button and then checking to see if your phone got a notification. Assuming you had downloaded the Ring application, you should immediately have been connected to a video stream of what the camera was currently pointed at.
After confirming that your Ring camera works near your router, your next step is to test it outside where it would be installed. If the video quality is grainy or you’re simply not satisfied with it, you can either move your router closer to where the Ring camera will be located outside or purchase a Ring Chime Pro—a device that essentially gives your camera a better connection.
If you skipped those first steps, backtrack and start again to see if there was an issue with the location of the router or with the device itself.
Installation mistake #2: The Ring was improperly mounted
 After you’ve positioned the mounting bracket that your Ring kit came with, you should be able to just pop it into place to where it fits snug and secure. If your doorbell is fitting loosely or something looks awry, there could be an issue with the mounting.
Check to see if the mount isn’t perfectly flat, which can prevent the doorbell from locking into place. This can typically happen if the wall isn’t completely straight. All you need to do to remedy this is to loosen one or more of the screws on the mounting bracket to level it out.
Installation mistake #3: Your doorbell was digital and not mechanical
 When you are installing a Ring Video Doorbell to replace an already existing doorbell, then you have to determine from the beginning whether your existing doorbell is mechanical or digital. Considering that this isn’t a topic that we often think about, your Ring doorbell could have been mistakenly installed as a mechanical and not a digital.
When you are physically wiring your Ring doorbell into your home, it’ll take one extra step of installing a diode if your existing doorbell is digital. If you mistakenly thought that your doorbell was an old-fashioned mechanical one and it was actually digital, then this could explain why it could be having trouble.
Still don’t understand the problem? Leave it to Puls
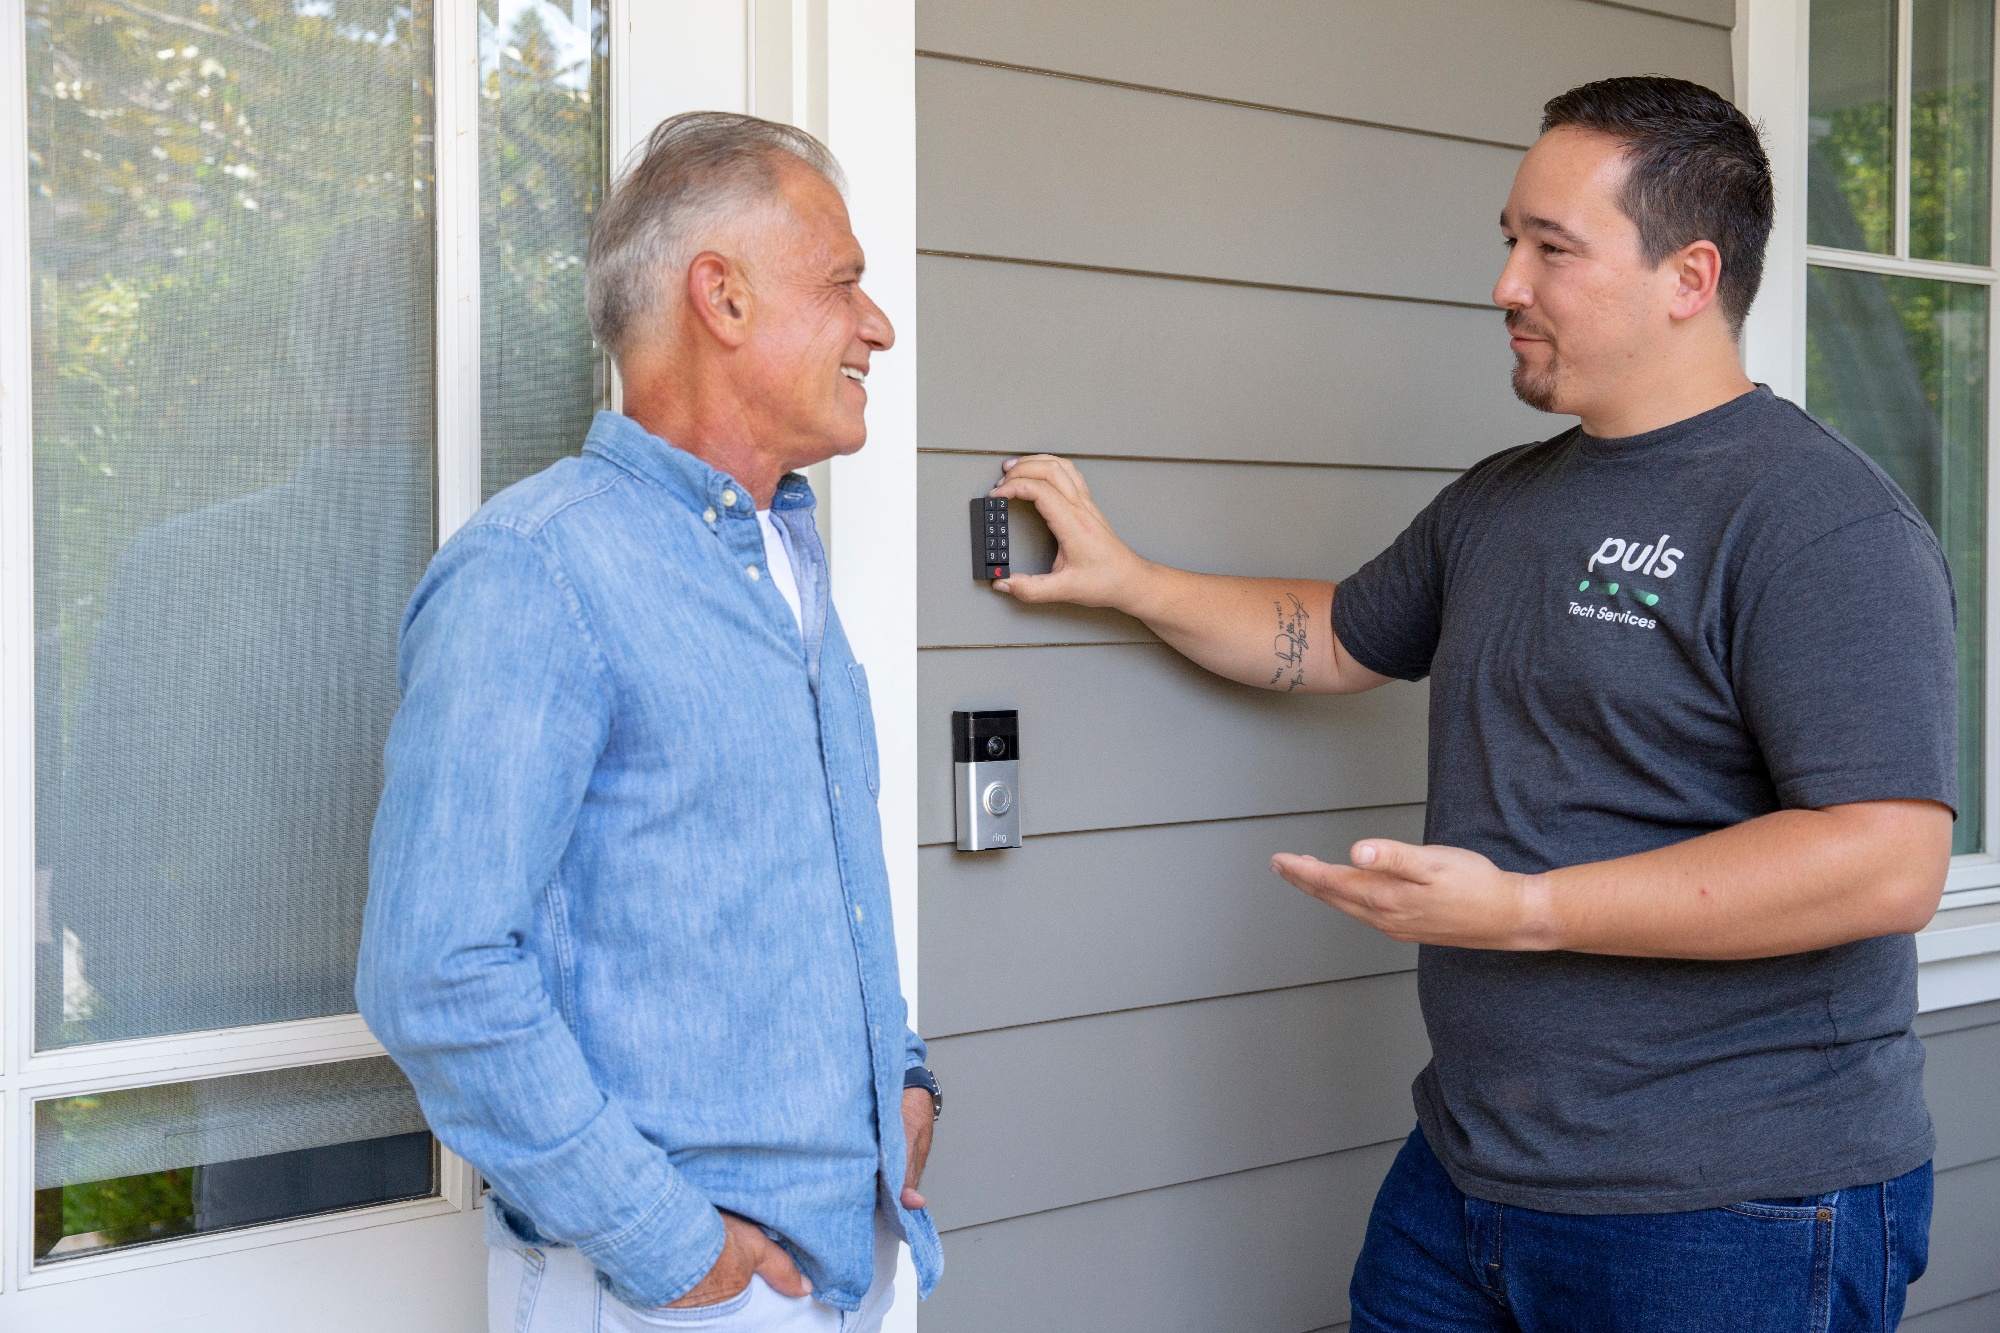
-818922-edited.jpeg?width=1000&name=Puls%20Day%202019%20(1)-818922-edited.jpeg) If you’ve tried troubleshooting your Ring Video Doorbell and still can’t figure it out, then it may be time to call in the professionals. Our skilled Puls technicians have installed and configured thousands of Ring devices all over the country, and we can come directly to your home to determine the problem and get it up and running right away.
If you’ve tried troubleshooting your Ring Video Doorbell and still can’t figure it out, then it may be time to call in the professionals. Our skilled Puls technicians have installed and configured thousands of Ring devices all over the country, and we can come directly to your home to determine the problem and get it up and running right away.
Book an appointment with us online and one of our certified technicians can come to install your Ring doorbell—sometimes even within the same day that you book the appointment. You can even click here to get 5% off your first service with us.


