Lint traps tend to get the lion’s share of attention around the laundry room, and with good reason—a full lint trap can prevent your laundry from drying quickly and poses a fire hazard. While it’s easy to forget the humble dryer vent which sits in the back—out of sight, out of mind—it’s actually just as important, if not more so, to keep that dryer vent clear and free.
Because it’s the conduit for all that excess moisture that’s coming off of your laundry, an obstruction-free vent will make for a speedy drying cycle, while a dryer vent clogged with lint and residue can not only significantly slow the drying process, but could cause a fire, as well.
Clearing out a clogged dryer vent isn’t as hard as it sounds, and we’ve got step-by-step instructions on how to do it.
First, Locate Both Sides of the Dryer Vent (Interior and Exterior)
 When your dryer removes the moisture from your clothes, all that wetness has got to go somewhere – and the vent conveniently shuttles it from inside your dryer through a hole in the wall of your home and out into the atmosphere.
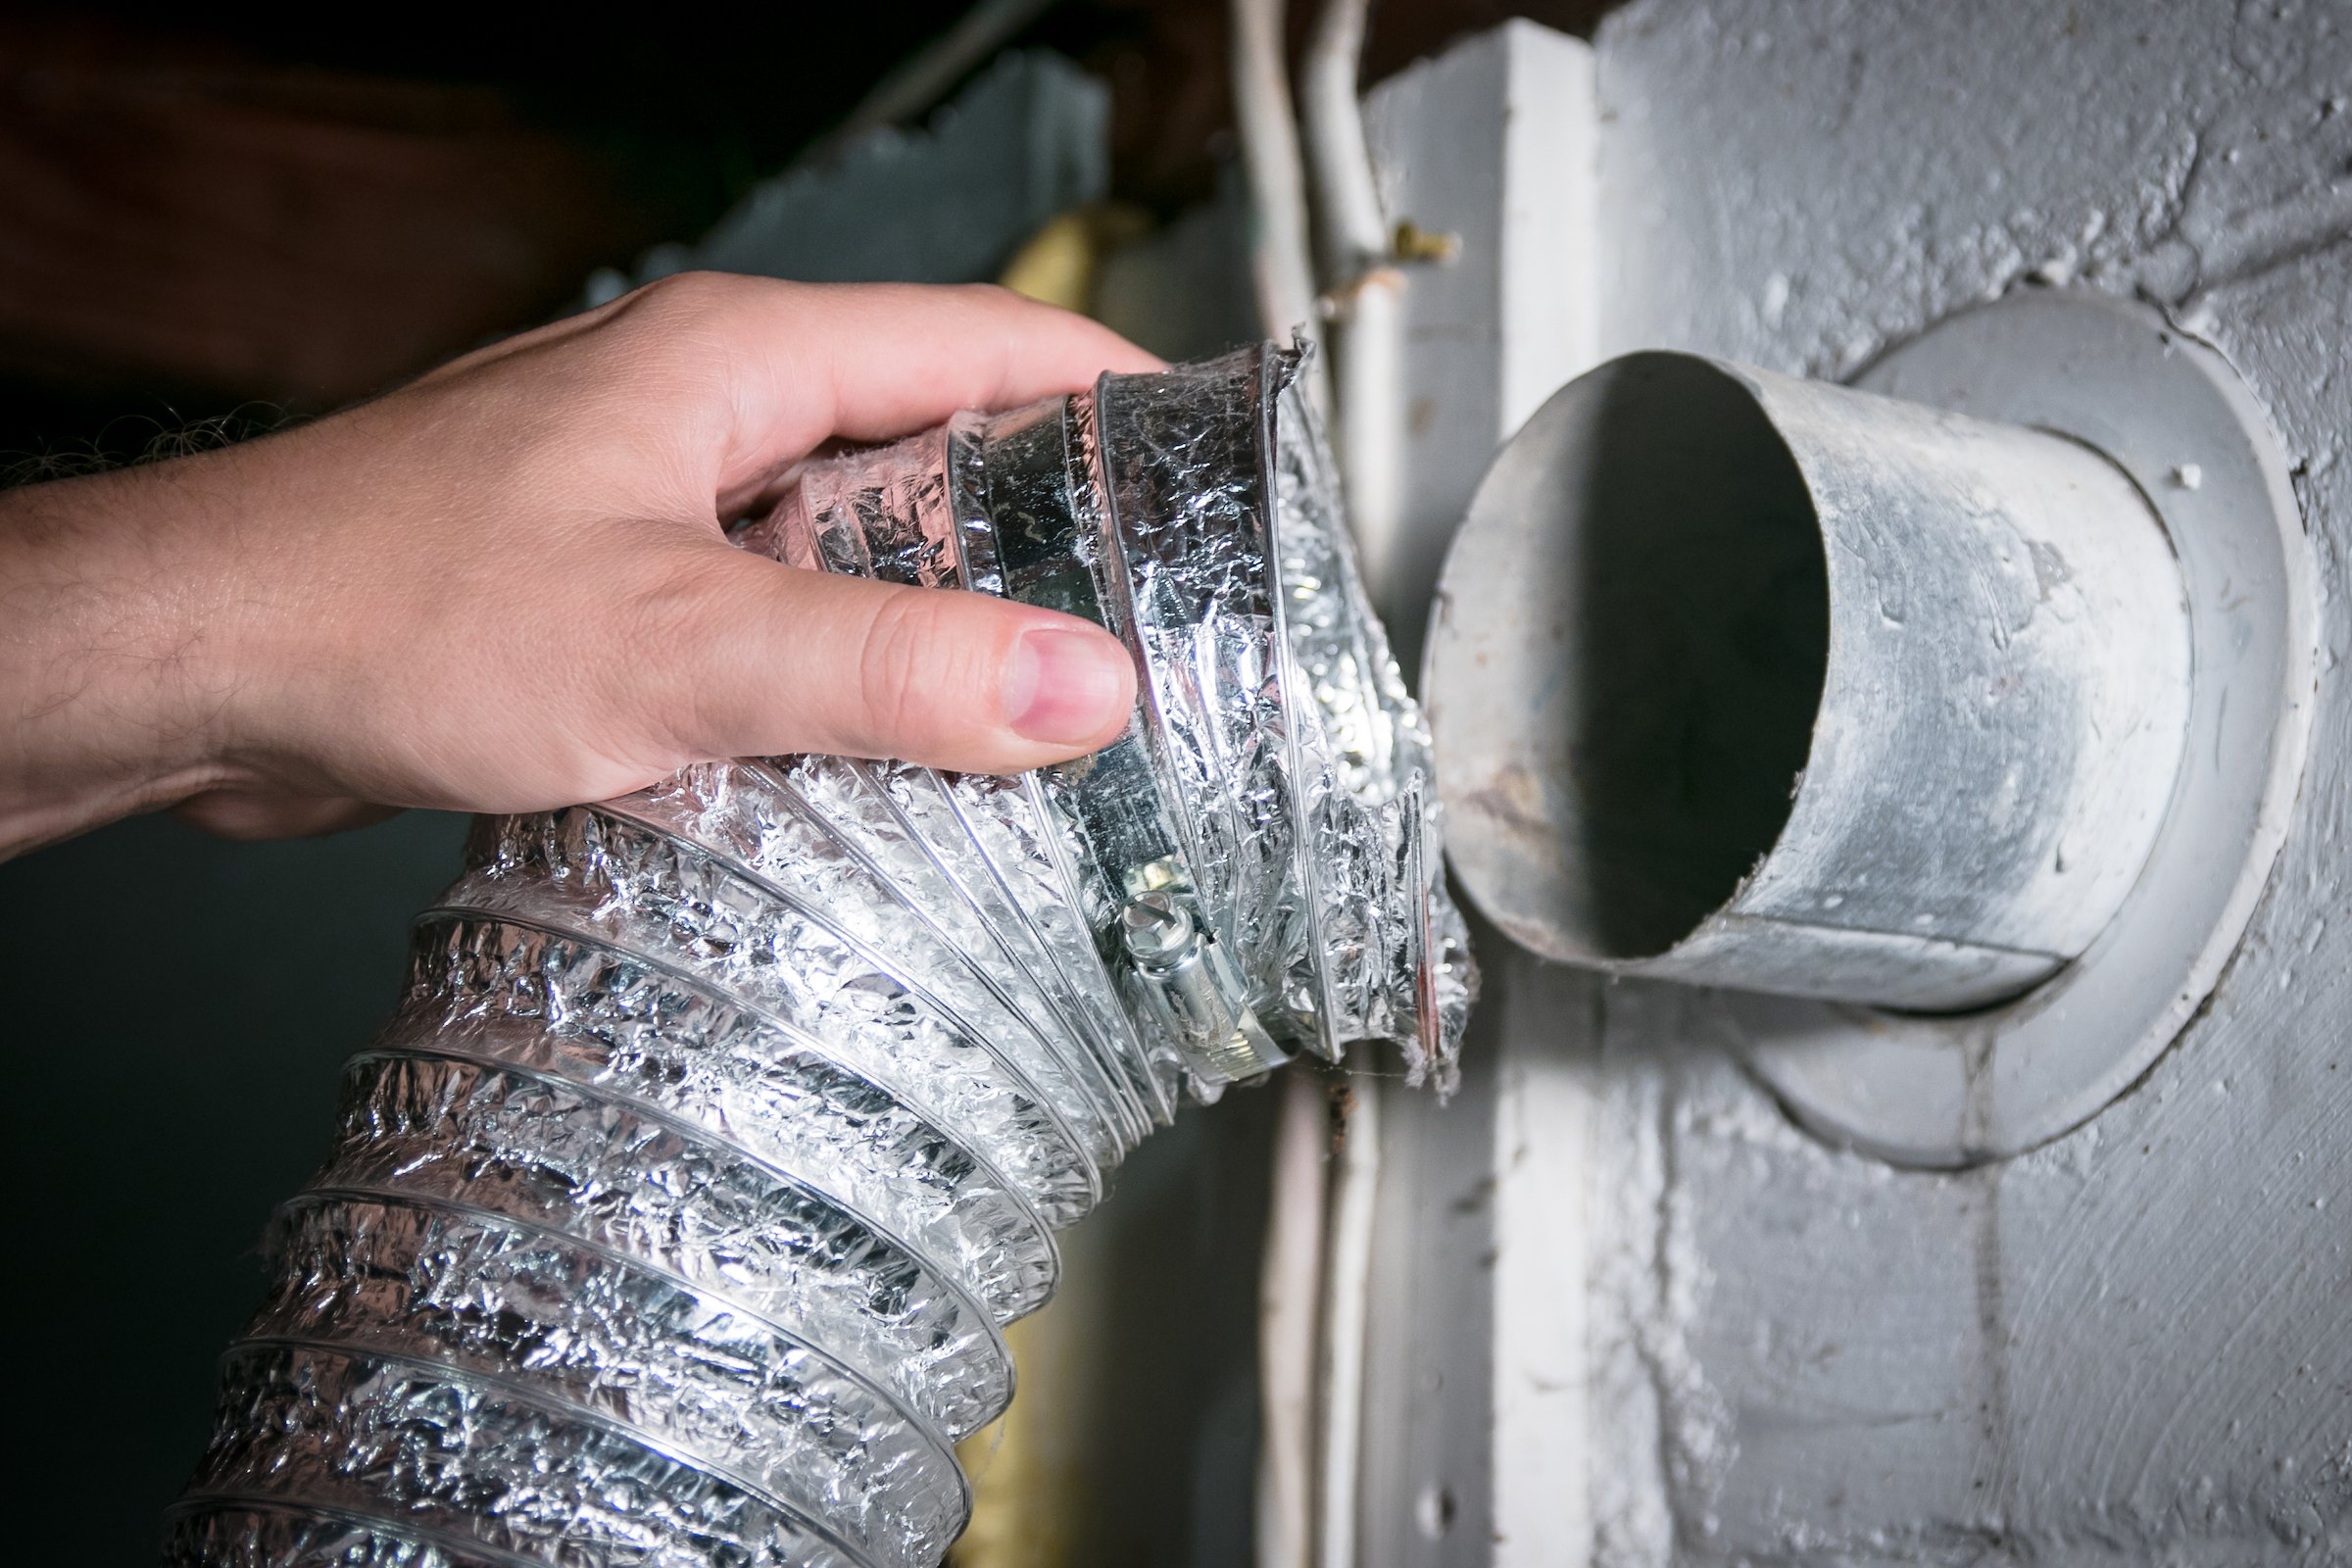
If you’ve got a dryer vent clogged with lint and who knows what else, the first step is to locate and open up both sides of the vent so you can clear the blockage. One side starts with the dryer machine itself and goes into the interior wall of your home. If you see a plastic or metallic tube coming out of the back of your dryer and going into a wall, you’ve struck gold.
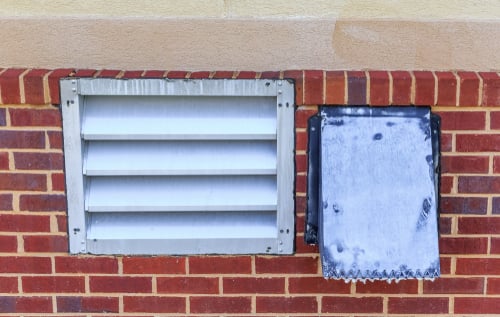
Finding the other side is only slightly more complicated. Even if you don’t think you know the first thing about finding your dryer’s exterior vent, odds are you’ve already located one if you’ve ever walked by someone’s home or building and been enchanted by the smell of fabric softener.
A little snooping around the outside perimeter of the home close to the ground should turn up a vent after not too long. It may be masked by vent flaps or a vent hood, but those are easily spottable, as well.
How to Clean a Dryer Vent Clogged With Lint, Step-by-Step
 Once you’ve located both sides of the duct, cleaning the vent itself is a breeze. It is possible to fashion a cleaning implement yourself out of things you have around the house, but the wall duct can be up to 25 feet long and quite twisty.
Since it’s preferable not to be overly abrasive to the vent interior, we recommend that you spring for a dryer vent cleaning kit. The kit connects to a regular home drill, is long enough to snake through most ducts, and has soft-bristle brushes that won’t damage the vent interior.
Once you have your cleaning kit in hand, it’s time to clean the vents.
- Unplug your dryer and pull it away from the wall
- Remove the vent tubing from both dryer and wall so you can access both the inside of the machine and the duct that goes through your wall to the outdoors
- Clear any lint or other blockages from the back interior of your dryer as well as the vent tubing, before starting on the duct inside the wall
- Clean the vent thoroughly and put the assembly back together
- Dryer vents should be inspected and cleaned at least once annually to prevent fires and to keep your laundry drying reliably
We Are Here to Help With All of Your Appliance Needs
 Whether your dryer won't start, you can’t figure out what’s wrong with it, or if you just don’t have the time in your schedule for DIY dryer repair, Puls is here to help.
We fix washers, dryers, refrigerators, ovens, and more. And with our 90-day guarantee on parts and labor, you can be sure the job is done right.
So, what are you waiting for? Have a certified Puls technician wash (and dry) your problems away.


