There’s a reason why the kitchen is the heart of the home—because it’s where all of the delicious food is made. Whether you consider yourself quite the chef or you can barely heat up a pizza in the oven, you rely on your oven and stove to heat things up safely and properly so that you can put food on the table for you and your family.
So, when your oven or stove starts to cook things unevenly, burn things to a crisp, or just doesn’t seem to heat things up the way it used to, you may have some broken or worn out components in your oven or stove that need to be replaced.
We’ve put together a handy troubleshooting guide for when your oven or stove isn’t cooking properly—what to check for, the most common causes, and how to fix these common issues—so you can save some cash on repairs or avoid having to replace the appliance altogether.
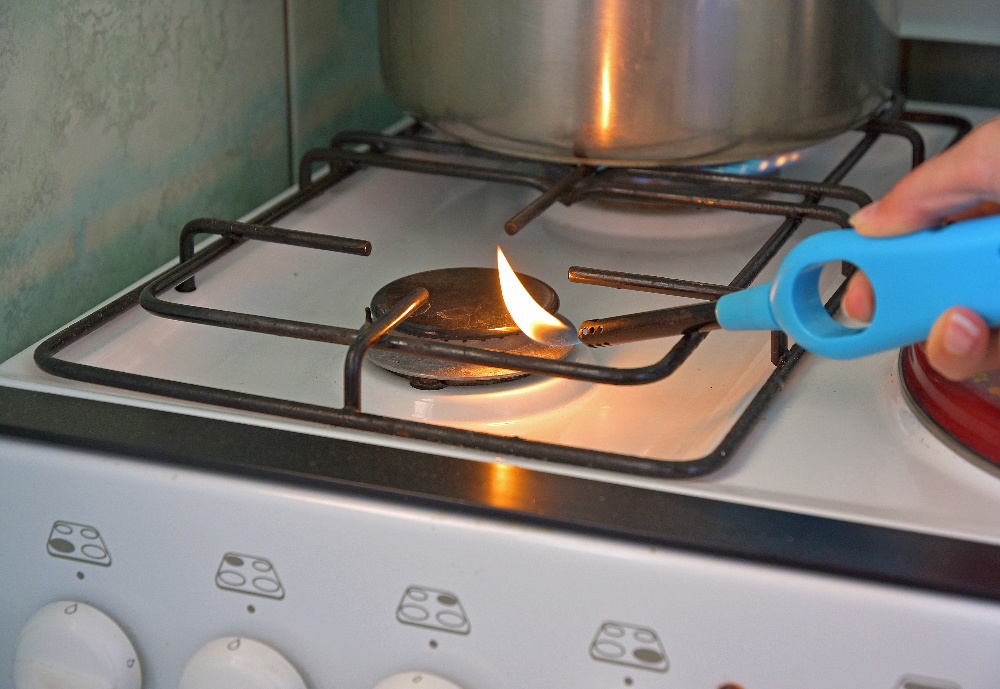
If a Gas Burner Won’t Start, Check for Any Clogs
 It can be pretty panic inducing when your gas range won’t ignite, but there could be a really simple explanation: it’s most likely clogged up with food and blocking the igniter. We’re not judging—it’s difficult to get into the cracks and crevices after every meal to clean up all that debris and grease.
To unclog it, remove the grate, burner cap, and base, and clean thoroughly inside with warm water, soap, and a clean washcloth. Place the burner base in a bowl of vinegar and remove the debris or grease with a dish scrubber.
Replace the Range Bake Element
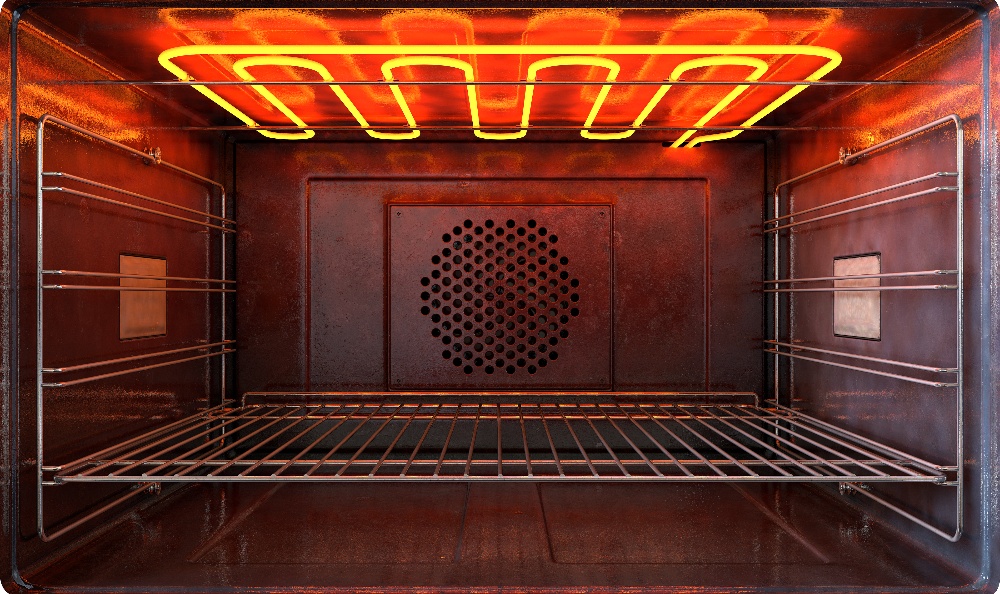
 In an electric oven, the bake element is responsible for heating the oven up so that your food is cooked thoroughly and at a consistent temperature. When the bake element starts to fail, however, you may start to notice if your oven isn’t heating up properly, and you’re going to need to replace it with a new part.
To replace the bake element, you will need the following tools:
-
¼ inch nut driver
-
Needle-nose pliers
-
Slot screwdriver
-
Work gloves
-
New bake element for your model of oven
First things first, shut off the electrical power to the oven through the electrical panel or unplug it from the wall. Remove the oven racks and then remove the bottom panel of the oven by unscrewing the screws that hold it in place.
Detach the baking element on the bottom of the oven by using the nut driver. Move the bake element forward until the wires are exposed at least an inch. Using your needle-nose pliers, disconnect the wires from the old bake element—careful not to let the wires slip through the back of the oven.
Remove the old bake element and slide the new one in by connecting the wires and aligning it on the bottom of the oven. Reinstall the bottom panel, put the oven racks back in, and turn the power back on.

Replace the Oven Temperature Sensor Probe
 The oven temperature sensor probe helps heat your oven at a consistent temperature. When this part of the oven has failed, many modern ovens will give you an error code notifying you that it needs to be replaced.
To replace the oven temperature sensor probe, you will need the following tools:
-
¼ inch nut driver
-
Needle-nose pliers
-
Work gloves
-
New oven temperature sensor probe
Begin by shutting off the power to the oven through the electrical panel or by unplugging it from the wall. Remove the oven racks and then remove the screws from the back panel.
Unplug the sensor wire harness and, using the nut driver, remove the screws from the base of the sensor. Pull the old sensor out and slide the new one in.
Reinstall the screws for the base of the sensor and reconnect the wire harness. Then, reattach the back panel, add the oven racks back in, and reconnect the power.
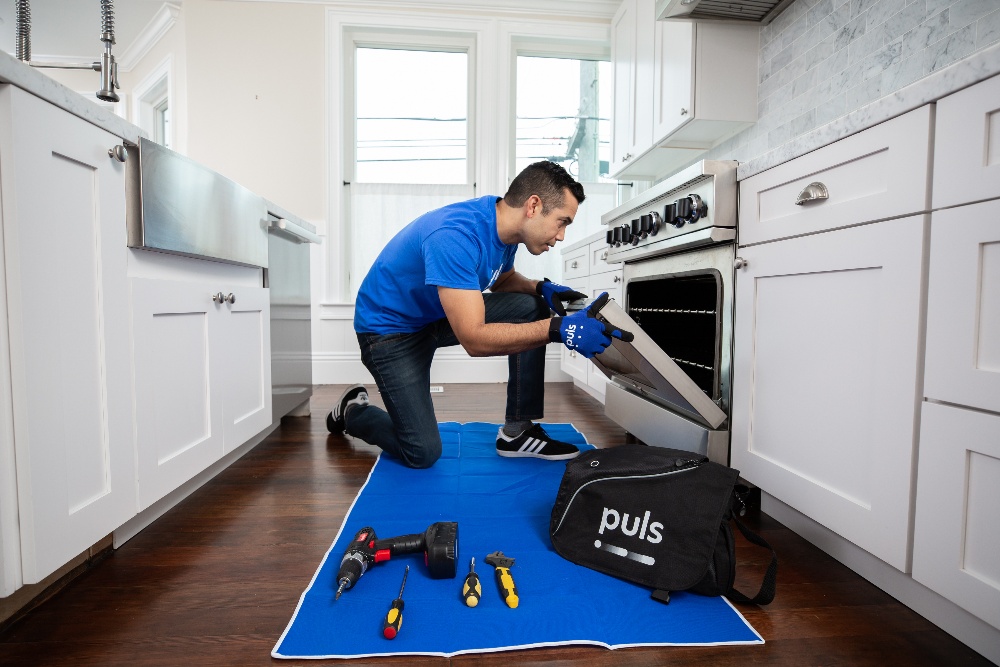
Can’t Figure it Out? Leave it to the Puls Pros
 If you’ve tried to fix the problem with your stove or oven and you still can’t seem to figure it out, it may be time to schedule an appointment with Puls. All you need to do is book an appointment online, and a Puls technician will arrive at your door in no time—sometimes even on the same day as you book.
We pride ourselves on offering transparent price quotes with no hidden fees for weekend or emergency services—you’ll know exactly what the repair cost will be before you commit to payment. Our technicians will come thoroughly inspect and diagnose your appliance for a small $79 fee, which is waived completely should you decide to move forward with our recommended repair.
And rest assured that all of our work comes with a 90-day guarantee on parts and labor, so that you have peace of mind knowing you’ll be covered long after your service is complete. Book online today with the code SAVE20 and get $20 off your service for a limited time only.


