Whether you like to prepare gourmet food in your kitchen or you’re more of a frozen pizza kind of chef, you rely on your oven to heat your meals consistently and evenly so that you can count on a delicious dinner each and every time you use it. But when your food is cold in the middle and burnt on top, or your oven isn’t even heating at all, it’s time to look into what’s going on.
Luckily, troubleshooting and repairing common oven heating problems isn’t all that difficult, and only requires just a few tools to get the job done. Read on to learn how to repair an oven that’s not heating up properly.

Short on time? Check out the summary.
| Possible Issues | Fix required |
| Bake Element in an Electric Oven | Visible blistering or separation, no continuity - replace bake element. |
| Igniter in a Gas Oven | Glows but doesn’t get hot, no continuity - replace igniter. |
| Oven Temperature Sensor | Bent toward oven wall, adjust out. Resistance below 1,100 ohms, replace temperature sensor. |
| Thermostat | No reading on multimeter, replace thermostat |
| Calibration | Adjust if thermometer reading is 15 degrees different than oven setting |
How to Know Your Oven Has Heating Issues
There may be a few clues that your oven is not heating up, but you may not notice right away. Your favorite recipes might suddenly not turn out the way they should. Your oven might take a longer time than normal to preheat. Your meals may be burned or undercooked even though you’re accurately following the cooking instructions.
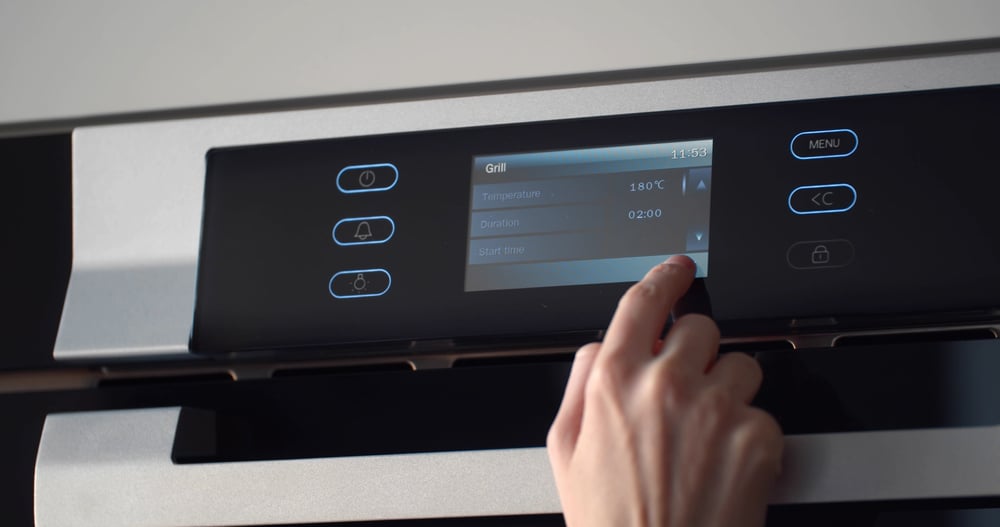
Test the oven temperature by hanging an oven thermometer from the middle rack. Set the oven temperature to 350 degrees F and preheat for 20 minutes. Check the thermometer reading to see if the oven reached the desired temperature. If not, you can start troubleshooting.
Fixing the Bake Element in an Electric Oven
-1.jpg?width=1000&name=20181204-Puls-0007%20(1)-1.jpg)
Cause of the Problem:
The bake element in an electric oven is responsible for 90 percent of the heating that goes on inside of your oven. It can stop working after several years of heavy usage or it can be damaged. If you can visibly see blistering or separation on your oven element (the curvy shaped electric wire at the bottom of the oven), you’ll need to replace it. If there is no visible damage, you can test for continuity with a multimeter (unplug the oven beforehand.) If there is no continuity, it’s time to replace the bake element.
Tools Required:
- Phillips-head screwdriver
- Work gloves
How to Fix:
- Unplug the oven and remove the oven racks.
- Put on your work gloves and remove the old bake element by removing the screws with a Phillips-head screwdriver.
- Pull out the bake element slightly to reveal the two wires that are sitting behind it (there should also be some insulation, so be careful not to remove any.)
- Carefully disconnect the wires from the bake element. You don’t want to accidentally lose the wires in the insulation or you’ll have to pull out the entire oven and search for them through the back panel.
- Once the old bake element has been removed, replace it with the new bake element and reconnect the wires. Push the element back in and tighten the screws.
- Replace the oven racks, plug in the oven and test it out.
Replace the Igniter in a Gas Oven
 Cause of the Problem:
If your gas supply and burners are working, there could be a problem with your igniter. To check the igniter, pull the bottom panel out of a cool oven and then set your oven to bake mode. If the igniter glows, but still doesn’t get hot, it will need to be replaced. If the igniter doesn’t glow at all when turned on, you should test for continuity with a multimeter. No continuity means that you’ll need to replace the part.
Tools Required:
- ¼-inch nut driver
- Work gloves
How to Fix:
- Unplug the oven and shut off the gas.
- Remove the oven racks and panel on the bottom.
- Put on your work gloves, and using a nut driver, remove the screws on the bracket that is holding the igniter.
- Disconnect the wiring harness and pull the old igniter out.
- Plug the new igniter into the wire harness. Make sure to do this with gloves on as the oils from your hands can damage the wires.
- Reposition the igniter and replace the mounting screws with your nut driver.
- Put the panel back on, replace the oven racks, plug in the oven, and turn on the gas.
Adjust or Replace Oven Temperature Sensor
 Cause of Problem:
If you’re noticing longer than usual cooking times, undercooked foods, uneven cooking, or overheating, you likely have a problem with your oven temperature sensor.
Troubleshooting the problem is needed to determine if the part needs an adjustment or replacement. The sensor is located at the back of the oven. Check to see if it has been bent toward the wall and touching hot metal during use. Adjust out and test for accurate temperature. If there is still a problem, test resistance at its probe ends. A reading below 1,100 ohms indicates the sensor is bad and needs to be replaced.
Tools Required:
- ¼-inch nut driver
- Needle-nose pliers
- Wire cutter
How to Fix:
- Shut off the electrical power and gas supply.
- Remove oven racks (you may also need to remove the door to reach the sensor—follow instructions in your owner’s manual.)
- Locate the temperature sensor in the top left corner on the inside back wall. Remove the 2 hex-head screws using a ¼-inch nut driver.
- Carefully pull it toward you and disconnect the wires. Use needle-nose pliers to guide the wire harness through the oven wall hole.
- Disconnect the wire harness by depressing the locking tab on the plug. Be careful not to let the connector slip back through the hole or you’ll need to retrieve it through the back panel of the oven.
- Hold the connector with needle-nose pliers and snap it into the plug of the new sensor.
- Push the wire into the back wall of the oven.
- Position the new sensor and insert the mounting screws with a nut driver.
- Note: If the plug doesn’t fit the original connector, you may need to cut off the old plug and wire harness connector. Strip the ½” insulation from the wires and reconnect with ceramic wire nuts instead.
- Turn on power and gas.
Replace Oven Thermostat
.jpg?width=500&name=shutterstock_1032023338%20(1).jpg)
The thermostat controls the temperature inside your oven. If you notice your food is over or undercooked, the thermostat might be the culprit. You can test to see if it is operating properly by using a multimeter.
First, locate the thin piece of metal that’s attached to a wire coil. Check your owner’s manual as it could be behind the back panel, under the backsplash, under the exhaust hood, or below the control panel. If the multimeter shows no reading at all, the thermostat will need to be replaced.
Tools Required:
- ¼-inch nut driver
- Phillips-head screwdriver
- Torx set
- Digital camera/Smartphone camera
How to Fix:
- Unplug the oven and turn off the gas.
- Locate the thermostat (it could be behind the back panel, under the backsplash, under the exhaust hood, or below the control panel.)
- Remove the oven door (open the hinge latch, close the door, and lift up and out.
- Remove the thermostat’s capillary tube located at the top, back of the oven. Un-clip it and let it hang.
- Remove the back and top oven panels by removing Torx screws with a Torx driver.
- Carefully remove the capillary tube by pulling the wire feeding from the top and around the oven.
- Unscrew the Torx screws and remove the fixing bracket that’s keeping the thermostat in place.
- Before removing the thermostat wires, take a photo of how it’s wired for easier replacement.
- Remove the clips and control knob.
- Remove screws holding the thermostat from the control panel.
- Install the new thermostat by fixing it to the control panel, rewire it, push the wire though and put the capillary tube back into the oven cavity.
- Replace the door, turn on the gas and plug back in.
Calibrating the Oven
If you’re noticing that your food is coming out undercooked or overcooked, your oven may not be calibrated properly. Check the temperature accuracy by setting a thermometer in the middle rack (instead of along the edge.) Turn the oven on to 350 degrees and check the temperature once it’s preheated. Anything more than 15 degrees’ difference indicates a calibration should be done. Calibration is done in a variety of ways, depending on the type of oven you have.
Tools Required:
- ¼-inch nut driver
- Slotted screwdriver
How to Fix:
- Electronic Display: Press the Offset Clock button. Adjust the clock to offset the temperature difference indicated from your thermometer test. Lock the setting per your owner’s manual.
- Manual Controls:
- Unplug the oven.
- Locate the temperature sensing bulb (close to the sidewall)
- Make sure the sensing bulb is tightly affixed to the mounting brackets attached to the side of the oven wall.
- Pull off the temperature control knob, there will be screws underneath that will allow you to adjust the knob/temperature setting.
- Use a slotted screwdriver to turn the screws clockwise for a higher temperature setting and counterclockwise for a lower temperature setting.
- Replace the knob and plug the oven back in. Check the temperature reading again and adjust again if needed.
How to Decide if Your Oven Needs to be Repaired or Replaced

When your oven is not heating up, you may have to make the difficult decision about whether you should repair the old appliance or invest in a new one. These guidelines may make the decision a little easier:
-
How much is the repair? If the repair is going to be more than 50-percent of the cost of a new oven, it’s time to get a new one. On the other hand, simple repairs can often keep your oven working properly without another breakdown for years.
-
Are the parts readily available? If replacement parts are going to be difficult to acquire or take a long time to become available, buy a new one.
-
How old is the oven? The average lifespan for an electric oven is 13 years and 15 years for a gas oven. Regardless of age, if your appliance has been reliable and relatively problem-free, it may make sense to repair it. On the flip side, if it keeps breaking down and is costing you more in time and money recently, it’s time to shop for something new.
-
How efficient is it? Old appliances are typically less energy-efficient than new models. Energy Star units are labeled with the cost to operate. Buying a new oven might even save you money in the long term and offset the cost of the new purchase.
-
Are you able to do the repair yourself? If you’re handy and can save the cost of a repair service, you may be able to extend the life of your oven.
-
Do you need to match the style with another appliance? If your oven breaks down soon after you purchased a new refrigerator, you may want to buy a matching oven to make the room uniform.
How Much Does it Cost to Repair an Oven That is Not Heating Up?
The cost to repair an oven varies depending on the diagnosis and the type of oven. Professional service repairs cost between $100 and $600. Parts may cost only a small portion of the overall repair so DIY-ers benefit from avoiding the labor charges.
Oven Still Won’t Work? Let Puls Handle It
Oven still throwing you for a loop? You don’t have to go it alone. Our Puls technicians are highly skilled, and can be available as early as the same day you book an appointment, which means you can start cooking again much sooner than you thought.
Scheduling an oven repair service takes just seconds, and all of our work comes with a 90-day guarantee on all parts and labor. For just $80, our vetted technicians will come diagnose your oven, and let you know the exact issue at hand and what it’ll cost to fix it. Plus, if you move forward with the recommended repair, this fee is waived entirely. Want peace-of-mind? Become a Puls+ Member and save even more. Choose from three different plans to cover oven breakdowns at a reduced rate.
So, what are you waiting for? Book an appointment today so you can get your oven back in working order fast.