Blinds on the window provide you with privacy, and they can also give you cooler temperatures inside. In fact, according to the Department of Energy, most types of window treatments will keep your home cooler and lead to a lowered energy bill, depending on the type of covering as well as the season.
But if you recently bought a home that didn’t have window coverings—or the ones it has are broken or outdated (let us not speak of the horror that is vertical blinds)—you’ll need to know how to install them in order to reap their energy and privacy benefits.
Installing blinds is a simple project that can be done in an afternoon, even for the most novice DIYer. Here’s how to install blinds on a window.
First, Decide Whether to Install the Blinds Inside or Outside of the Window Frame
 Before you install your blinds, you need to determine whether you want to mount them inside the window frame or outside.
Mounting them inside the window frame will look cleaner, but you have to be more precise with your measurements to make sure they fit.
Mounting the blinds outside of the window frame gives you more flexibility on what type of window covering you choose, but if you ever remove the treatment, you’ll easily be able to see the holes from the mounting brackets (which can be quite large).
Then, Choose the Type of Blinds That are Best for Your Space
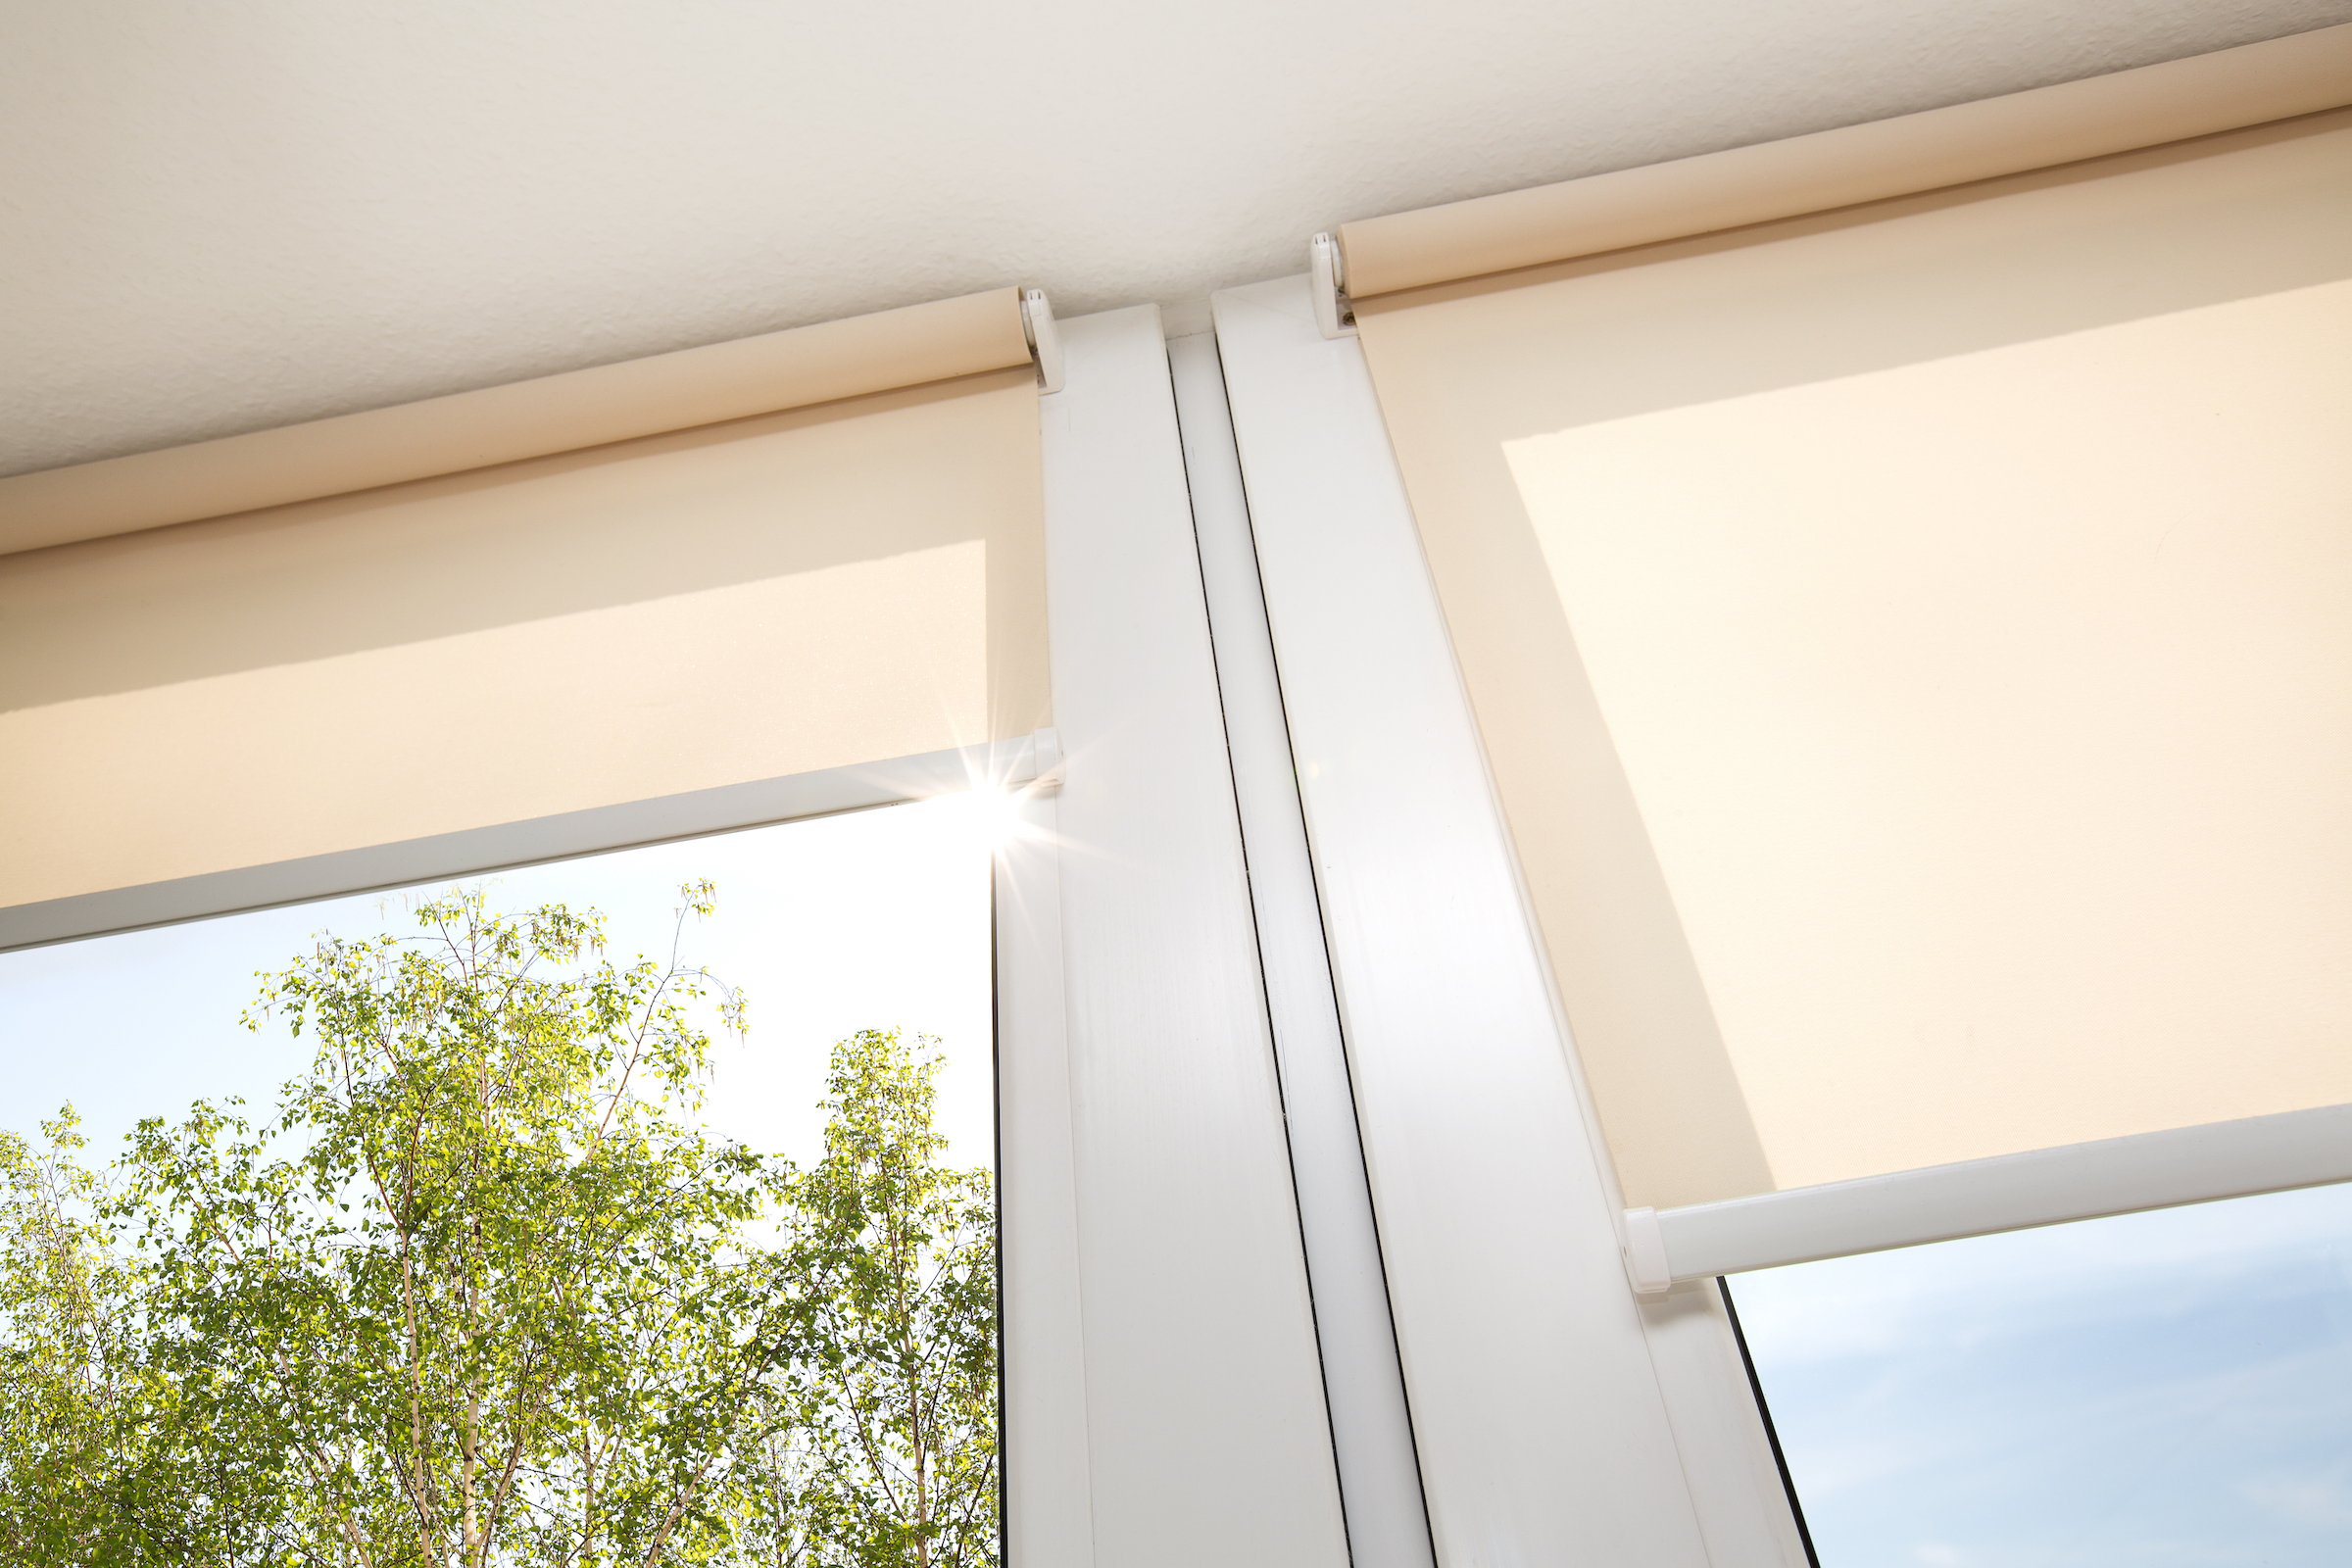
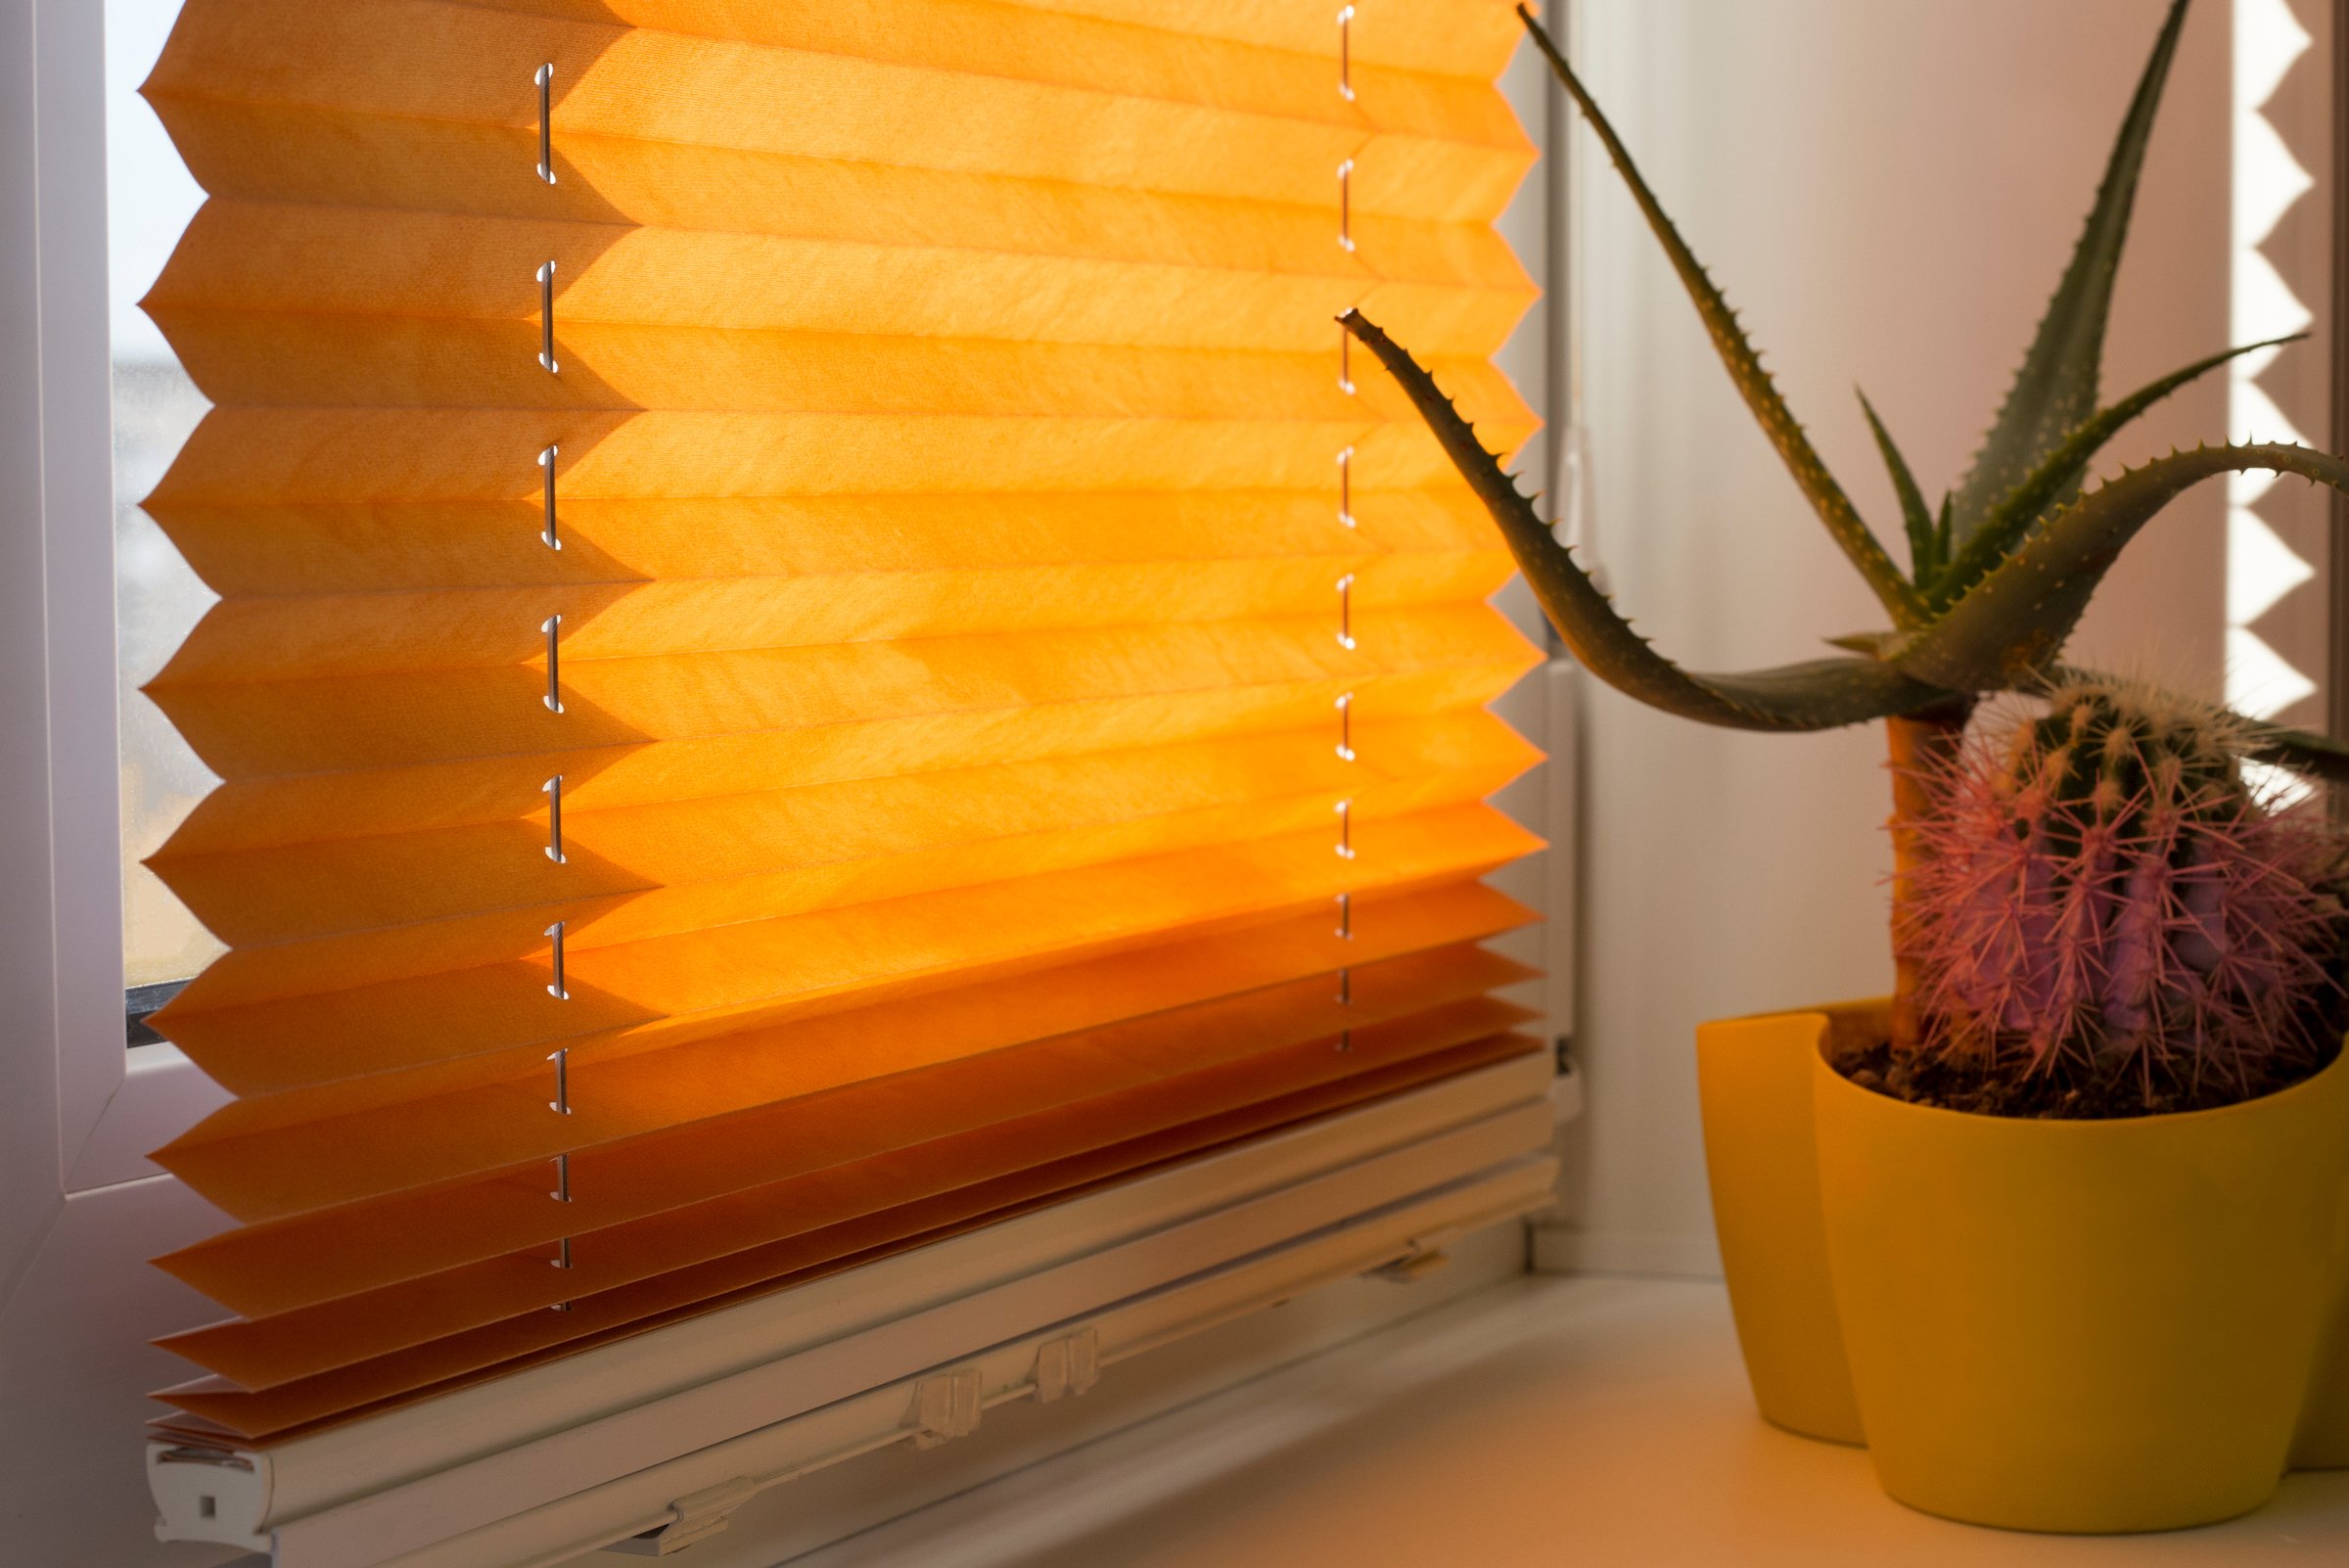
 There are many types of blinds to choose from, and all of them have different benefits or have a certain aesthetic. Here are the most common types you’ll see in stores and online:
Before You Purchase Blinds, Measure Your Windows
 Make sure to measure all of the windows that you plan on covering before you go out and shop. When selecting your blinds, ensure that the width will fit the frame so that it’s not too narrow, allowing light to peak through.
Note: If you are planning on mounting the blinds outside of the window frame, you’ll only need to measure for how wide you’d like them to be.
Unfortunately, windows can come in all shapes and sizes, meaning there’s no “standard” size. Although a typical picture window will usually have a width of either 2 feet, 3 feet, 4 feet, 5 feet, 6 feet, or 8 feet, this could vary depending on when your house was built. If your windows have funky measurements, you may need to custom order blinds so that they will fit properly.
How to Install Blinds 101
 After you’ve measured, purchased, and procured the blinds, now comes the actual installation part. You will need the following tools to install your blinds:
- Power drill/driver or screwdriver
- Level
- Pencil
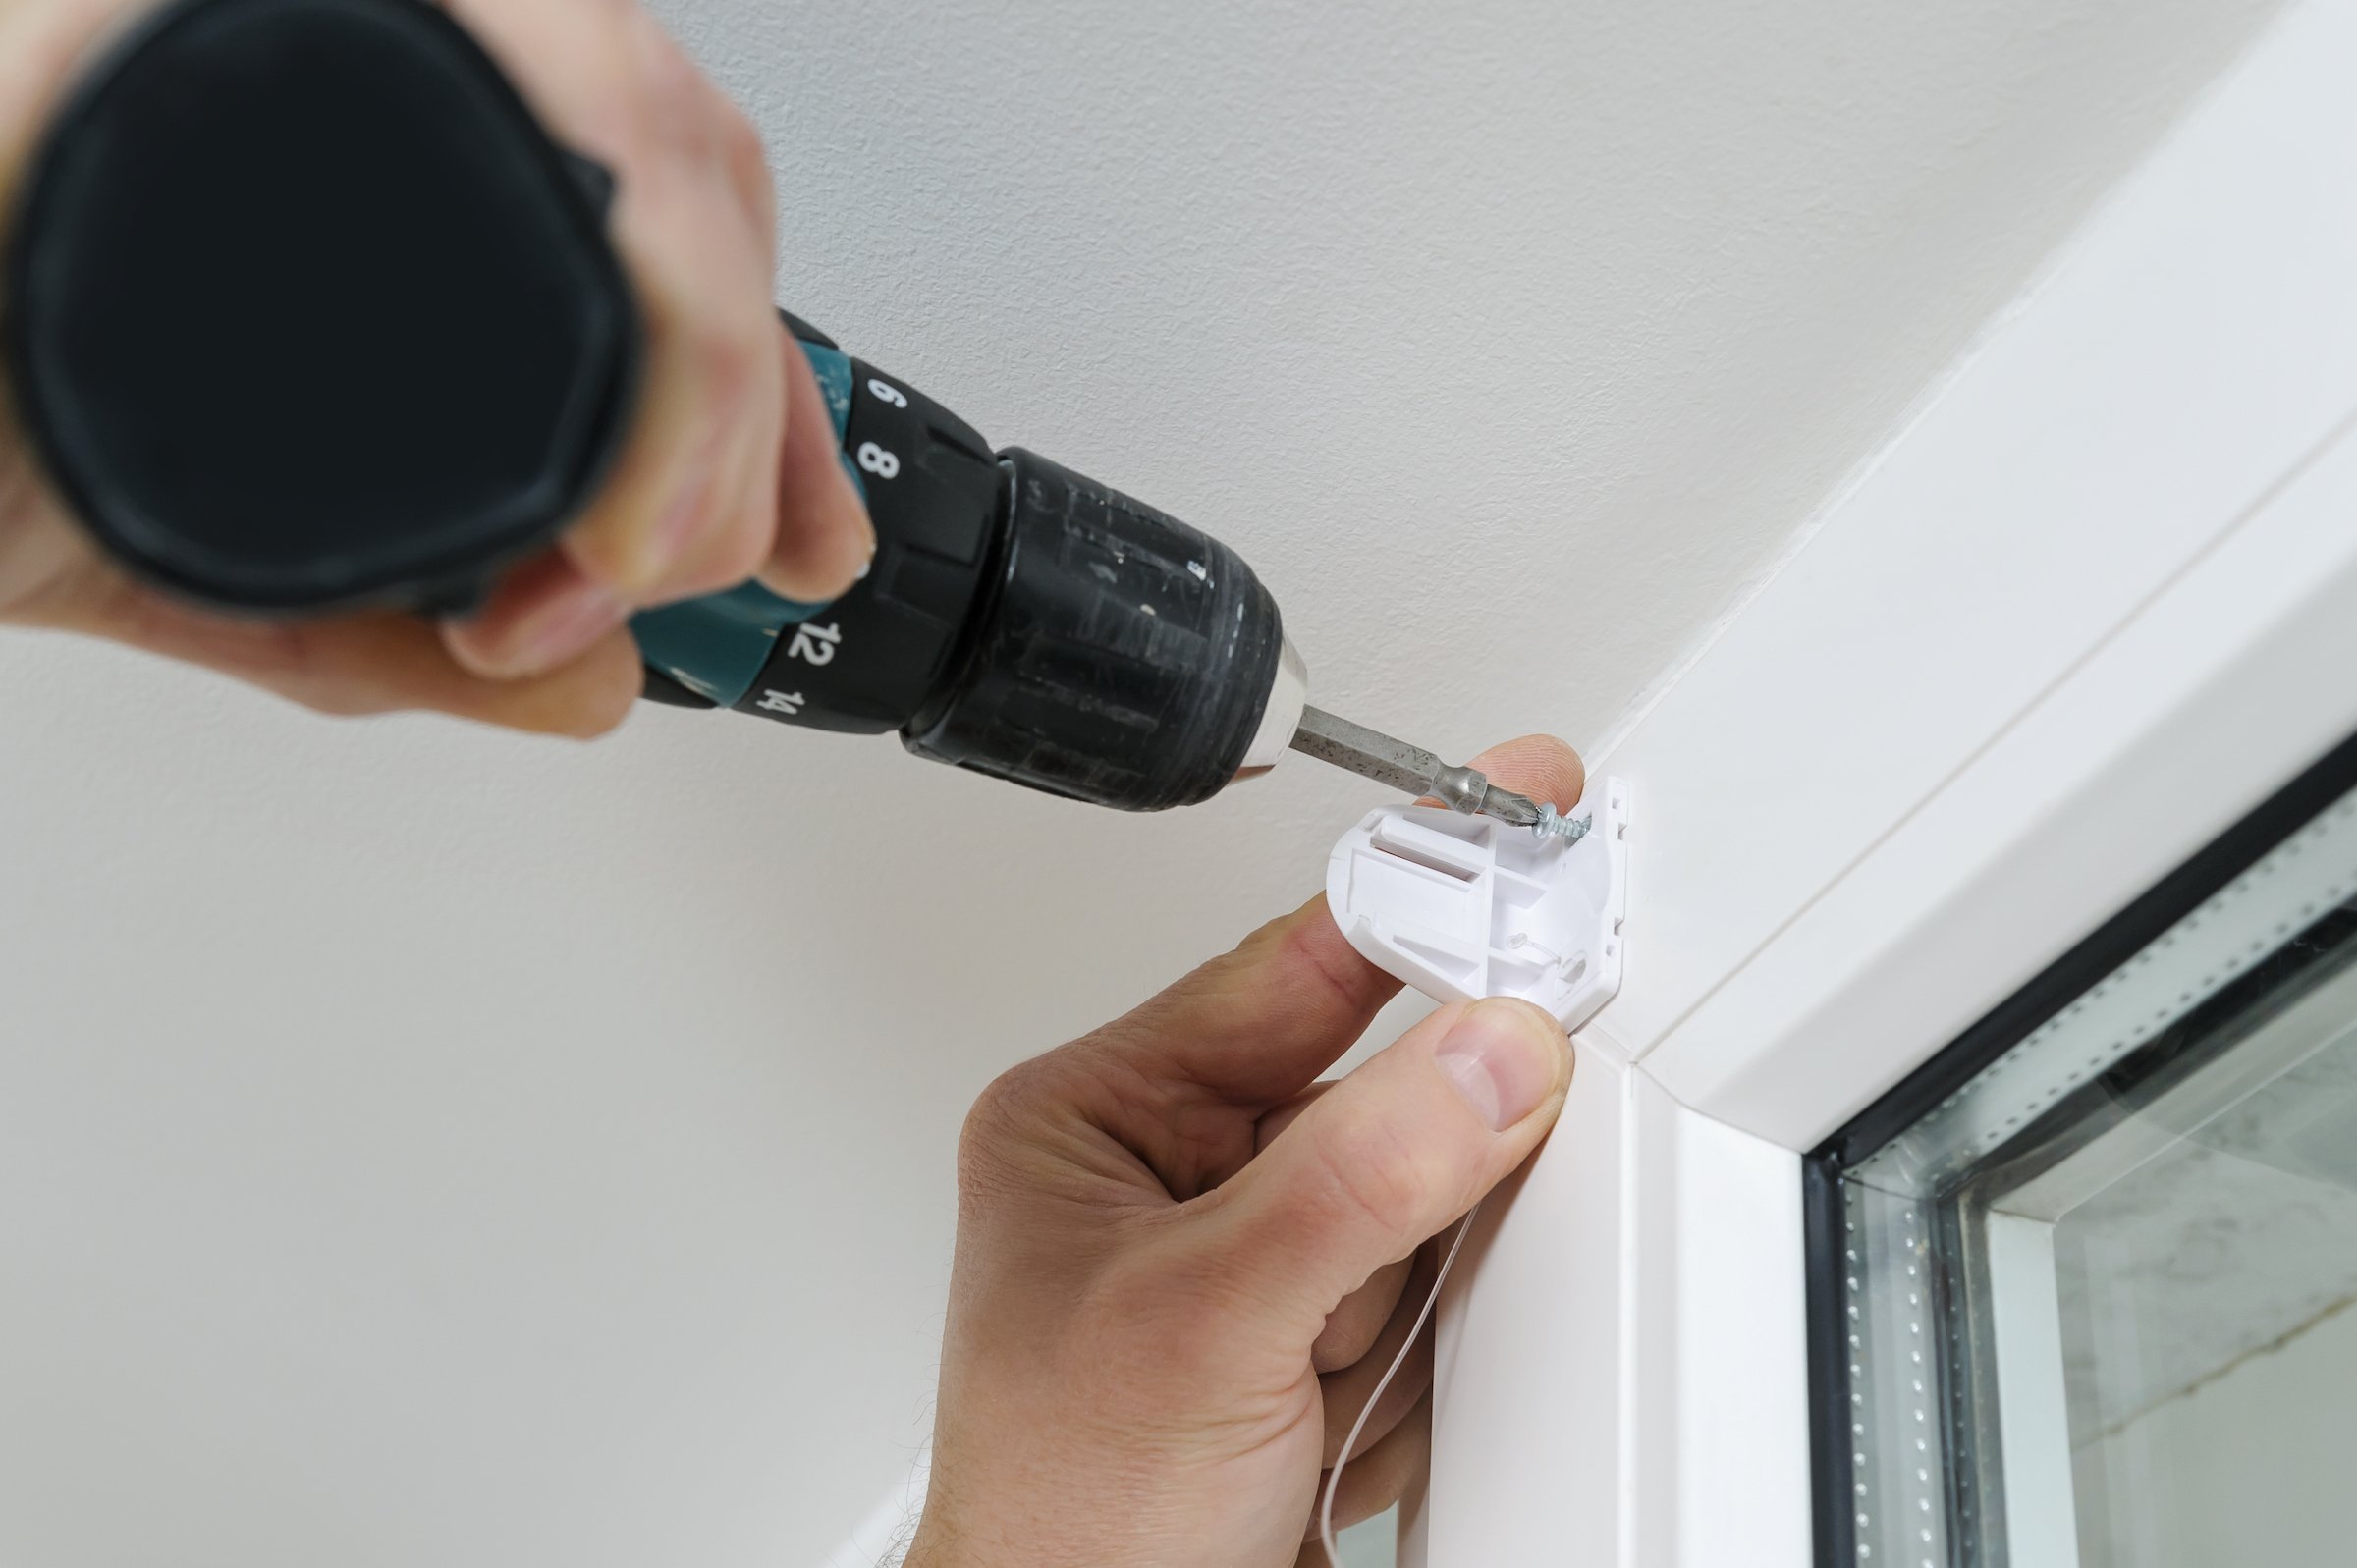
- Mark where the mounting brackets will go. First, use your pencil to mark where you’ll screw in the mounting brackets. For an inside mount, you’ll install the brackets inside the window frame, and for an outside mount, you’ll install your mounting brackets on both sides of the window. Use your level to ensure that the brackets are straight.
Specific instructions on where the brackets should be installed will typically be detailed in your manufacturer’s instructions to account for the mechanisms of the exact blinds you purchased. - Screw the mounting brackets into place. Once you’ve marked where the brackets will go, it’s time to screw them in. If you’d like to, or the manufacturer suggests it, you can drill pilot holes first to make this step easier.
- Attach the blinds. After you install the brackets, you’ll then place the window blind head rail (the top of the blinds) into the brackets, which should then secure them into place.
- Finish up. Finally, you’ll attach the wand (the piece that allows you to control how much light your blinds let in) to its designated hook and install the decorative valance, if your set came with one.
How to Install Cordless Blinds
 The process for installing cordless blinds is similar to traditional venetian blinds except that there are no mechanisms like the wand to contend with. All you need to do is make sure the mounting brackets are even, mark where they will go, and screw them in. After the brackets are secured, you will then hook the window blind head rail into the bracket, rotate it and click it into place.
Once the window blind head is in place, you can easily pull the blinds down and put them back up as needed.
Not a DIYer? Let the Professionals Handle it For You
If even reading the instructions for installing blinds stresses you out, Puls is here to help. Our handyman services are available in the Dallas, Los Angeles, and San Diego metro areas.
Booking an appointment with a Puls handyman is simple: All you need to do is go to our website, customize your appointment day and time, and wait for your technician to arrive.
We guarantee all of our repairs and installation for 90 days, so you can rest assured we stand by our work and our expert technicians.