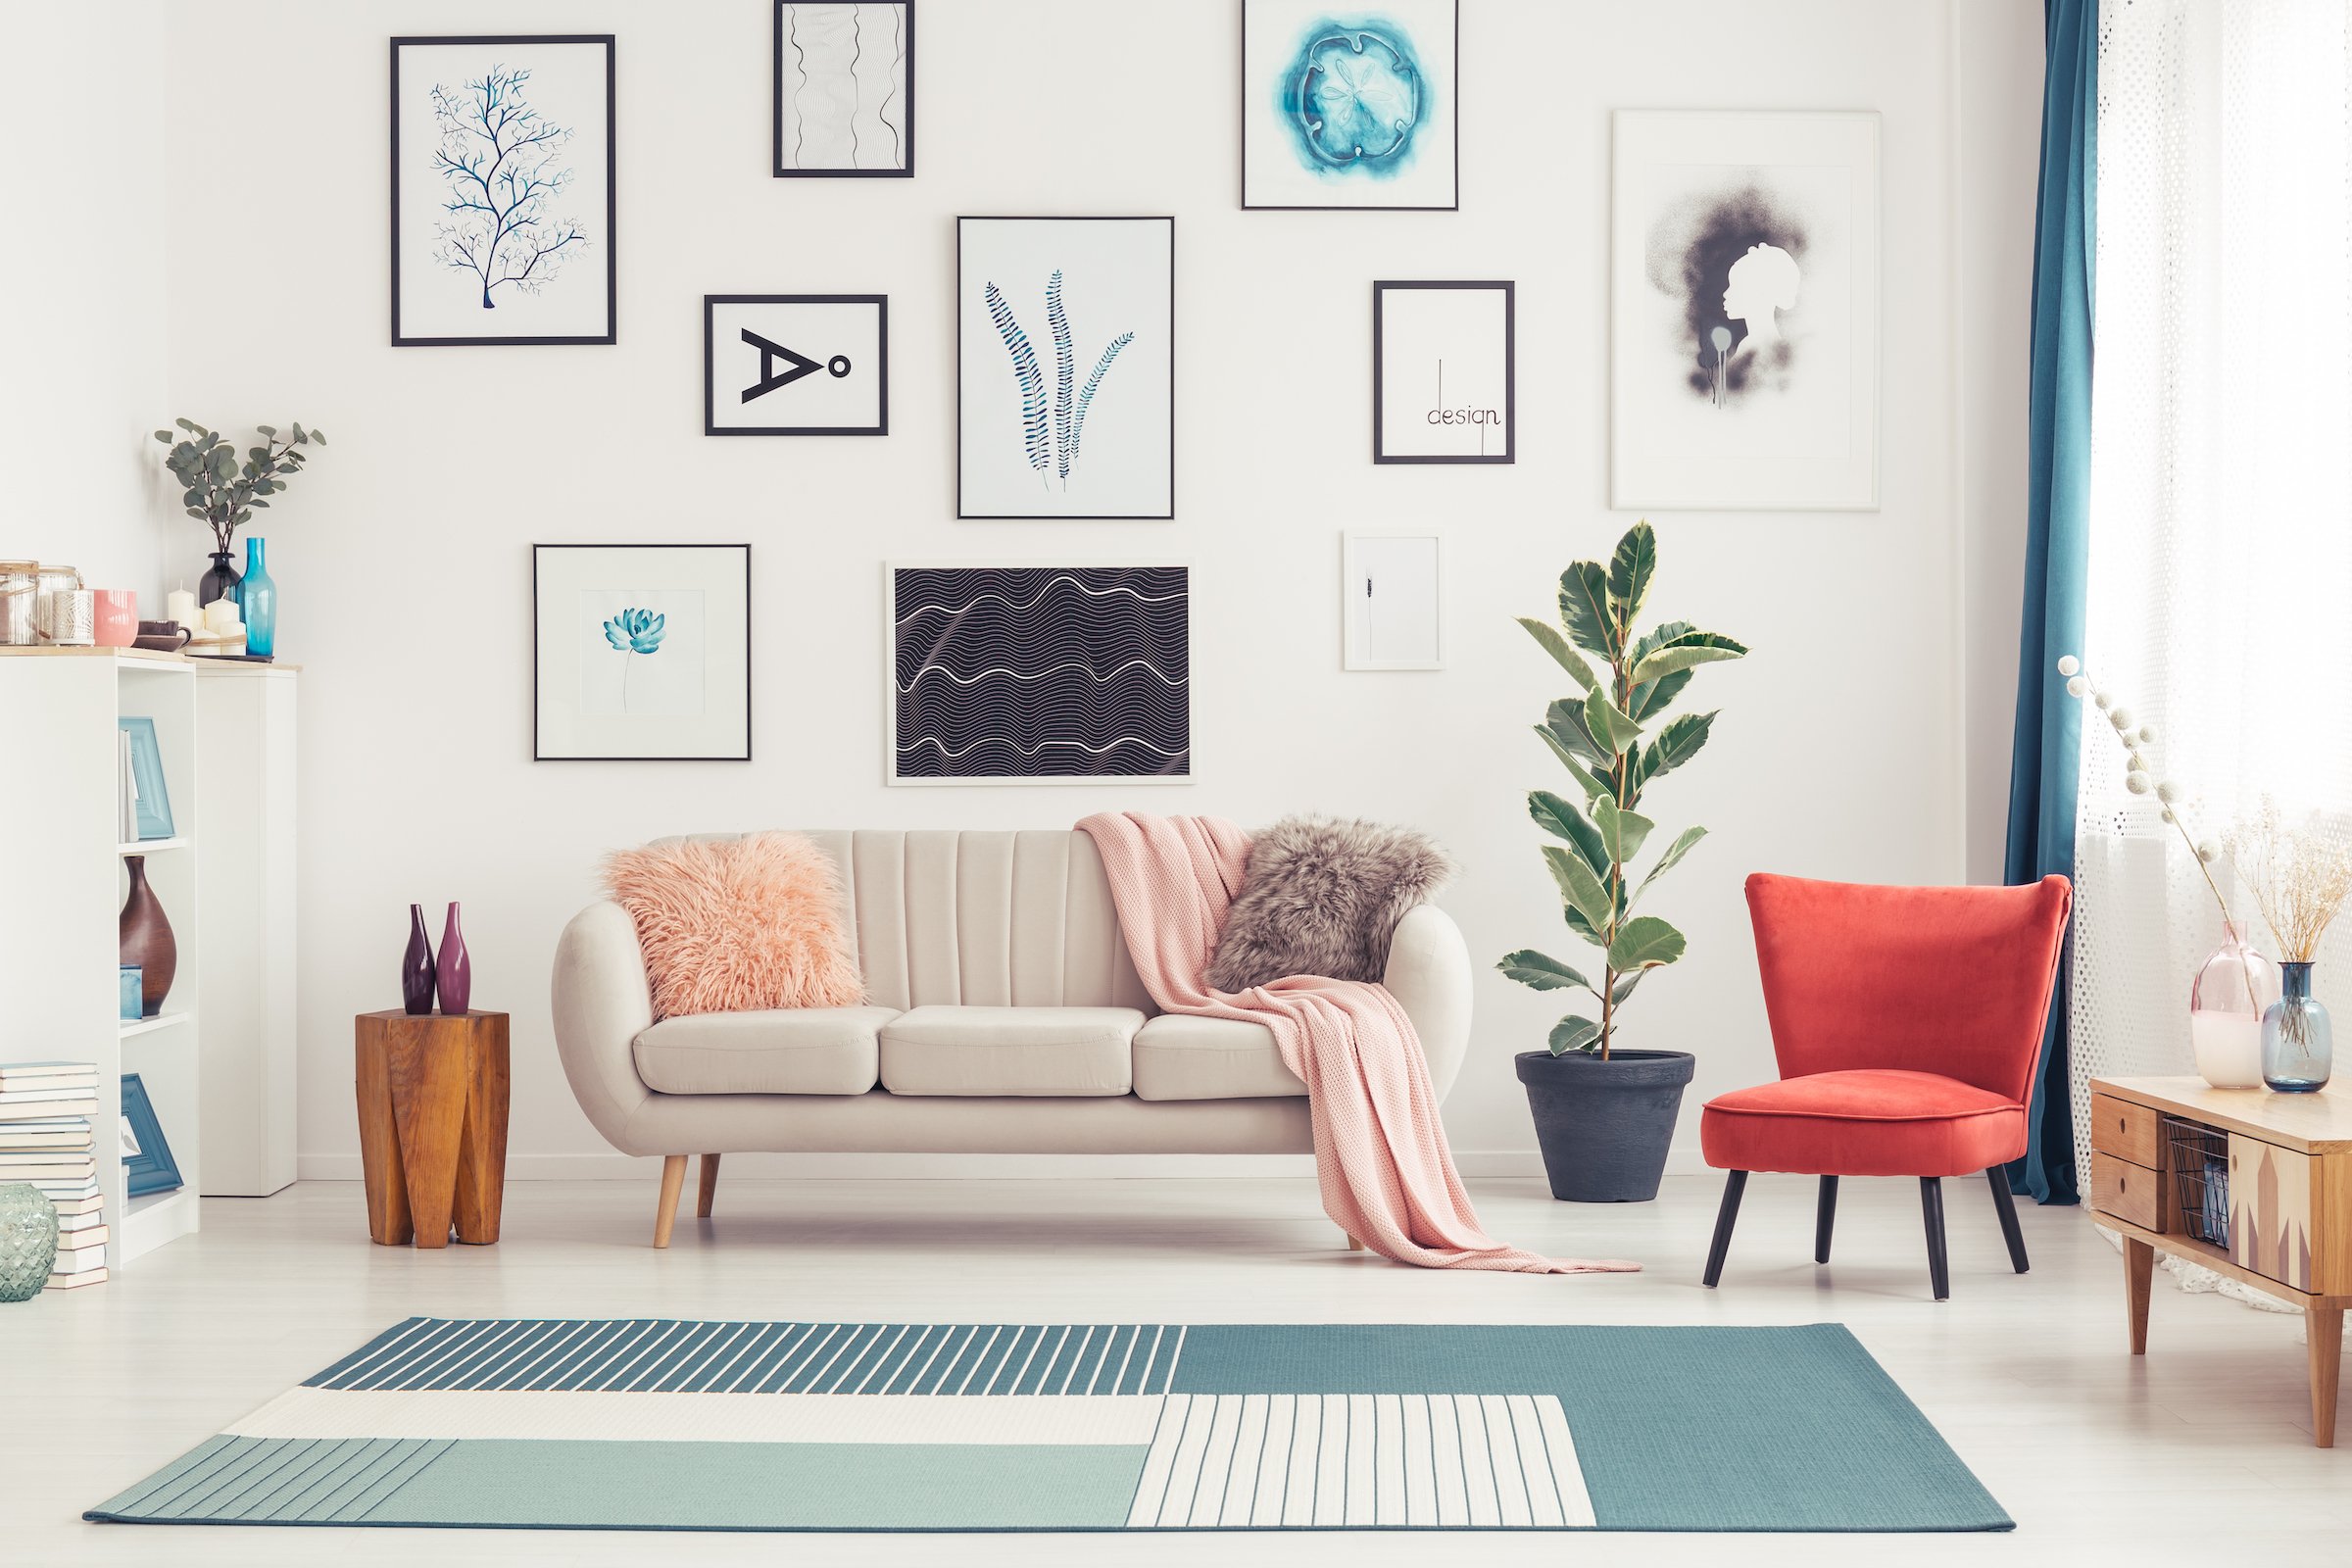
Whether you're a serious collector or have just acquired a few pieces for fun, decorating your walls with artwork can add personality and a splash of color to your home. Studies show that it can even boost your mood. Of course, finding a way to display each masterpiece can be challenging, especially if you're worried about damaging your walls.
If you're renting or just want to keep your walls in pristine condition, you're in luck. We've put together a step-by-step guide with easy, creative ideas on how to hang art without nails.
Hang Wall Art With Adhesive Strips Instead of Nails
 Adhesive strips attach to the back of the frame and can hold anywhere from three pounds up to 16 pounds. The best part about using adhesive strips to hang wall art is that you can remove them from smooth wall surfaces without damaging the wall. They’re easy to use, inexpensive to purchase, and once you decide you’re ready to move or take the art down, you can do so without removing the paint in a matter of seconds.
Be cautious using these on textured surfaces as they may remove the finish. You'll need to do a little prep work to ensure the strips adhere properly.
If you’re not sure which strips to choose, a good rule of thumb is to get strips that hold weight that’s more than you think you’ll need.
Here’s how to use adhesive strips to hang art on the wall:
- Remove any protruding hardware that's attached to the back of the picture. This includes any wires, screws, nails, or hanging fasteners. Also, remove any frame stands that will prevent the art from hanging flat against the wall.
- Clean the frame and wall area with a clean cloth and isopropyl alcohol. Allow the surfaces to dry.
- Press the two sides together for each set of strips.
- Remove the paper liner and attach the adhesive side to the back of the picture. Hold for 30 seconds. Light-weight artwork should only need a single set of strips positioned at the top center. Medium-weight pieces will require two sets at each top corner and heavy pictures will need four sets positioned at the top corners and on each side.
- Repeat until all strips are affixed.
- Remove the liners and press the picture against the wall.
- Gently pull on the bottom corners of the picture and lift to separate the wall strips. Press the wall strips with your fingers for 30 seconds.
- Wait an hour before replacing the artwork to ensure the strips have had time to properly attach on the wall.
If the Frame Has a Hanger on the Back, Use Adhesive Hooks
 If your picture frame has a hook on the back, you can also use adhesive hooks. Adhesive hooks have a weight rating of between one and eight pounds. You can use multiple hooks to hold artwork that weighs more than eight pounds. Like adhesive strips, these can be easily removed from smooth wall surfaces without damage. Be cautious using these on textured surfaces as they may remove the finish.
- Clean the wall with a clean cloth and isopropyl alcohol.
- You'll be hanging the artwork on the hook with hardware that's attached to the back, so you won't need to remove anything unless it prevents the picture from hanging flat against the wall.
- Remove the paper liner from the back of the adhesive, and press firmly against the wall for 30 seconds.
- Let set for one hour before hanging your artwork.
For Heavy Art, Use Press-in Hooks
Dealing with a heavy piece of artwork? You’re in luck. Manufacturers include Monkey Hook that can hold up to 35 pounds, Gorilla Hook for artwork weighing up to 50 pounds, Super Hook for up to 80 pounds, and Hercules Hook for massive pieces weighing up to 150 pounds. These will make a small hole in the drywall but do not require tools to install.
- Push the long, tapered end of the hook through the wall so just the small hook is sticking out. Make sure the hook is upright.
- For heavier pictures, you'll need to use more than one hook. Use a level to make sure the hooks are at the same height. Measure the artwork width and divide it into thirds or quarters to balance the weight.
- Hang the artwork. A wire strung along the back of the frame may be easier to line up on the hooks.
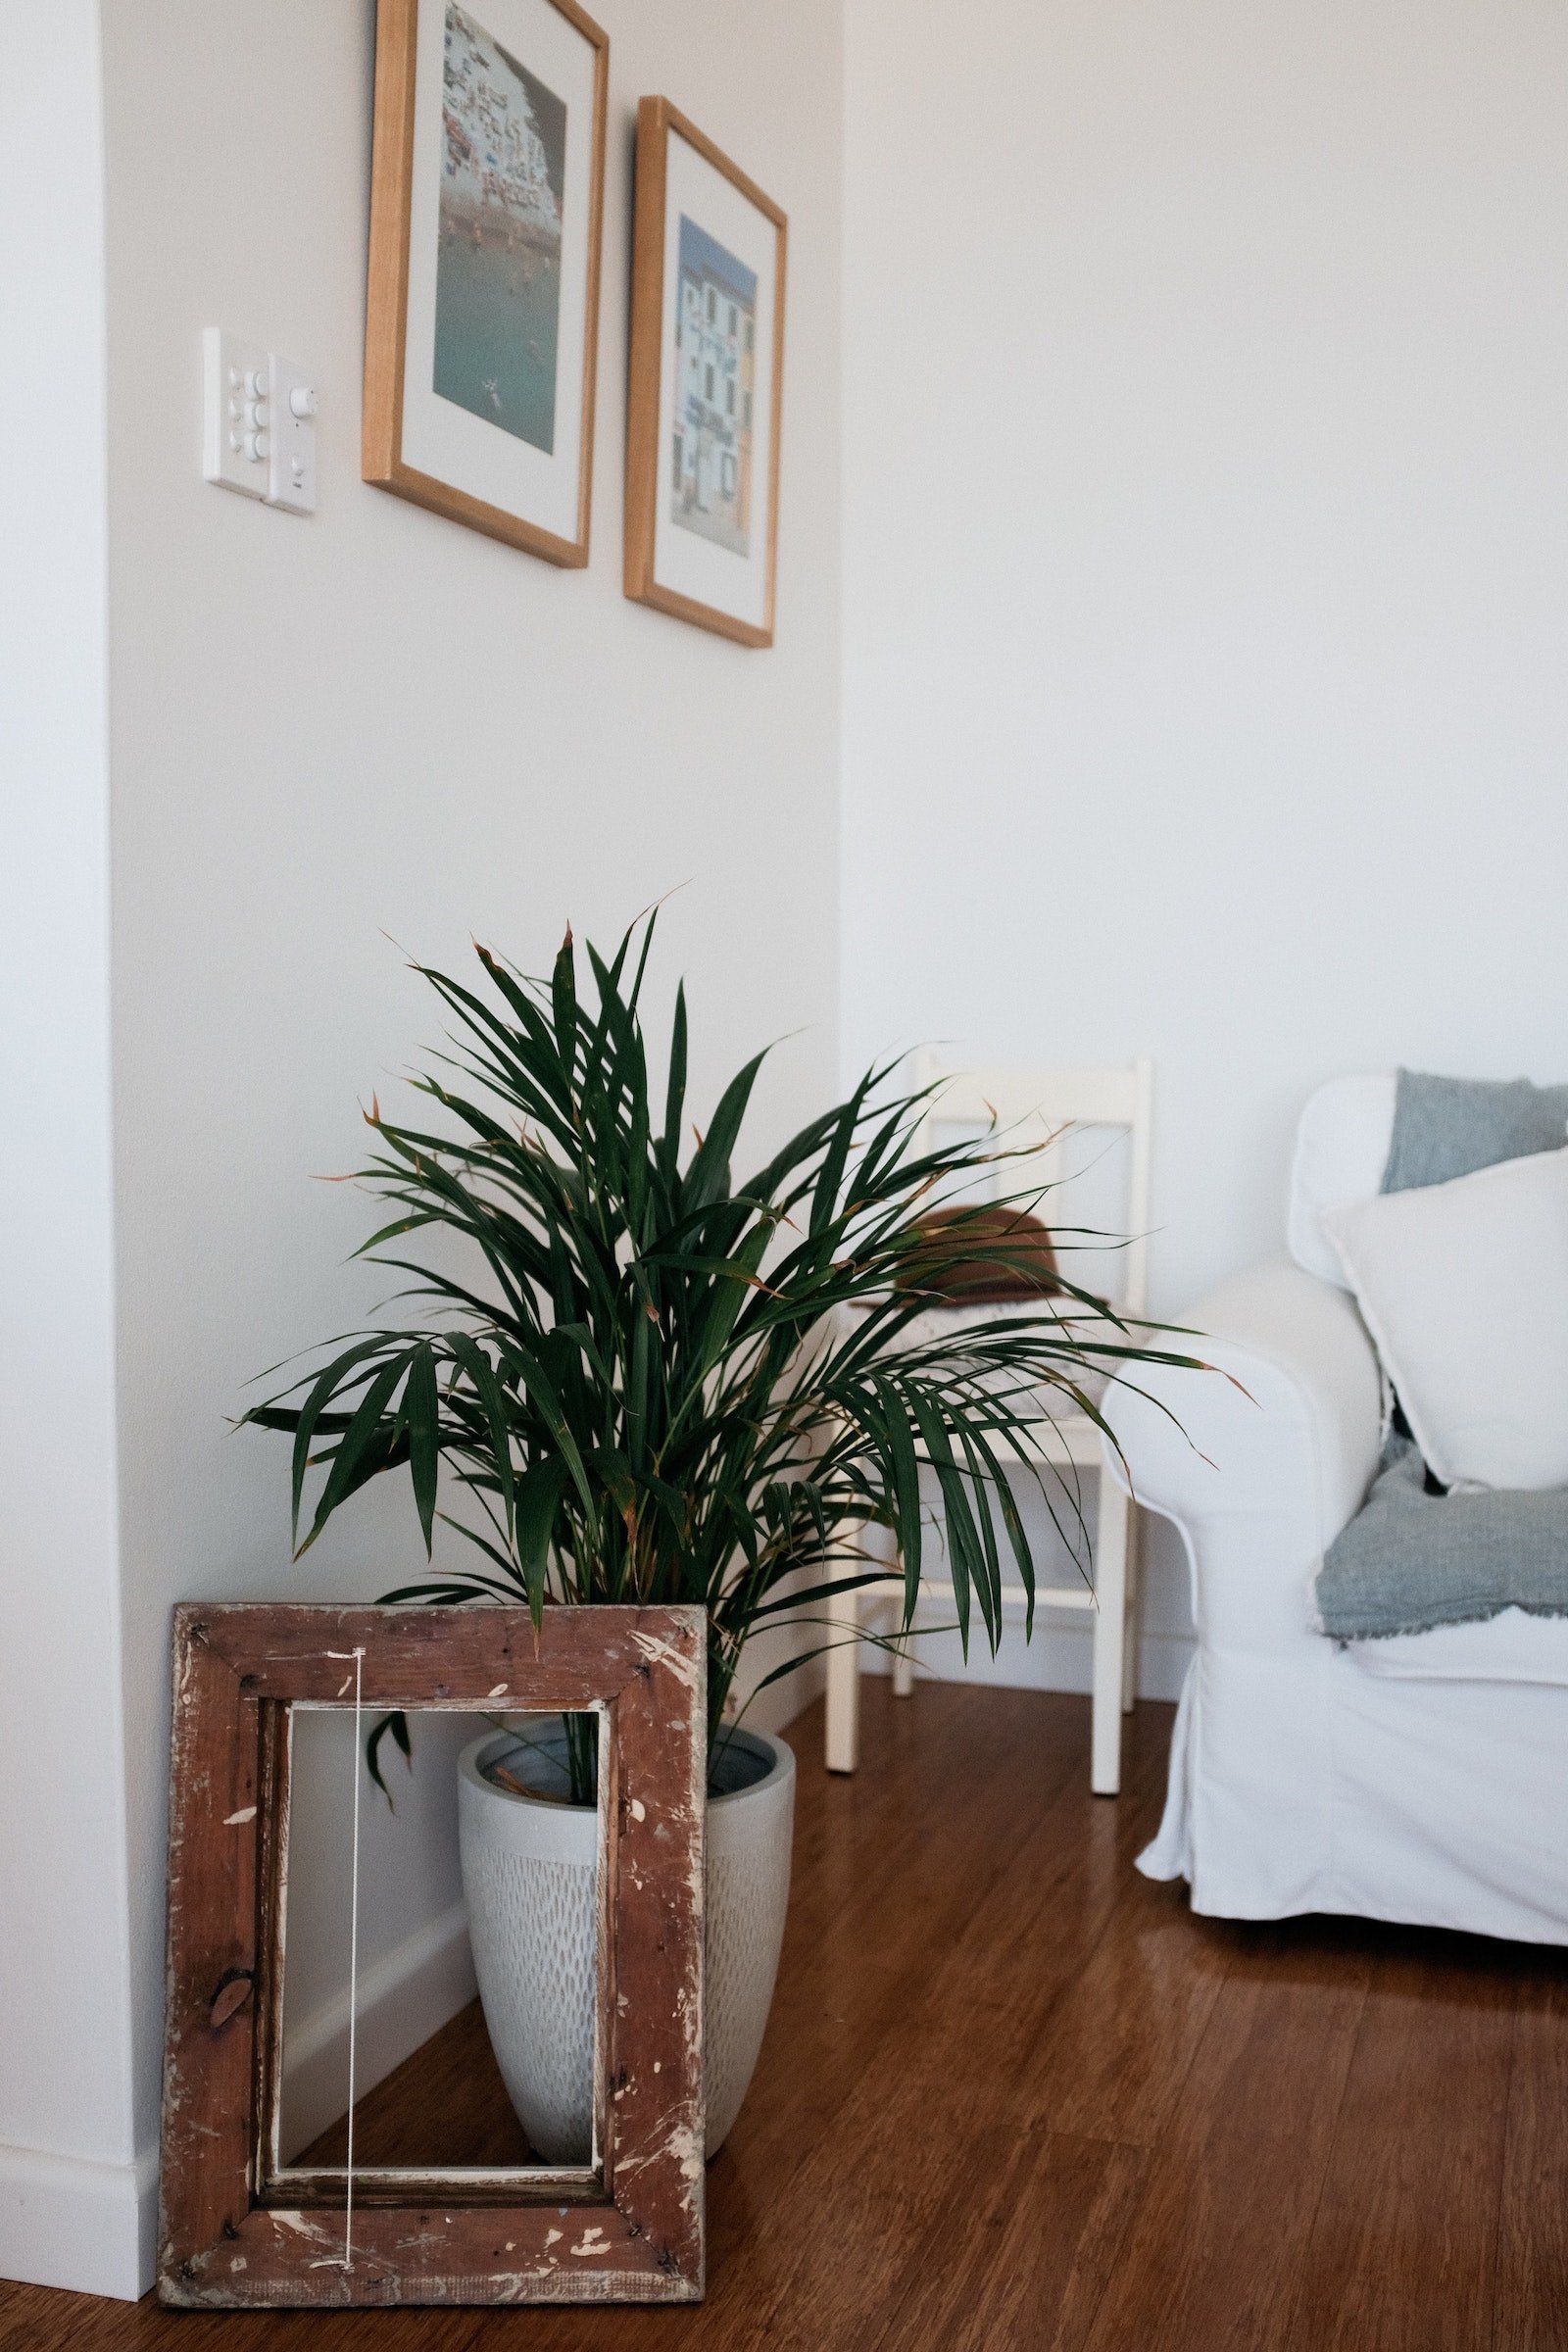
Don’t Be Afraid to Get Creative
 You're not limited to hanging your art on the wall. Showcase artwork on your fireplace mantle, use bookshelves to display your smaller framed artwork in a decorative, multi-level configuration, or place a painting on an easel to add a fun design element to your space.
By using a little ingenuity and specially designed fasteners, you can easily hang art without nails.
Still feel a little nervous or unsure about how to display your beautiful collection yourself? If you live in the Dallas area, a professional Puls handyman can do the work for you. We've got affordable service plans and convenient appointment scheduling available to hang your artwork or handle other projects quickly and easily.