How to Fix a Refrigerator: A Step-By-Step Guide

offer_banner_mobile
All Posts

So, you’ve combed through our resource center on how to fix a refrigerator, went through the motions of diagnostics, and still, you’re frozen (pun intended). You’ve perused out our fridge repair guides that detail how to check the power, the thermostat, the gaskets, and you’ve already researched how to fix a fridge that’s leaking water.

Still, if you’re ready to take your DIY fridge repair to the next level, there are some additional fixes that do require a bit of technical prowess.

This guide is intended for informational purposes only. Attempting to repair household appliances can pose a safety risk. We highly recommend that you consult with a service professional for your fridge repair.

How to Fix a Refrigerator Thermal Fuse

fridge thermal fuse repair

Lots of home appliances rely on a thermal fuse to help regulate temperature. Like an electrical fuse, a thermal fuse is a safety measure that trips to shut the refrigerator – but instead of reacting to a power surge, a thermal fuse flips when an appliance overheats.

One way to tell if the thermal fuse has blown is if the evaporator freezes over. To fix this, check your refrigerator model number and order a new fuse online, or get one from your local hardware store.

It can be pretty simple to fix a fridge thermal fuse – if you know where the fuse is. A thermal fuse can be replaced using simple tools you probably have lying around the house: a Phillips head screwdriver, a flat head screwdriver, wire cutters and zip ties.

The thermal fuse is typically located in one of two places - either inside the refrigerator behind the paneling, or in the rear bottom, next to the compressor.

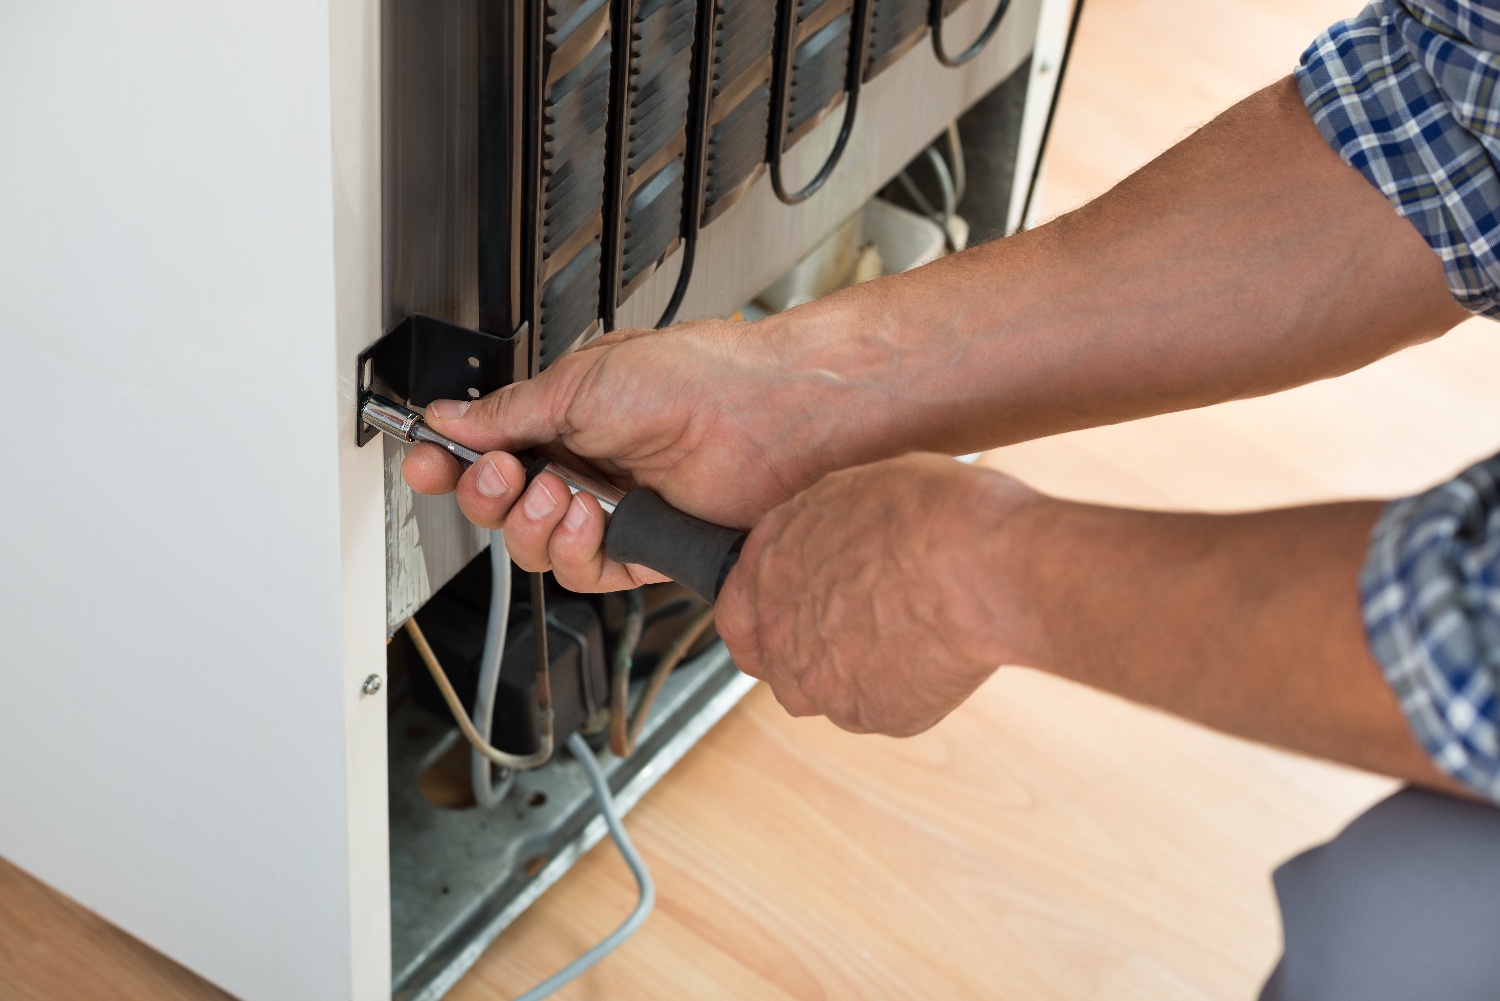
It’s important to remember to unplug your refrigerator unit before attempting to locate your thermal fuse. Once unplugged, use the owner’s manual to help you find where the fuse is located on your refrigerator model.

Using the Phillips head screwdriver to remove screws holding in the paneling, and the flat head screwdriver to pry the paneling open, you can expose the thermal fuse, which is connected on each end via plastic clips. If the wiring on the thermal fuse is secured with zip ties, use the wire cutter to carefully cut through the zip ties without cutting the wires themselves.

Then, simply unclip the thermal fuse, replace it with the new fuse, apply new zip ties if necessary, and reassemble the paneling.

Book a fridge repair

How to Fix a Fridge That’s Low on Freon

fridge low on freon

If you’ve already checked your fan, compressor, timer, thermostat, ventilation holes, and everything is in working order, adding coolant may be the next step in your DIY fridge repair.

This requires some specialized equipment:

  • Bullet piercing valve

  • Proper Freon for your refrigerator model

  • Freon hose

  • Freon gauge

  • Socket wrench or nut driver

  • Air conditioning conversion adapter

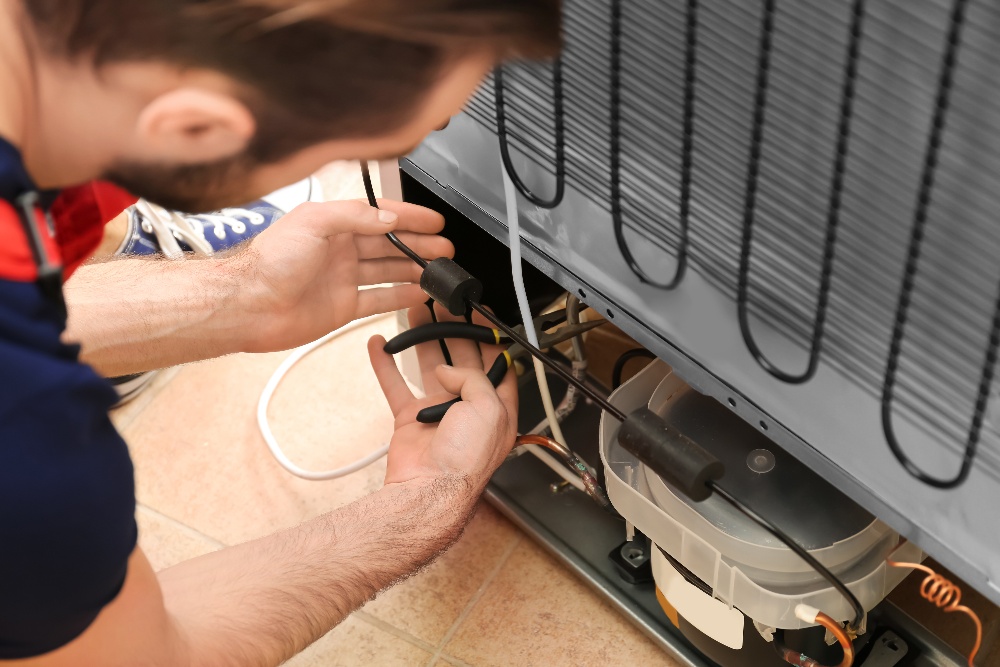
Disconnect the fridge from power, pull it away from the wall, and remove the back paneling. Find the area of the Freon tube closest to the compressor, and select the proper piercing valve adapter to fit around the tube.

Then, install the piercing valve using the enclosed Allen wrench. The piercing valve will pierce a hole in the tube, allowing you to open or close the tube at will, so you can add additional Freon now or later, remove Freon, or just check the levels.

Put the air conditioning converter on the piercing valve in order to connect the Freon hose. Open the valve using the Allen wrench.

Plug the refrigerator back in, and then measure the Freon levels using the gauge to determine how much Freon to add. Consult your owner’s manual to see the proper Freon level for your refrigerator model.

Then, connect the Freon hose to the replacement can of Freon, and add Freon to your refrigerator incrementally, checking the levels to make sure you didn’t add too much. Finally, close the valve, detach the air conditioning adapter, and reassemble your paneling.


Make Fridge Repairs Easy - Call Puls

If you lack the tools, experience, or just the spare time to attempt a repair on your own, leave it to the experts. Our technicians are familiar with all fridge brands and models, and can perform your repair quickly, professionally, and for a great price.

It’s super easy to schedule an appointment: simply hop online to book a time slot, and a certified Puls technician will be at your door in no time – often as soon as the very same day.

To make things even easier, we also offer a thorough in-home inspection for just $79, which is waived entirely if you move forward with our recommended repair service. This will help you can get an idea of the issue at hand and how much it will cost, before committing to anything

And, of course, we stand behind our technicians and the great work that they do. That’s why on all refrigerator repairs we offer a 90-day guarantee on parts and labor.

Plus, for a limited time only, you can enjoy $20 off when you book online with the code: SAVE20. You’ve got no time to lost - get started now to have your fridge working like new by tonight.

Fix my fridge

Jake S.
Jake Sherman is a professional writer with a background in journalism. He is fascinated by home appliances and how they work. He enjoys breaking down complex topics and explaining them in interesting ways. He has been a Puls staff writer for two years. When he's not writing, he enjoys trotting around the globe, trying unfamiliar foods, and testing unmarked doors to see if they're locked.
Related Posts

Home maintenance can feel overwhelming when it’s framed as one endless checklist. When everything seems important at once, it’s easy to delay action altogether and hope nothing urgent pops up. A room-by-room strategy makes home care feel more manageable. Instead of thinking about your home as one big project, you focus on individual spaces. This makes it easier to notice small changes, address issues early, and avoid the kind of problems that grow quietly over time. Kitchen: Where Wear and Tear Adds Up Fast Kitchens combine water, electricity, heat, and daily use, which naturally increases the chances of things wearing down. Under-sink leaks, loose outlets, and aging fixtures are common early warning signs. Because many kitchen components are tucked away inside cabinets, small problems often stay hidden until damage spreads. Catching these issues early keeps repairs simpler, faster, and far less expensive. Bathrooms: Constant Moisture, Constant Risk Bathrooms deal with daily humidity, which puts ongoing stress on plumbing connections, fixtures, and surfaces. Slow drains, loose faucets, or subtle discoloration around fixtures are often the first signs that something needs attention. Moisture-related issues rarely resolve on their own. Addressing them early helps prevent mold growth, water damage, and structural problems that can disrupt your home and budget. Living Areas: Subtle Signals Matter In living rooms and bedrooms, maintenance issues often show up visually or electrically. Small wall cracks, flickering lights, or loose mounted items can indicate settling, wiring wear, or anchor problems inside the walls. Because these changes happen gradually, they’re easy to normalize. Paying attention early keeps fixes straightforward and prevents damage from spreading behind the scenes. Entryways and Hallways: High Traffic, High Stress Doors, frames, and walls in high-traffic areas experience constant movement and pressure. Sticking doors or shifting frames can be early signs of alignment issues or normal structural movement that needs adjustment. Handling these issues early keeps everyday wear from turning into long-term damage that affects multiple rooms. Laundry Areas: Small Spaces, Big Impact Laundry hookups are one of the most common sources of unnoticed leaks. Hoses, valves, and drains wear down slowly, and even minor drips can lead to significant water damage if left unchecked. Because laundry areas are often out of sight, problems here tend to go unnoticed longer than they should. Regular inspection and timely service can prevent costly flooring and wall repairs. Why a Room-by-Room Approach Works Breaking maintenance down by room helps homeowners feel more in control of their home. It creates a natural rhythm for checking key areas without feeling like everything needs attention at once. This approach also makes it easier to prioritize. Rooms with water, electricity, or heavy use naturally deserve more frequent attention than low-impact spaces. How This Strategy Helps With Budgeting Room-based maintenance spreads costs out over time instead of letting them pile up into emergency repairs. Small, planned fixes are easier to budget for than sudden, expensive problems. Homeowners who take this approach often find they spend less overall—not because they avoid repairs, but because they handle them at the right moment. Peace of Mind Comes From Knowing What’s Normal When you check your home consistently, you start to recognize what’s normal and what’s new. That awareness makes it easier to spot issues early and take action without panic. Instead of wondering whether something has “always been like that,” you can make informed decisions with confidence. Where Professional Help Makes the Biggest Difference Professional technicians understand how issues in one room can affect the rest of the home. A trained eye can spot early warning signs that aren’t obvious to homeowners. Puls technicians can inspect multiple areas efficiently and handle repairs across rooms and systems, making it easier to stay ahead of maintenance without juggling multiple service providers. Why Proactive Service Is Easier Than Reactive Repairs Emergency repairs often come with stress, scheduling pressure, and limited options. Proactive service allows homeowners to plan repairs around their schedule and avoid last-minute decisions. Calling a Puls tech early helps keep home maintenance predictable, manageable, and far less disruptive. Consistency Beats Perfection Home care isn’t about fixing everything at once or chasing an ideal standard. It’s about steady attention and timely action. A professional-first, room-by-room approach keeps your home running smoothly, protects its value, and helps you avoid costly surprises down the line.

  • 5 min read
  • 05/04/26

Staying on top of home maintenance doesn’t have to feel like a constant project. Most homeowners don’t need more reminders—they need a simpler way to organize what already matters. That’s where a monthly home maintenance calendar comes in. Instead of reacting to issues or juggling long checklists, a calendar-based approach creates a steady rhythm that keeps your home running smoothly throughout the year. Why Monthly Planning Feels Easier Big seasonal lists tend to show up all at once and demand attention when life is already busy. Monthly planning spreads things out so nothing feels urgent or overwhelming. When you know exactly what to focus on each month, home care becomes more predictable—and much easier to fit into real life. How the Puls Home Maintenance Calendar Is Structured The Puls home maintenance calendar is designed to reduce mental load, not add to it. Each month focuses on just three types of tasks, keeping things clear and manageable: Quick Wins Seasonal Must-Dos Call in a Pro Tasks This structure ensures that important maintenance stays on track without turning home care into a full-time job. Quick Wins: Light Tasks That Keep Things on Track Quick wins are small, low-effort actions that help maintain comfort and performance around the home. They’re designed to be fast, easy to remember, and satisfying to complete. These tasks help homeowners feel like they’re staying ahead without committing large amounts of time or energy. Seasonal Must-Dos: Staying in Sync With the Year Every season brings small shifts in how a home is used. Seasonal must-dos help align your home with those changes in a calm, planned way. Because these tasks are anticipated in advance, they don’t come with urgency or stress. They simply support comfort, efficiency, and everyday use as the year progresses. Call in a Pro: Built-In Professional Support Some maintenance tasks are best handled by a professional—not because something is wrong, but because it’s easier and more reliable that way. Each month includes at least one Call in a Pro task, giving homeowners a clear moment to bring in expert help and keep things handled properly without guesswork. Puls technicians fit seamlessly into this system, handling professional tasks efficiently and helping homeowners stay consistent without juggling multiple providers. Why This System Reduces Stress With only three task types to think about, maintenance stays focused and manageable. There’s no pressure to do everything at once, and no feeling that something critical is being missed. Homeowners following a calendar-based approach often feel more confident simply because they know what’s coming next. Consistency Without Perfection This system doesn’t rely on doing everything perfectly. Missing a task one month doesn’t derail anything—the calendar simply brings your focus back the next month. That flexibility is what makes monthly maintenance sustainable and realistic over time. A Calmer, More Organized Way to Care for Your Home When maintenance is predictable and supported, it stops feeling like a chore. It becomes part of the background—quietly supporting comfort, safety, and daily life. A monthly home maintenance calendar turns home care into a steady rhythm, and with Puls technicians available for professional tasks, staying on top of your home feels simple, not stressful.

  • 4 min read
  • 03/23/26

Even in mild climates, decks and fences are exposed to the elements every day. Sunlight fades color and weakens coatings, humidity causes wood to expand and contract, and soil movement shifts posts and support beams. Over time, this wear and tear leads to cracks, discoloration, and loose boards that can compromise safety and appearance.

  • 12 min read
  • 10/28/25