How to Install Pendant Lighting Step-by-Step

offer_banner_mobile
All Posts

Today's modern pendant lights come in a variety of shapes, sizes, and designs to fit every decor and function.

Trendy pendant fixtures are often used in clusters as task lighting over kitchen islands and work areas, over a dining room table, or a smaller, single light over a sink or desk area.

If you're in the mood to update your existing light fixtures to more contemporary pendant styles and are a little handy, follow the step-by-step guide we've assembled on how to install pendant lighting.

Before You Install Pendant Light Fixtures, Think About...

Think about the placement of your fixtures before you learn how to install pendant lightingWhile you may spend hours trying to decide on the perfect pendant light to match your distinctive style, installation is an important factor in how it looks and performs. 

  • For an 8-foot ceiling height, the pendant light should hang from 12-20 inches down. Add 3 inches for each additional foot of ceiling height.
  • For pendant lights that will hang over tables, countertops, or islands, measure up 30-36 inches.
  • Before installing your lights, make sure you have a clear sightline across the kitchen.
  • Dimmer switches can be useful for adjusting the light level when needed.

Complete Important Installation Prep Work First 

Complete prep work before you learn how to install pendant lighting

  1. Remove the fixture and components from the box.
  2. Turn off the electricity at the circuit breaker or fuse box.
  3. Take down the old fixture (assuming you're upgrading) by detaching the fixture, removing the old wire connectors (after using a voltage tester to make sure the power is off.)
  4. Disconnect the wires, remove the base, and trim pieces.
  5. Make sure there is a beam or support piece to hold the fixture securely.
  6. Tighten the screws in the electrical box.

How to Install a Pendant Light Fixture Step By Step 

How to install pendant lighting, diagram of the junction box.
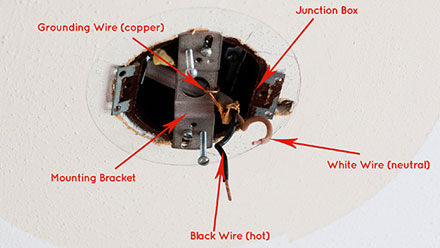
Image via 1000bulbs.com

  1. Connect the wires from the back of the fixture to the wires hanging out of the junction box—black to black and white to white. Remove some wire insulation with wire strippers to expose connections. Wrap wire ends together. You may need some help holding the light in place.
  2. Screw on wire nuts and secure them tightly.
  3. Attach the ground wire (either bare copper or green) by wrapping it around the ground screw in the junction box.
  4. Push the wires into the junction box.
  5. Install the mounting bracket and screws.
  6. Screw the fixture to the bracket.
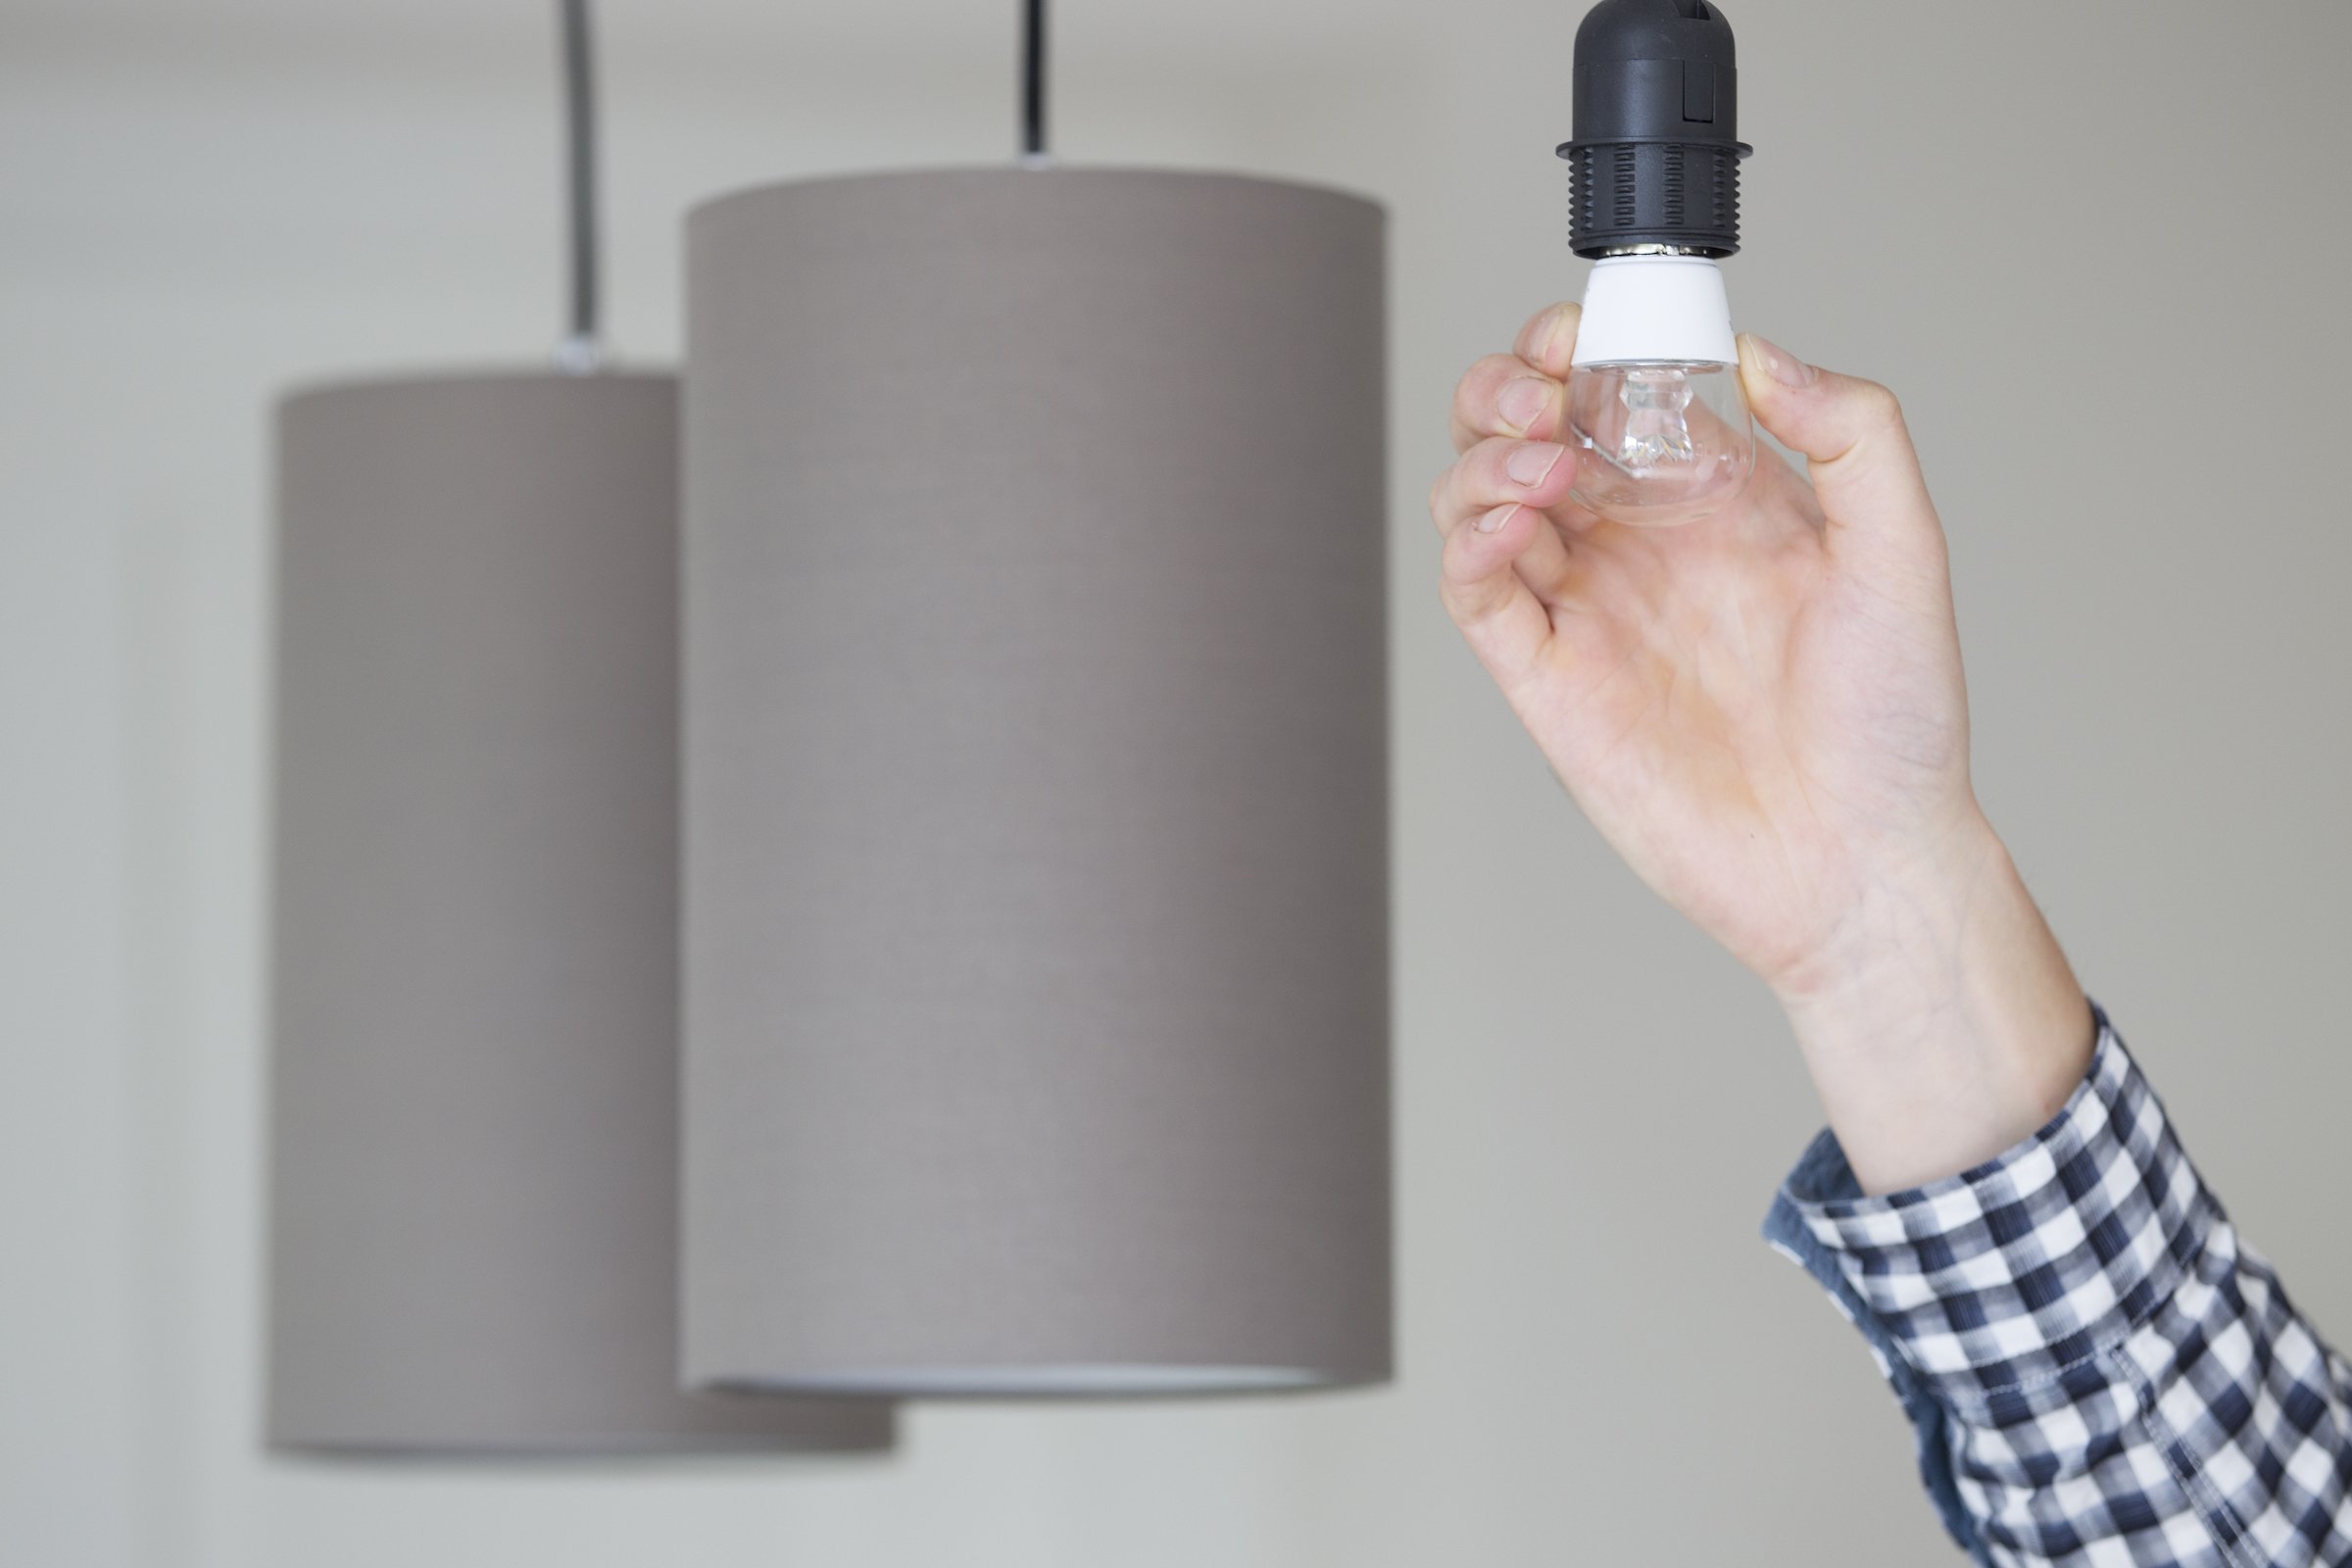
  7. Install the glass globe or shade, a light bulb, trim, cover and any other remaining parts.
  8. Turn the power on.

How to Install Pendant Lights Over an Island

How to install pendant lighting over a kitchen island. 
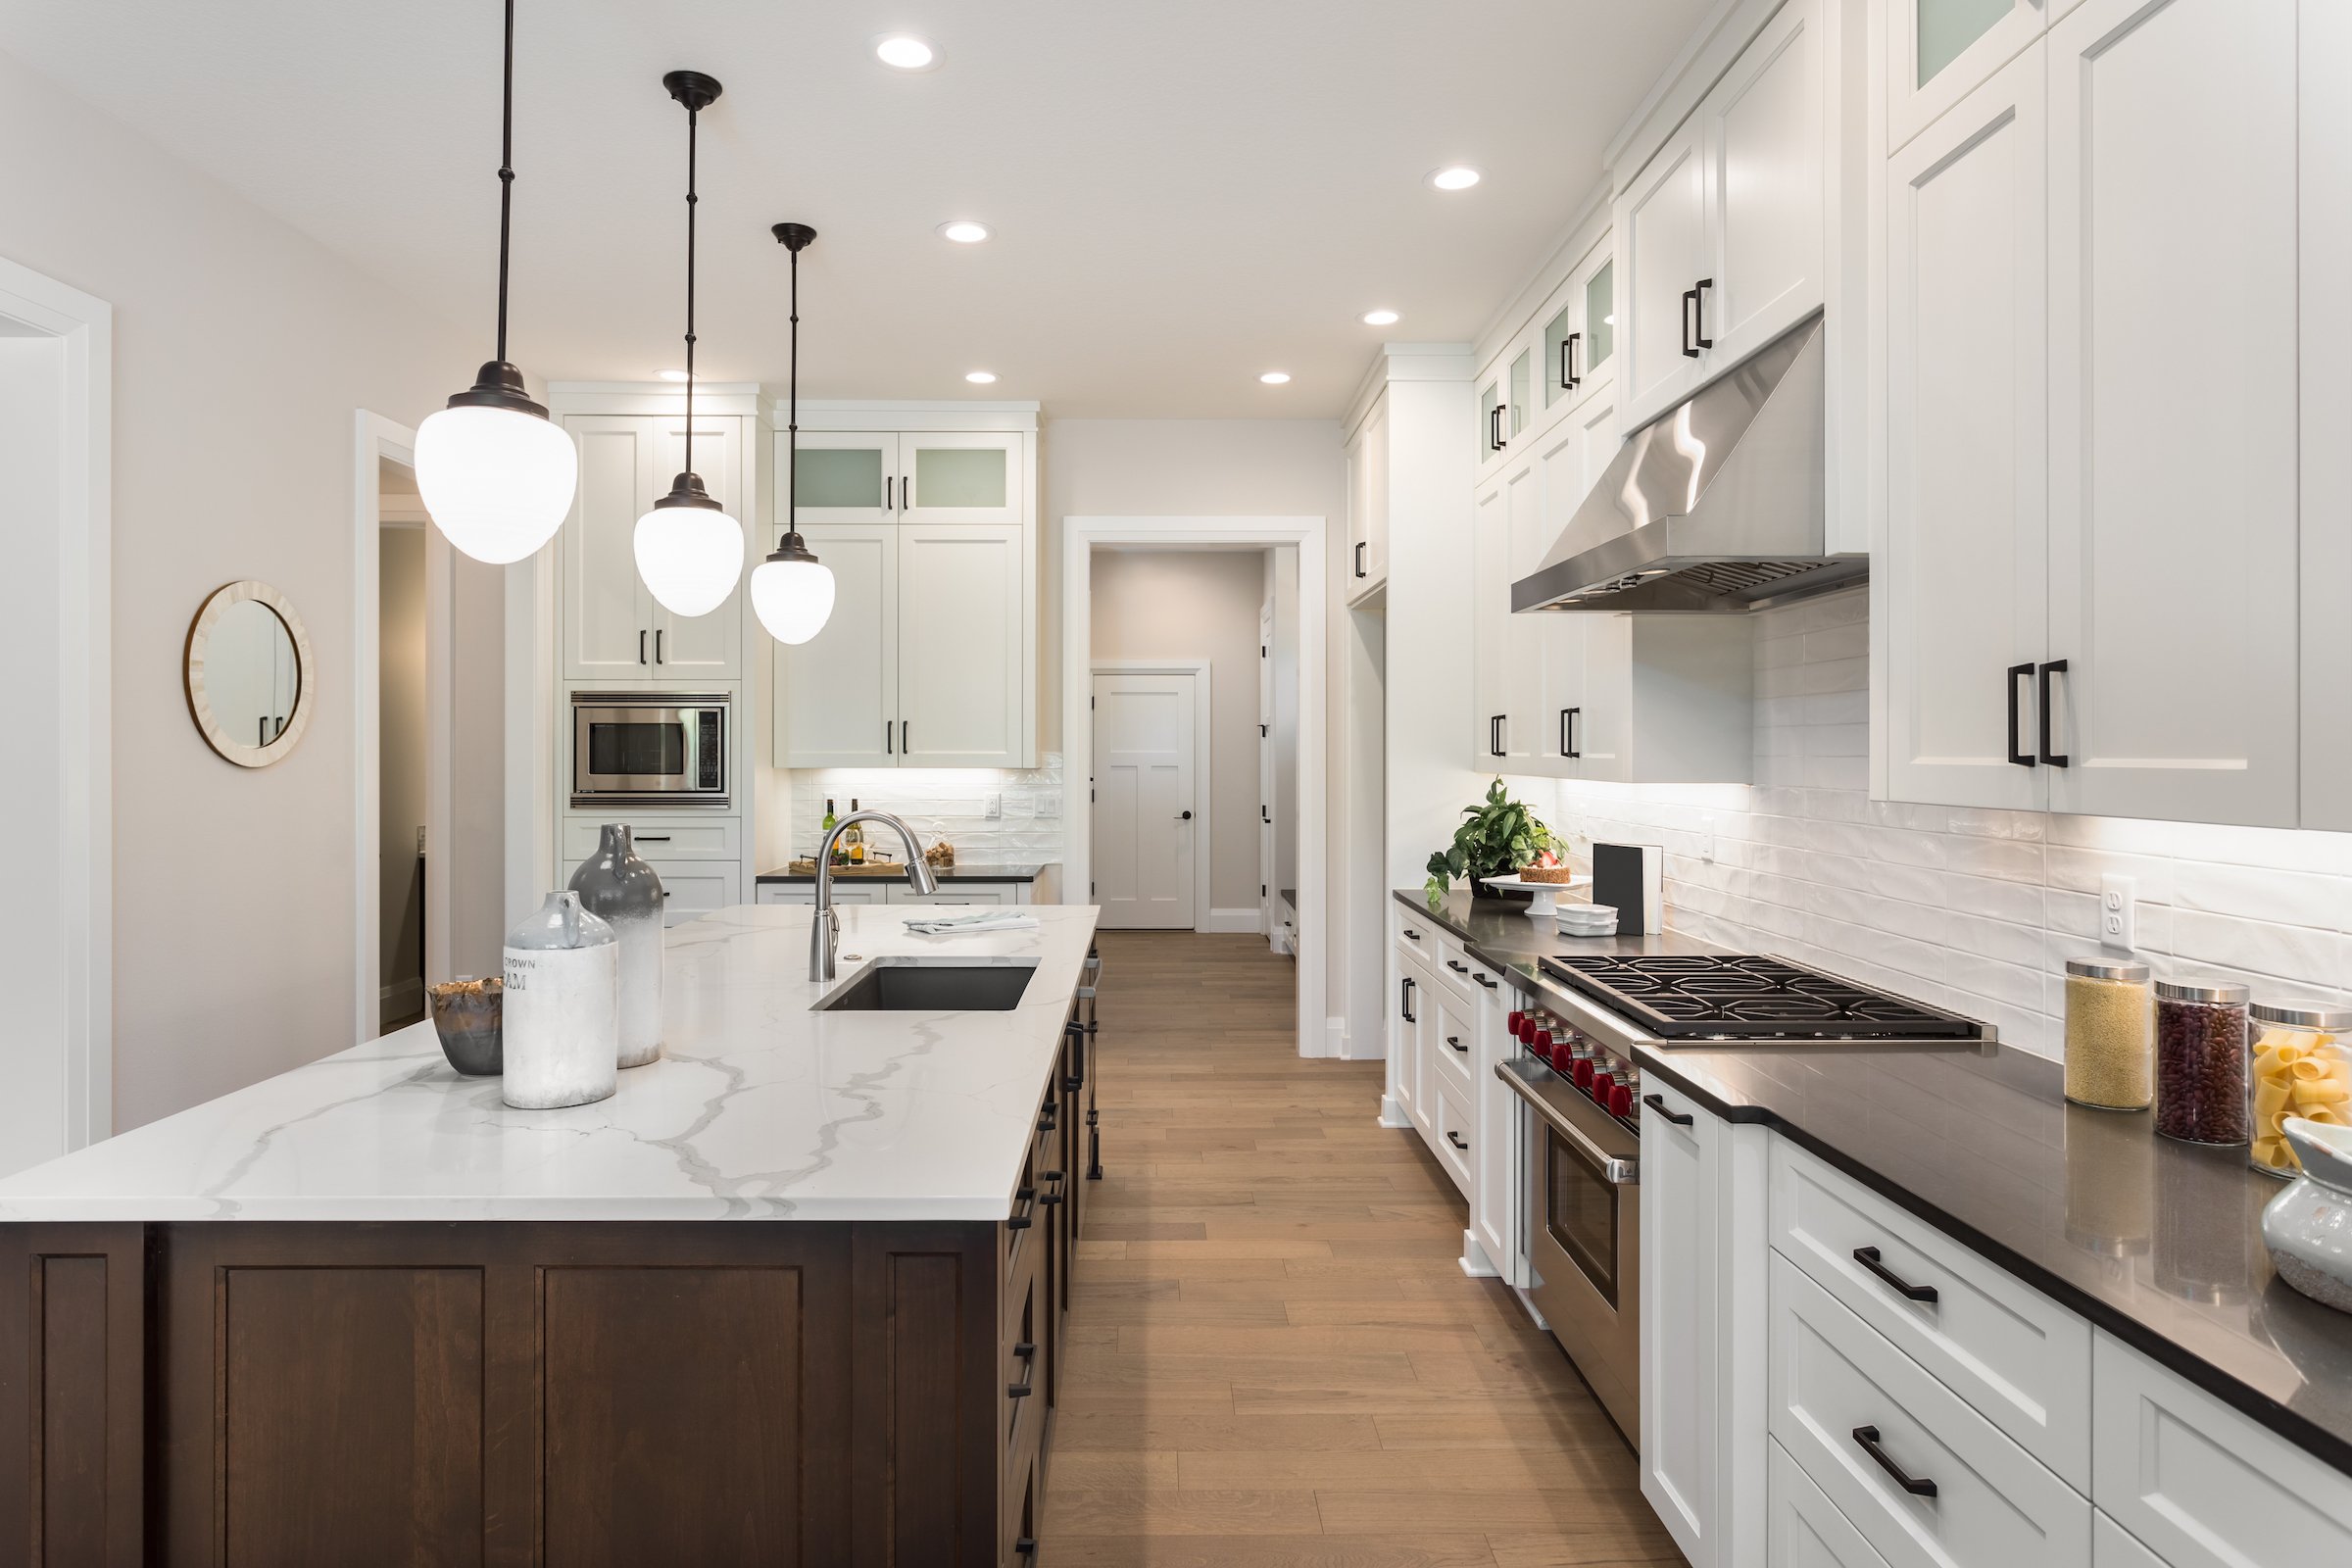
A kitchen island is a great place for a snack bar or extra workspace. In most cases, you'll want to install multiple pendant lights for the best illumination. As a general guide, you should allow 30-36" of space from the top of the counter to the bottom of the pendant. You can adjust this up or down depending on personal preference.

Use two pendant lights for a short island that's 6' to 7' wide. The lights should be 30" apart and from the center of the island. You should have at least 6" from the edge of the counter. Use three pendants for a larger island. The space between the lights should be the same as the fixture width or diameter.

How Much Does It Cost to Install Pendant Lights? 

How much it costs to install pendant lighting. The cost to install pendant lights is dependent on a few factors:

  • Are you doing all the work yourself?
  • Are you purchasing the pendants and having a handyman install them?
  • Are you hiring a contractor to do the entire job?

If you do the work yourself, you can save on installation fees. Pendant lights can cost anywhere between $20 and hundreds of dollars. Add shades or globes, specialty bulbs, or extra large size, and expect to pay more per light. 

If you've decided to hire a handyman to do the installation work, add $65 to $85 per hour for the labor. 

Hire a contractor to provide the lights and do the entire installation and the total cost should run between $120 - $395. This option is best when you're installing pendants in an area that doesn't currently have a light fixture, or if you’ve never done electrical work before. 

When in Doubt, Bring in a Professional to Help 

If you live in an area where Puls offers handyman services, we can help you set up your new pendant lights in no time. We've got a team of skilled technicians that are ready to be at your home to make sure your job gets done safe and right.

In addition to light fixture installation, our handyman services include everything from cleaning out your gutters, to installing appliances, to painting your bedroom, or cleaning your carpet.

For a low rate of $118, you'll get your pendant light installed and a guarantee that the job is done right. 

Call or go online today to schedule a convenient appointment based on your schedule.

Learn More About Puls Handyman Services

Debbie D.
Debbie Dey is a professional writer with over three decades of experience in residential construction. Her background gives her a wealth of knowledge about all kinds of home improvement projects, which she enjoys sharing through her writing. She has been a Puls staff writer since 2018. In her free time, you can find her relaxing by the water or cruising with her husband in their sports car.
Related Posts

Home maintenance can feel overwhelming when it’s framed as one endless checklist. When everything seems important at once, it’s easy to delay action altogether and hope nothing urgent pops up. A room-by-room strategy makes home care feel more manageable. Instead of thinking about your home as one big project, you focus on individual spaces. This makes it easier to notice small changes, address issues early, and avoid the kind of problems that grow quietly over time. Kitchen: Where Wear and Tear Adds Up Fast Kitchens combine water, electricity, heat, and daily use, which naturally increases the chances of things wearing down. Under-sink leaks, loose outlets, and aging fixtures are common early warning signs. Because many kitchen components are tucked away inside cabinets, small problems often stay hidden until damage spreads. Catching these issues early keeps repairs simpler, faster, and far less expensive. Bathrooms: Constant Moisture, Constant Risk Bathrooms deal with daily humidity, which puts ongoing stress on plumbing connections, fixtures, and surfaces. Slow drains, loose faucets, or subtle discoloration around fixtures are often the first signs that something needs attention. Moisture-related issues rarely resolve on their own. Addressing them early helps prevent mold growth, water damage, and structural problems that can disrupt your home and budget. Living Areas: Subtle Signals Matter In living rooms and bedrooms, maintenance issues often show up visually or electrically. Small wall cracks, flickering lights, or loose mounted items can indicate settling, wiring wear, or anchor problems inside the walls. Because these changes happen gradually, they’re easy to normalize. Paying attention early keeps fixes straightforward and prevents damage from spreading behind the scenes. Entryways and Hallways: High Traffic, High Stress Doors, frames, and walls in high-traffic areas experience constant movement and pressure. Sticking doors or shifting frames can be early signs of alignment issues or normal structural movement that needs adjustment. Handling these issues early keeps everyday wear from turning into long-term damage that affects multiple rooms. Laundry Areas: Small Spaces, Big Impact Laundry hookups are one of the most common sources of unnoticed leaks. Hoses, valves, and drains wear down slowly, and even minor drips can lead to significant water damage if left unchecked. Because laundry areas are often out of sight, problems here tend to go unnoticed longer than they should. Regular inspection and timely service can prevent costly flooring and wall repairs. Why a Room-by-Room Approach Works Breaking maintenance down by room helps homeowners feel more in control of their home. It creates a natural rhythm for checking key areas without feeling like everything needs attention at once. This approach also makes it easier to prioritize. Rooms with water, electricity, or heavy use naturally deserve more frequent attention than low-impact spaces. How This Strategy Helps With Budgeting Room-based maintenance spreads costs out over time instead of letting them pile up into emergency repairs. Small, planned fixes are easier to budget for than sudden, expensive problems. Homeowners who take this approach often find they spend less overall—not because they avoid repairs, but because they handle them at the right moment. Peace of Mind Comes From Knowing What’s Normal When you check your home consistently, you start to recognize what’s normal and what’s new. That awareness makes it easier to spot issues early and take action without panic. Instead of wondering whether something has “always been like that,” you can make informed decisions with confidence. Where Professional Help Makes the Biggest Difference Professional technicians understand how issues in one room can affect the rest of the home. A trained eye can spot early warning signs that aren’t obvious to homeowners. Puls technicians can inspect multiple areas efficiently and handle repairs across rooms and systems, making it easier to stay ahead of maintenance without juggling multiple service providers. Why Proactive Service Is Easier Than Reactive Repairs Emergency repairs often come with stress, scheduling pressure, and limited options. Proactive service allows homeowners to plan repairs around their schedule and avoid last-minute decisions. Calling a Puls tech early helps keep home maintenance predictable, manageable, and far less disruptive. Consistency Beats Perfection Home care isn’t about fixing everything at once or chasing an ideal standard. It’s about steady attention and timely action. A professional-first, room-by-room approach keeps your home running smoothly, protects its value, and helps you avoid costly surprises down the line.

  • 5 min read
  • 05/04/26

Staying on top of home maintenance doesn’t have to feel like a constant project. Most homeowners don’t need more reminders—they need a simpler way to organize what already matters. That’s where a monthly home maintenance calendar comes in. Instead of reacting to issues or juggling long checklists, a calendar-based approach creates a steady rhythm that keeps your home running smoothly throughout the year. Why Monthly Planning Feels Easier Big seasonal lists tend to show up all at once and demand attention when life is already busy. Monthly planning spreads things out so nothing feels urgent or overwhelming. When you know exactly what to focus on each month, home care becomes more predictable—and much easier to fit into real life. How the Puls Home Maintenance Calendar Is Structured The Puls home maintenance calendar is designed to reduce mental load, not add to it. Each month focuses on just three types of tasks, keeping things clear and manageable: Quick Wins Seasonal Must-Dos Call in a Pro Tasks This structure ensures that important maintenance stays on track without turning home care into a full-time job. Quick Wins: Light Tasks That Keep Things on Track Quick wins are small, low-effort actions that help maintain comfort and performance around the home. They’re designed to be fast, easy to remember, and satisfying to complete. These tasks help homeowners feel like they’re staying ahead without committing large amounts of time or energy. Seasonal Must-Dos: Staying in Sync With the Year Every season brings small shifts in how a home is used. Seasonal must-dos help align your home with those changes in a calm, planned way. Because these tasks are anticipated in advance, they don’t come with urgency or stress. They simply support comfort, efficiency, and everyday use as the year progresses. Call in a Pro: Built-In Professional Support Some maintenance tasks are best handled by a professional—not because something is wrong, but because it’s easier and more reliable that way. Each month includes at least one Call in a Pro task, giving homeowners a clear moment to bring in expert help and keep things handled properly without guesswork. Puls technicians fit seamlessly into this system, handling professional tasks efficiently and helping homeowners stay consistent without juggling multiple providers. Why This System Reduces Stress With only three task types to think about, maintenance stays focused and manageable. There’s no pressure to do everything at once, and no feeling that something critical is being missed. Homeowners following a calendar-based approach often feel more confident simply because they know what’s coming next. Consistency Without Perfection This system doesn’t rely on doing everything perfectly. Missing a task one month doesn’t derail anything—the calendar simply brings your focus back the next month. That flexibility is what makes monthly maintenance sustainable and realistic over time. A Calmer, More Organized Way to Care for Your Home When maintenance is predictable and supported, it stops feeling like a chore. It becomes part of the background—quietly supporting comfort, safety, and daily life. A monthly home maintenance calendar turns home care into a steady rhythm, and with Puls technicians available for professional tasks, staying on top of your home feels simple, not stressful.

  • 4 min read
  • 03/23/26

Even in mild climates, decks and fences are exposed to the elements every day. Sunlight fades color and weakens coatings, humidity causes wood to expand and contract, and soil movement shifts posts and support beams. Over time, this wear and tear leads to cracks, discoloration, and loose boards that can compromise safety and appearance.

  • 12 min read
  • 10/28/25