
Whether you’re fixing to show off your culinary prowess to some friends or preparing a simple weeknight meal, it’s hard to get very far if the burner won’t light on your stove.

It’s always possible to make a last-minute menu switch and serve gazpacho, or some other dish which doesn’t require cooking. But if you’ve got your heart set on making your Nona’s famous spaghetti sauce, or if you just want to solve your oven and stove woes once and for all, you could follow our simple troubleshooting guide on how to fix a stove burner that's not working properly.
Clogged Gas Feed
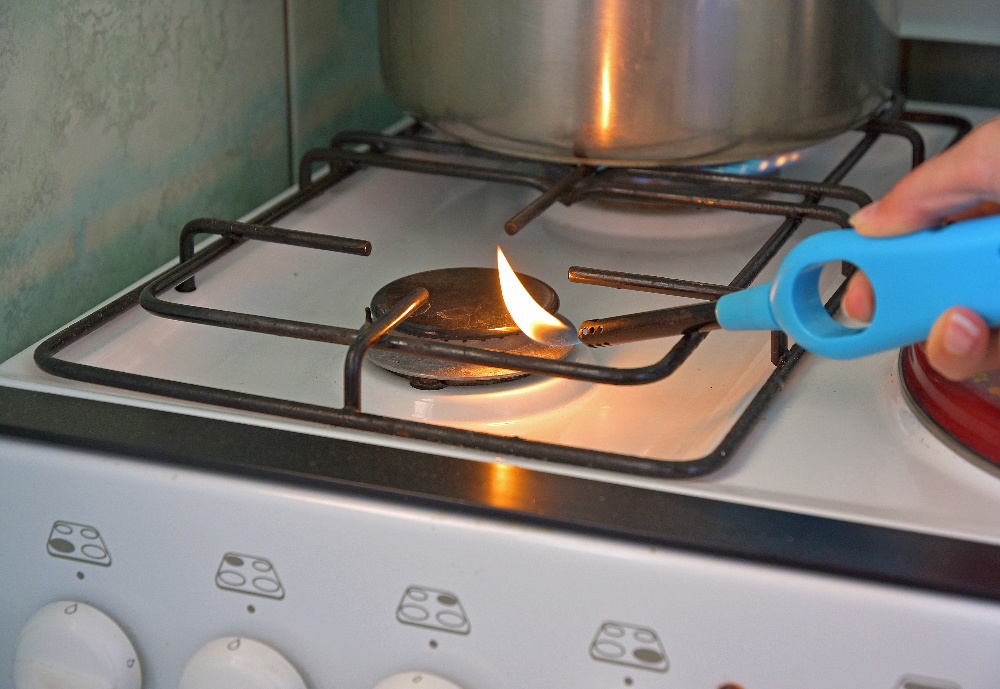
If you hear clicking and see sparks as you turn the burner knob, and can smell that gas is flowing okay, but the fire won’t ignite, it’s possible that the gas feed is clogged.
This is a super quick and easy fix – simply lift off the grate (make sure it’s cool to the touch), take off the burner cap, and lift the burner out from the range top. For some models, you may need to unscrew the two screws holding the burner in place – for this, a regular nut driver or socket wrench will do the trick.
Have a look at the small, nearly pin-sized hole in the back of the burner. This feeds the gas through to the igniter to get the fire lit, and can frequently get blocked up with grease or any other kind of debris. Just give the burner a thorough clean, sticking a toothpick, needle, or other similarly sized tool through the hole to clear it up, and pop it back on to your stovetop. The gas should feed through and the burner should light as usual.
Check the Spark Igniter Connections
 If you’ve got an oven burner not working properly after a thorough cleaning, try checking the igniter connections to make sure they are secure.
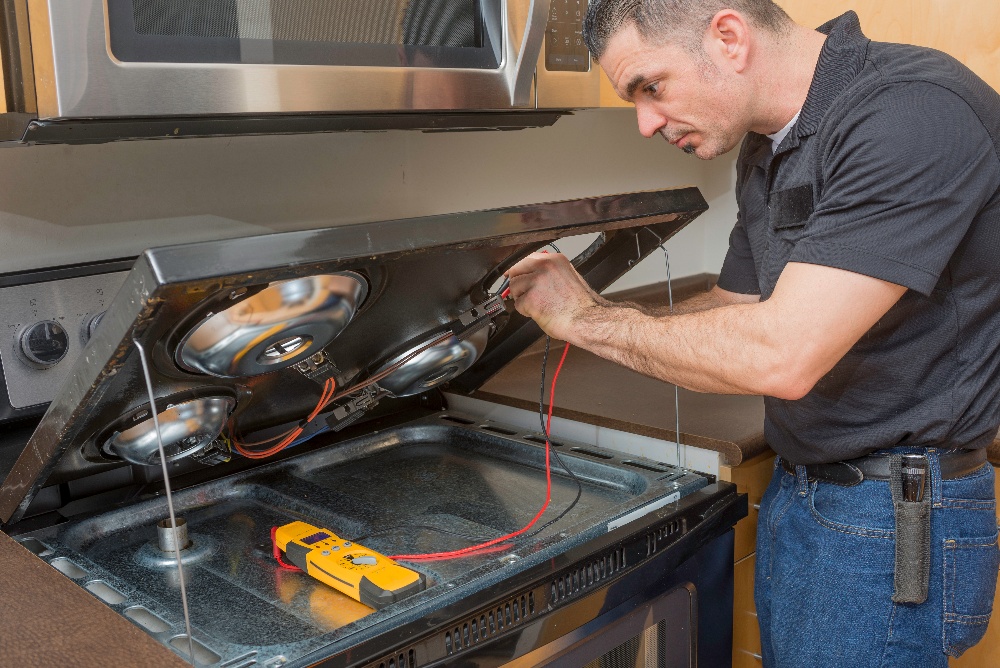
Unplug the oven from the wall, as you will be working with electronic components and don’t want to receive a shock. Lift the burner head completely out of the oven – it should have wiring coming out of the range top connected to the bottom of it – and examine the connections to make sure the wires are properly attached to the igniter. Loose connections can prevent the igniter from sparking and the fire from lighting.
Replace the Igniter Completely
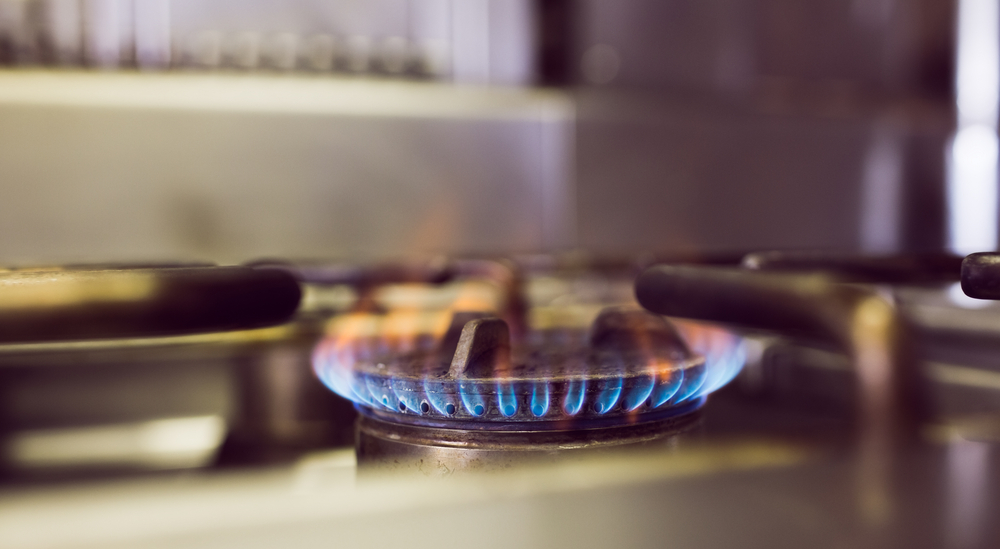
 If the connections are secure and you’ve plugged the oven in and tested it, and still, the burner won’t light, it could be that the igniter needs replacing completely. A good way to test this is to shut the light off and look at the color of the sparks coming out of the igniter when you turn the knob.
They should be a cool blue-white. If not, it might be time to replace the igniter.
You can check the model number and order a replacement igniter online, or get one from your local hardware store. Replacing the igniter itself begins similarly to checking the connection – disconnect the gas and power from your stove, lift the burner head completely out, and turn it upside down. Using a flathead screwdriver, disconnect the wiring from the igniter, making sure they don’t slip down into the stove interior when you let them go.
The old spark igniter should be easily removable with a Phillips head screwdriver. Unscrew and pull out the old igniter, and replace it. Reassemble your stovetop and give it a test.

Replace the Igniter Wiring Harness
 If only one (or more) burner won’t light because it’s not getting a spark when you turn the control knob, but the others do receive sparks and ignite properly, you may need to replace the igniter wiring harness.
Parts of the igniter harness can short out if liquid boils over and spills out onto it, or the turning shaft that lines up with the burner valve can get stripped over time and prevent it from turning properly.
To replace the igniter wiring harness, shut the gas, unplug the stove, and remove the burner grates and burners. Then, remove the oven control knobs and, using a nut driver, unscrew the bolts holding the metal stovetop, but leave it in place for now.
Open the oven door and look underneath the front panel, locating the screws holding in the front panel. Once you remove the front panel, remove the screws going into the top panel, so it can come completely free.
Lift the top panel off and set it aside. Pull the oven forward from the wall and remove its back panel with a nut driver.
The igniter harness is now fully exposed. You’ll see that there are two wires – one running to the back of the oven, and another connected at the front of the oven to the spark module terminal. Unclip the back wire from the plastic clip, and, using a flathead screwdriver, free the other wire from the spark module terminal.
Now, pull all four switches forward off of the gas valve shafts. Take the new igniter harness and thread the wires through, and replace each switch back on its gas valve. Reconnect the wire for the back panel, as well as the spark module terminal, and reassemble the oven.
Let Us Help You Get Cookin’
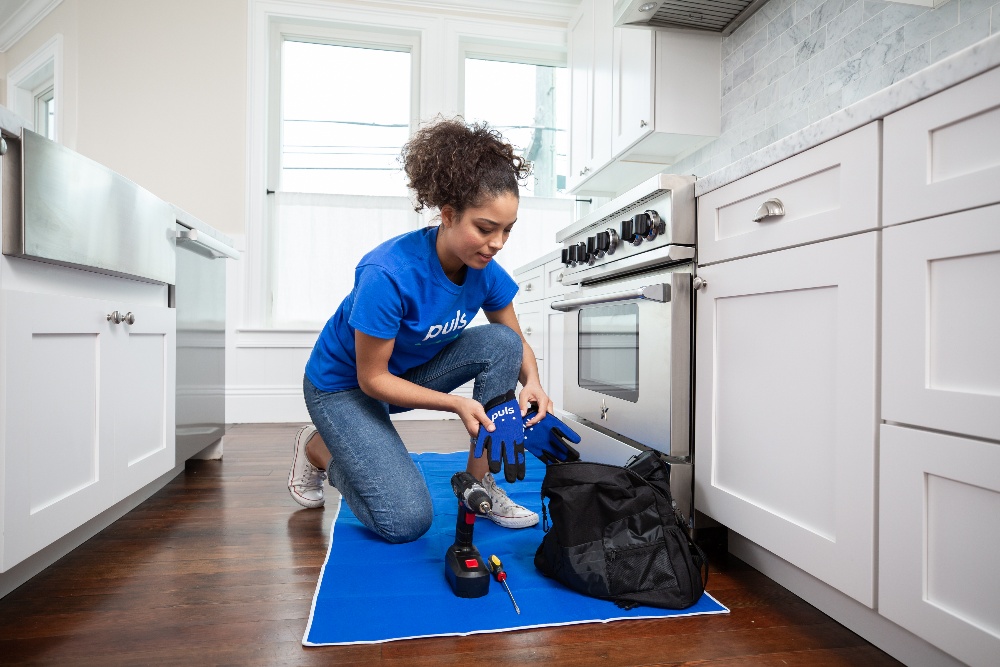
 Oven burner repair can be tricky, time-consuming, and a pain – which is why our expert technicians are on call to help you get your oven burners working as good as new. With our easy online booking process, you can have a Puls technician fixing your oven before you know it – as soon as the very same day.
Plus, if you choose to go ahead with a repair, we’ll throw in our comprehensive $79 diagnostic for free. Visit our website today and you can save 5% off your first service with us.
We fix washers, dryers, refrigerators, and more. And with our 90-day guarantee on parts and labor, you can be sure that the job is being done right the first time, and you’ll remain covered long after.
So, what are you waiting for? Book an appointment now to have a certified Puls technician get your oven back to full power in no time.

