Many of today's newer homes have an electric garage door opener to provide easy access, safety and security. There are several drive options available—chain, screw, belt, direct and jackshaft.
The most common style is mounted on the garage ceiling, and connects to the inside of the door. If you're a handy DIYer, you may be able to tackle this job yourself with help from this step-by-step installation guide.
It's important to realize that for complex projects like this, you might want to seek professional help. While you may be familiar with other home improvement projects, without being an installation expert, you might damage the opener, or worse yet, get hurt.
Before you pull out your tools, you should make sure your garage door is operating properly. Open and close the door and check for broken or missing rollers, loose cables, noisy operation of the torsion springs, and if the door is lubricated and balanced.
Be sure to repair any issues before you start. Remove all ropes, cords and locks so you won't get tangled in them or accidentally engage them during the installation.
If you're ready to learn how to install a brand new garage door opener, follow the steps below. You'll need an electrical outlet near the opener, clamps, a tape measure, a cordless drill and bits, and various wrenches.
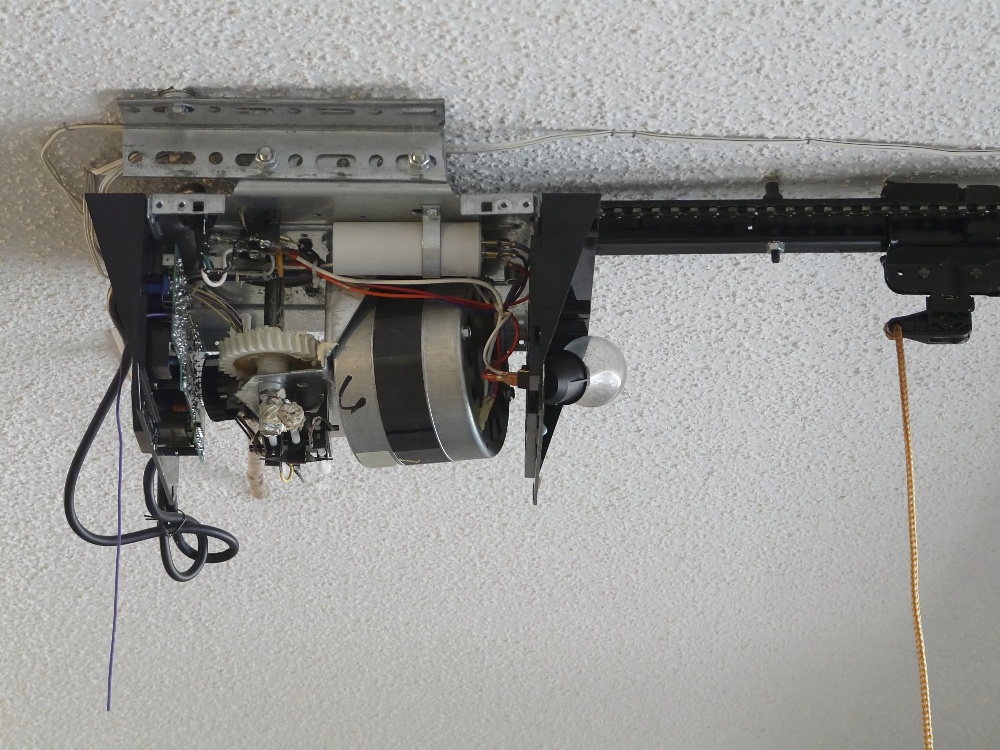
Step 1: Assemble the Opener
-
Start by fitting the rail sections together.
-
Slide the trolley over the rail.
-
Connect the rail to the motor.
-
Place the pulley at the end of the rail.
-
Slide the belt or chain from the end of the rail; slip it around the pulley, then feed it around the motor end.
-
Attach the belt or chain end to the trolley/carriage.
-
The screw at the end of the chain or belt will be used to attach the entire unit to the trolley and also adjust the door tension.
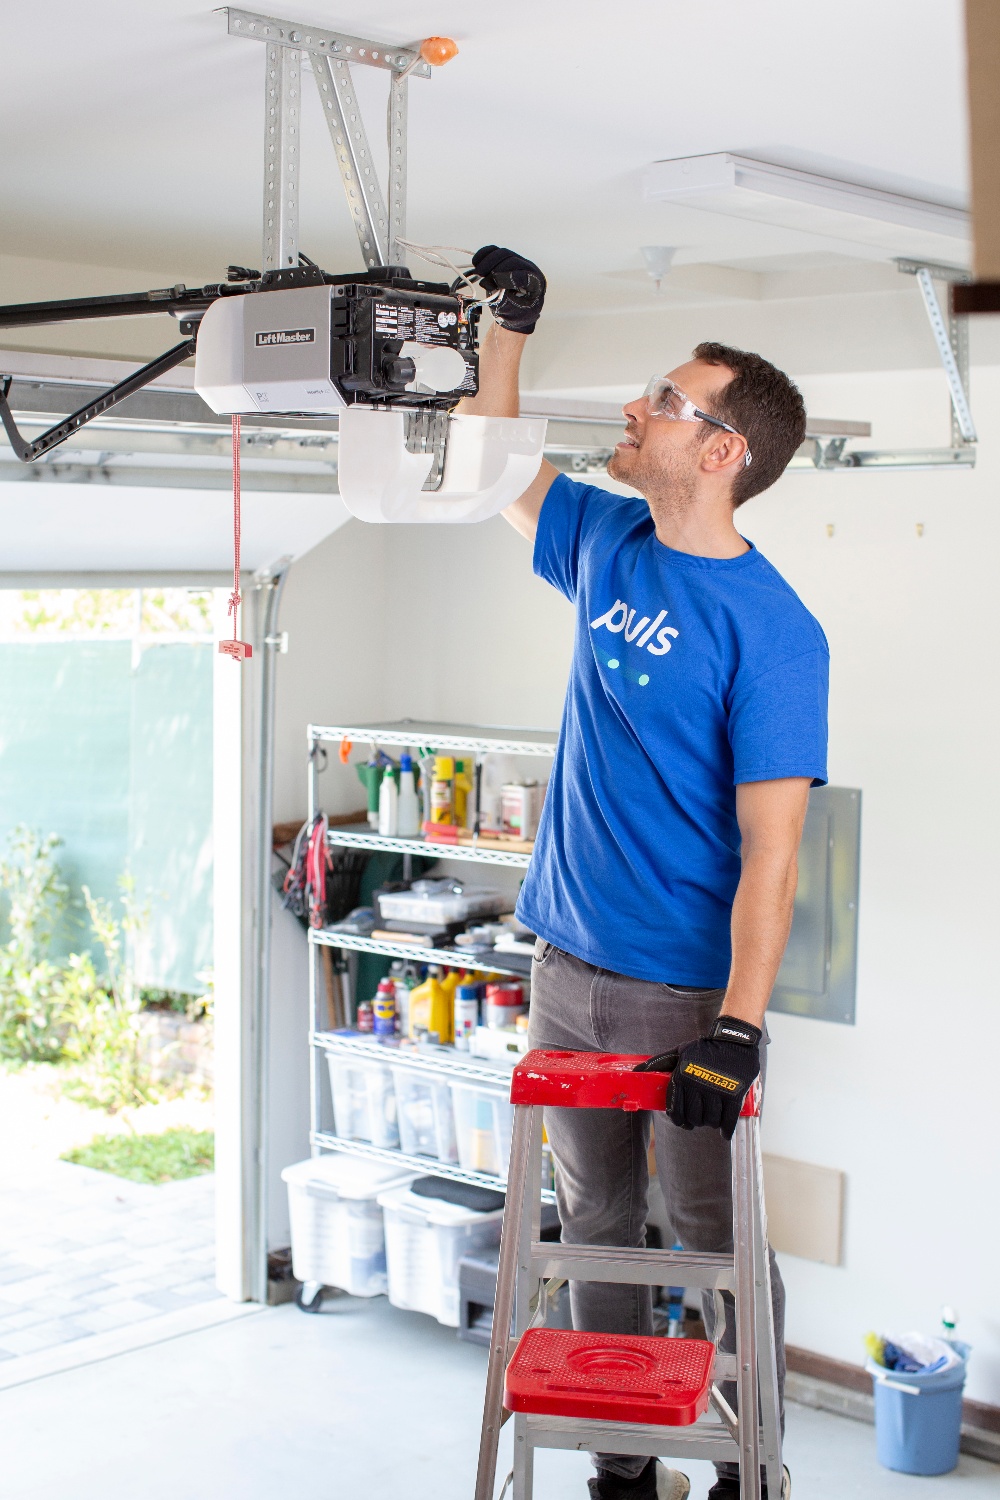
Step 2: Attach the Opener to the Ceiling
-1.jpg?width=1000&name=shutterstock_1167327442%20(2)-1.jpg) You'll need to install a piece of wood (blocking) to the ceiling so that the opener has somewhere to attach to. It must be nailed or screwed into a ceiling joist to support the weight of the opener.
You'll need to install a piece of wood (blocking) to the ceiling so that the opener has somewhere to attach to. It must be nailed or screwed into a ceiling joist to support the weight of the opener.
Screw the bracket to the wall above the door (make sure the screws go into the wood beam) and connect the opener assembly (opposite to the motor) to it. Next, attach the motor end to the blocking with ¼ by 2 inch long lag screws.
It should be at least 7 feet above the floor to allow sufficient headroom for people walking under it. Attach the second piece of the bracket to the door as specified in the instructions. It is usually centered on the door.
Step 3: Install the Other Components
 A safety disconnect cable will be included with your opener. Attach it to the motor with the hardware provided, then slide it through the bracket and handle. It should have a tag indicating it as an emergency release.
Pull the emergency disconnect and open and close the door completely to make sure it moves smoothly. Insert the stop bracket at the motor.
Screw in a rough service light bulb to handle the vibration of the door without burning out.
Install the electric eye and reflector on opposite sides of the door. To do this, you'll need to connect two wires to the bottom of your door as instructed by the manufacturer.
Install the control button out of reach of small children. Most are located near the door to the house when the garage is attached.
Step 4: Test Your New Opener
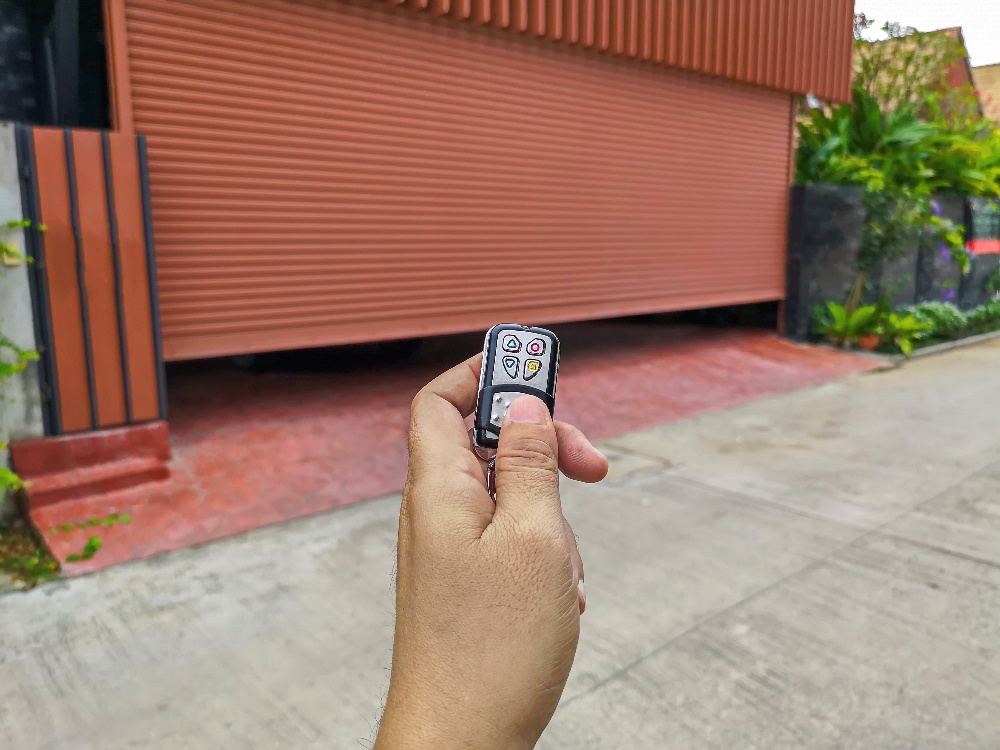 Now it's time to plug the garage door opener into the ceiling outlet and test it out. Operate the door with both the wall control and the remote.
Place a 2x4 on the floor at the center of the door to test the closing force. The door should automatically reverse when it touches the wood. Tighten or loosen the adjustment screws ⅛ inch at a time until the force is set correctly.
Let a Puls Professional Do the Job Right
 Garage door openers can be challenging to install. To ensure your garage door opener provides safe, trouble-free operation, let a Puls technician do the work for you.
They've got the tools and expertise needed to handle any situation that arises and can correct any problems on the spot. Contact a Puls garage door professional to schedule a convenient time for installation.
For a low $39 fee, you'll receive a 25-step on-site inspection, which is waived when you carry out a repair or installation service. What’s more, all installations and repairs include a 90-day guarantee on all parts and labor, so we've got you covered for any follow-up issues.
Puls is here to make all your garage door related needs as easy and seamless as possible. Book an appointment now and you could have your new opener installed within as soon as the same day - you can even click here to get 5% off your first service.